-
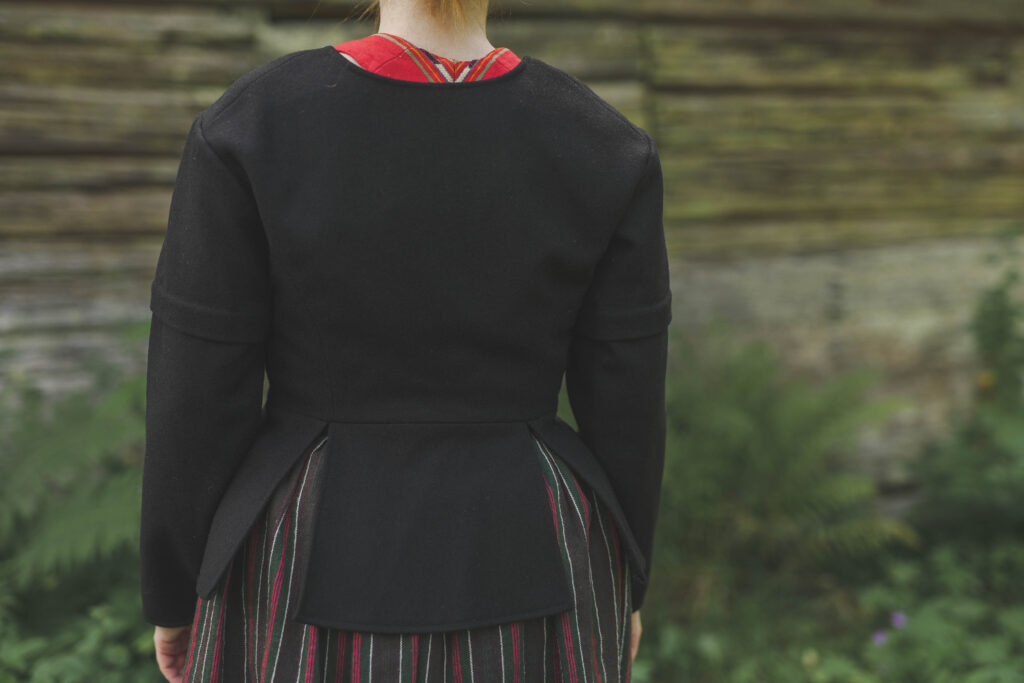
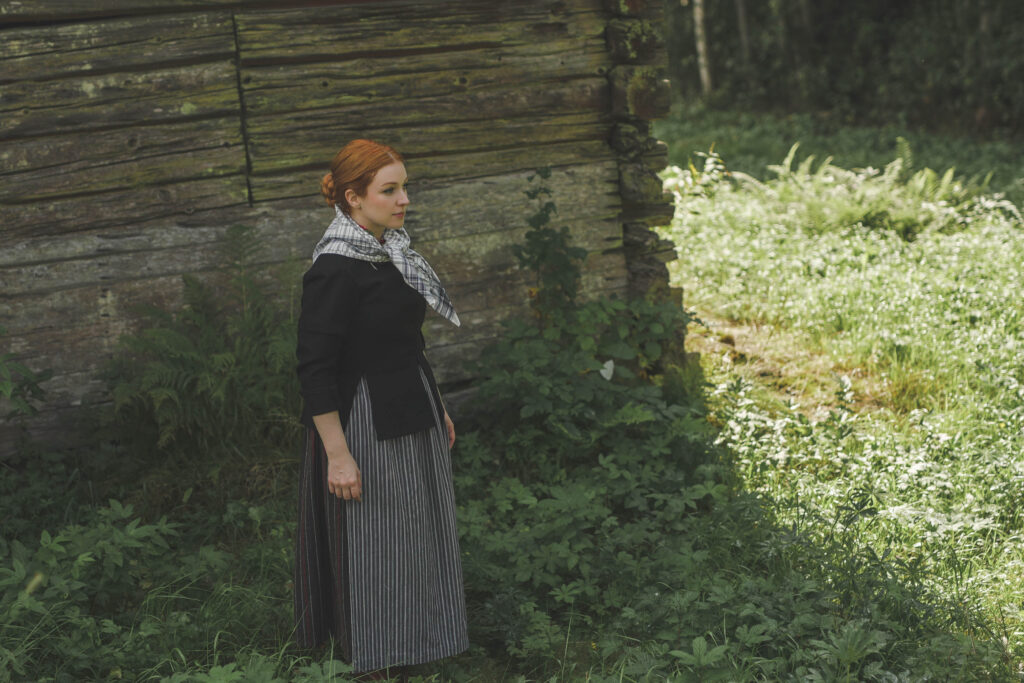
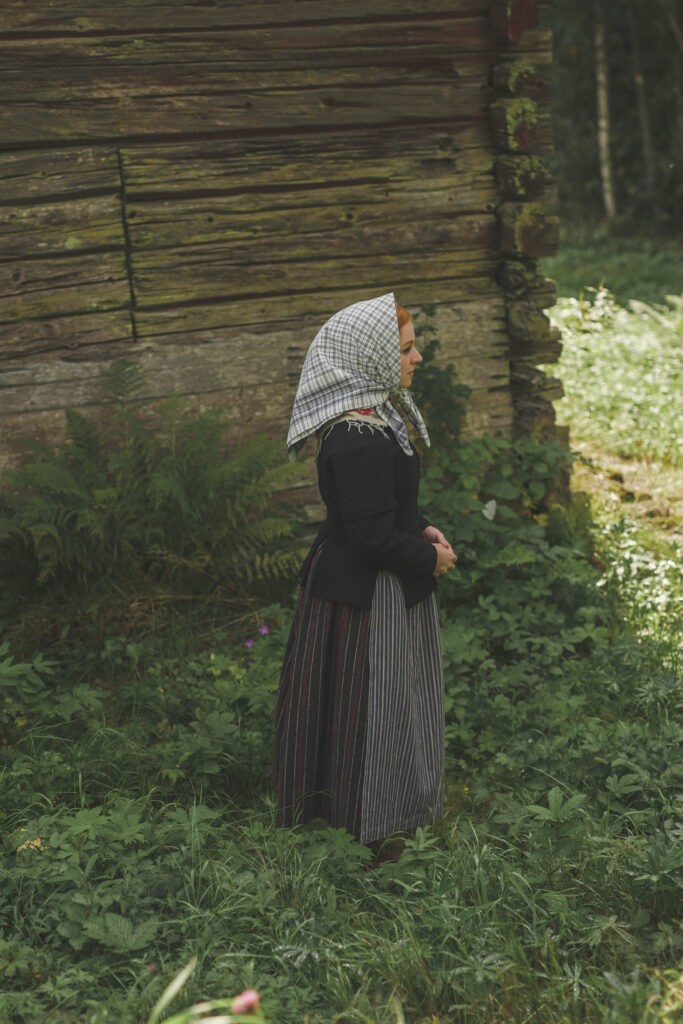
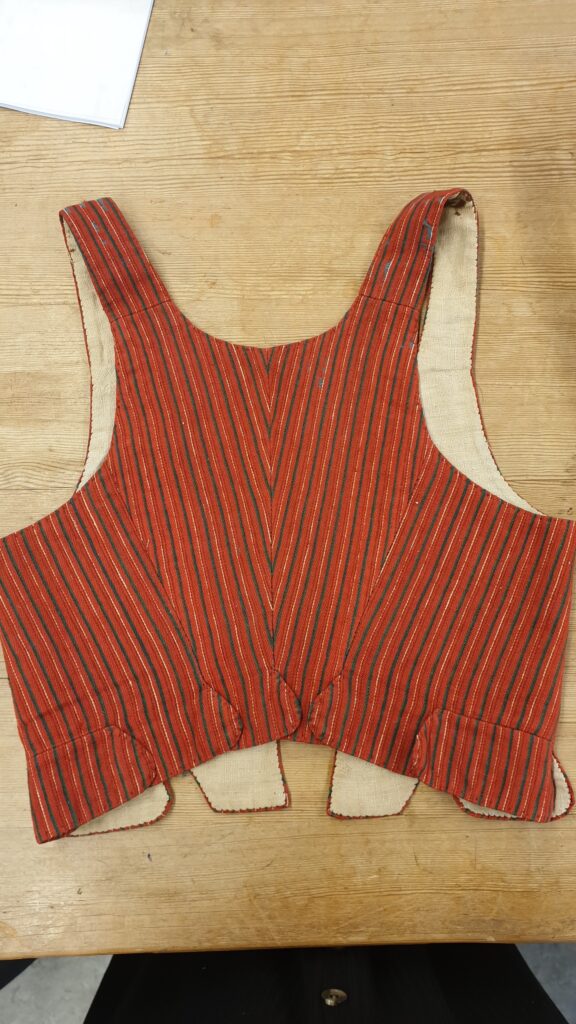
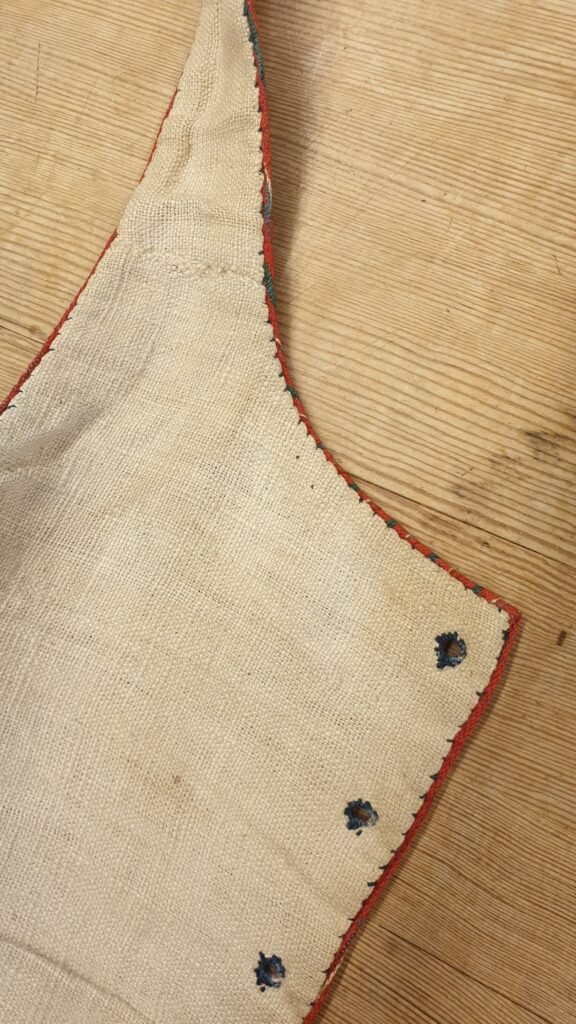
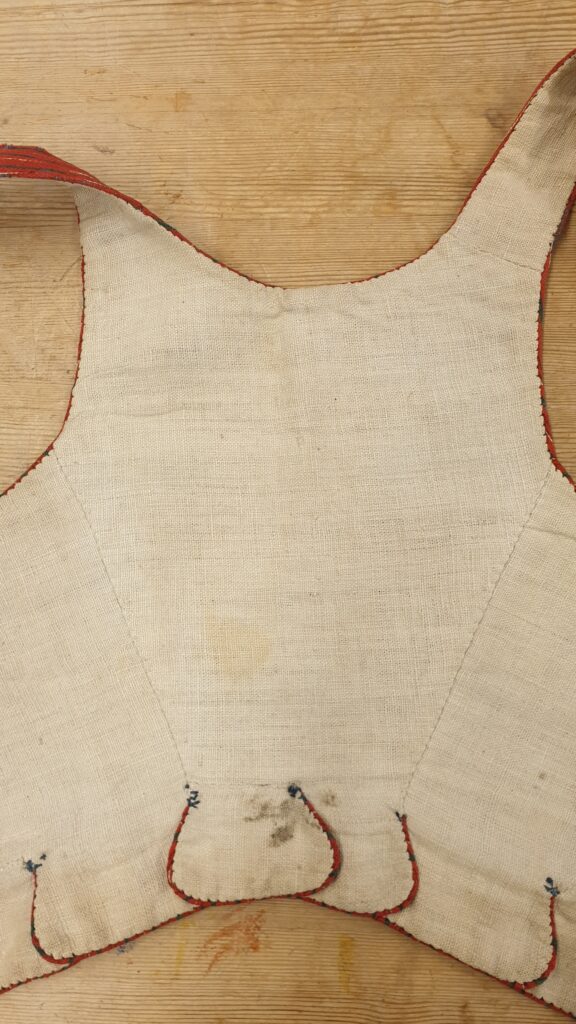
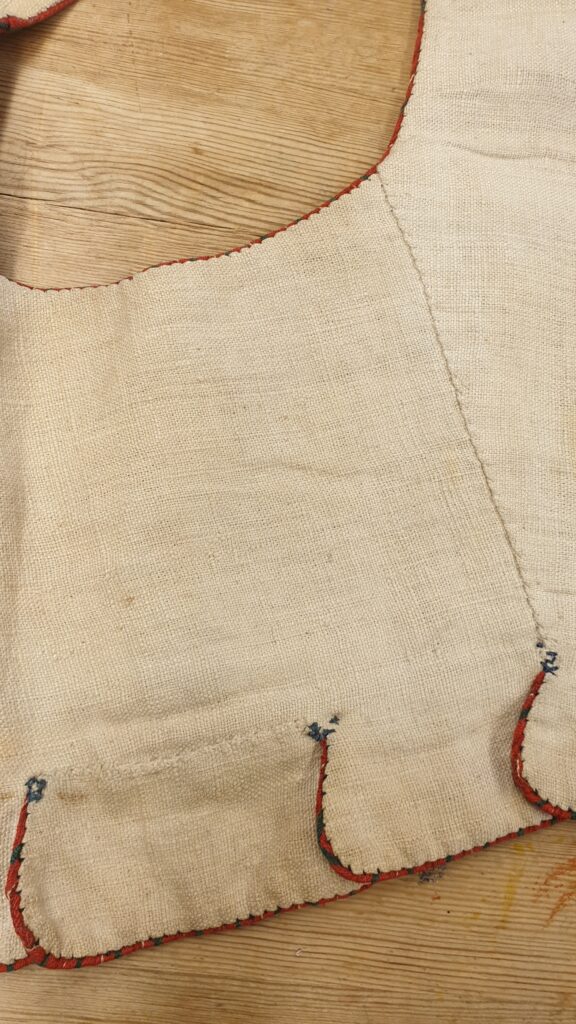
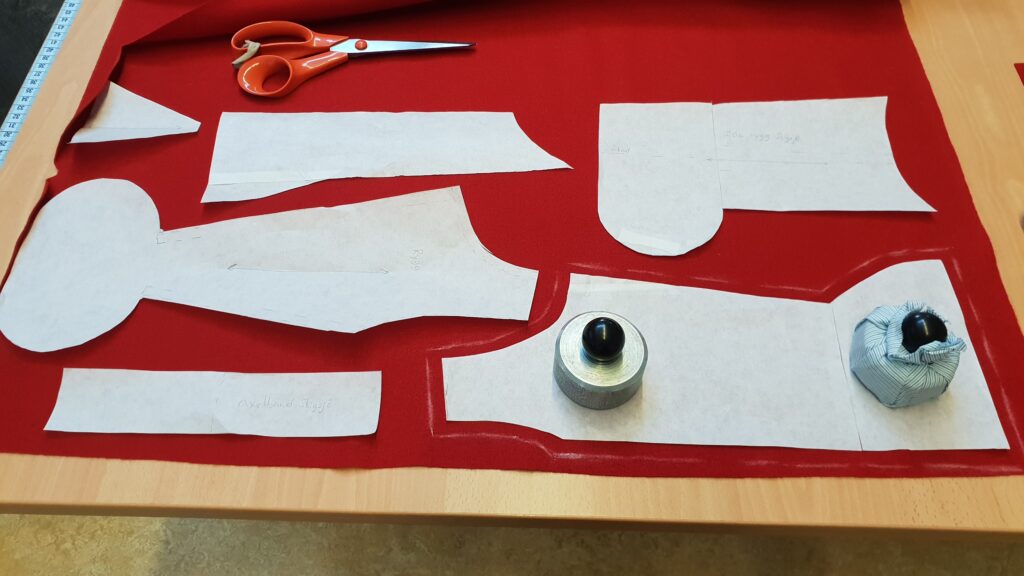
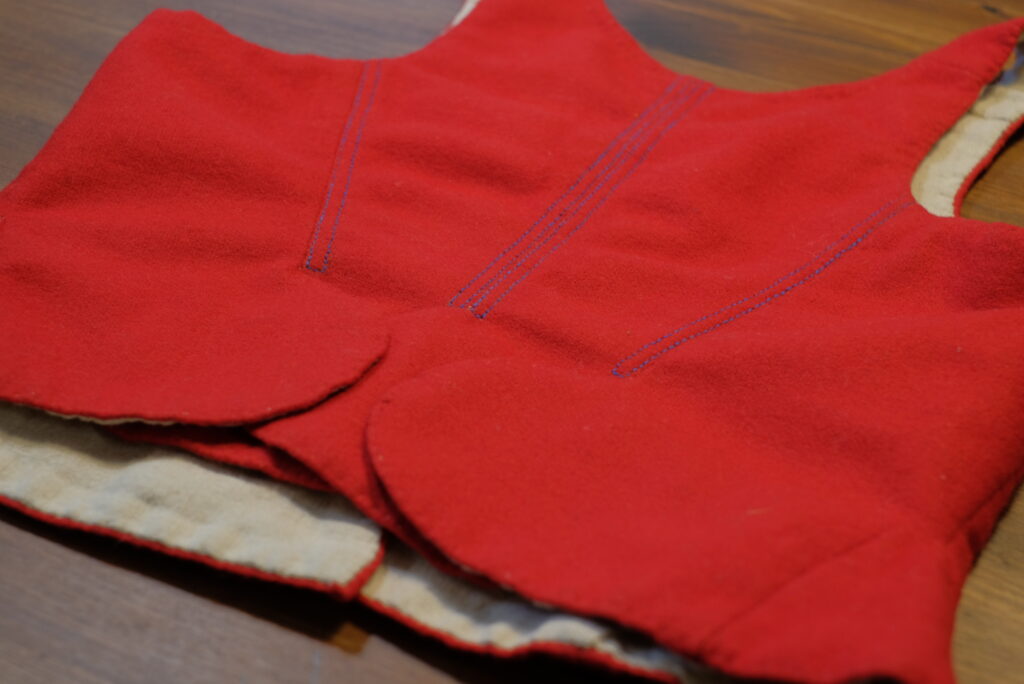
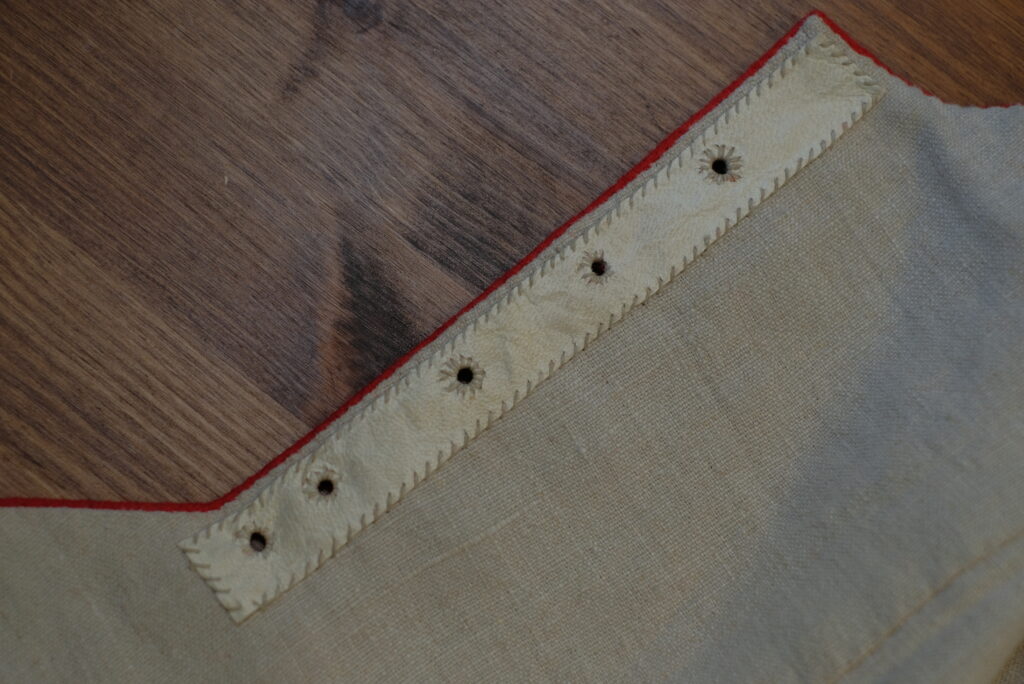
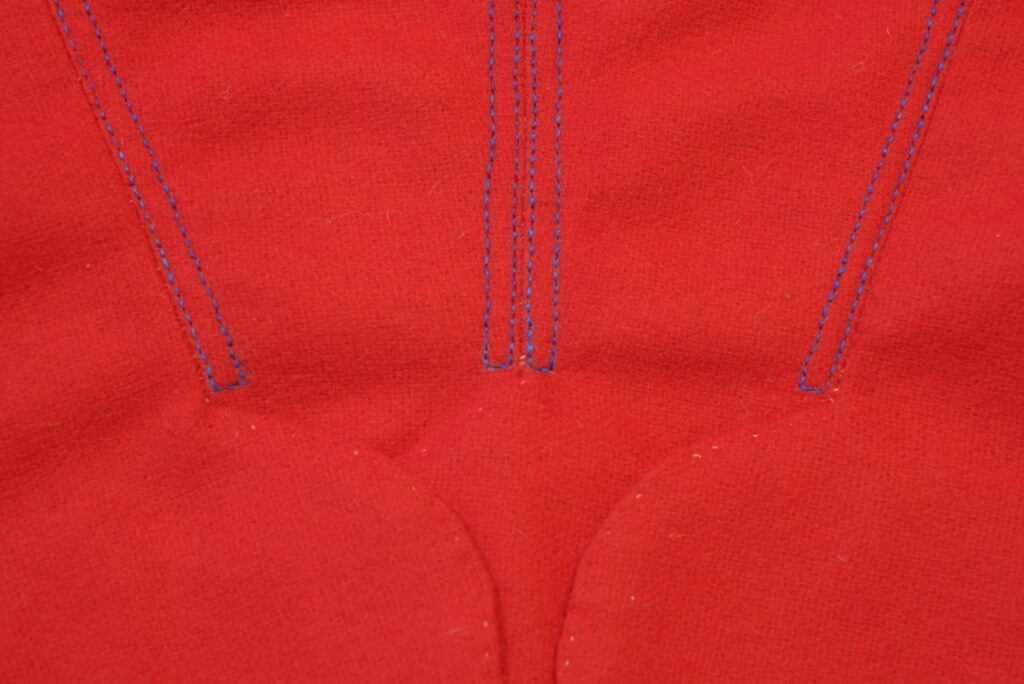
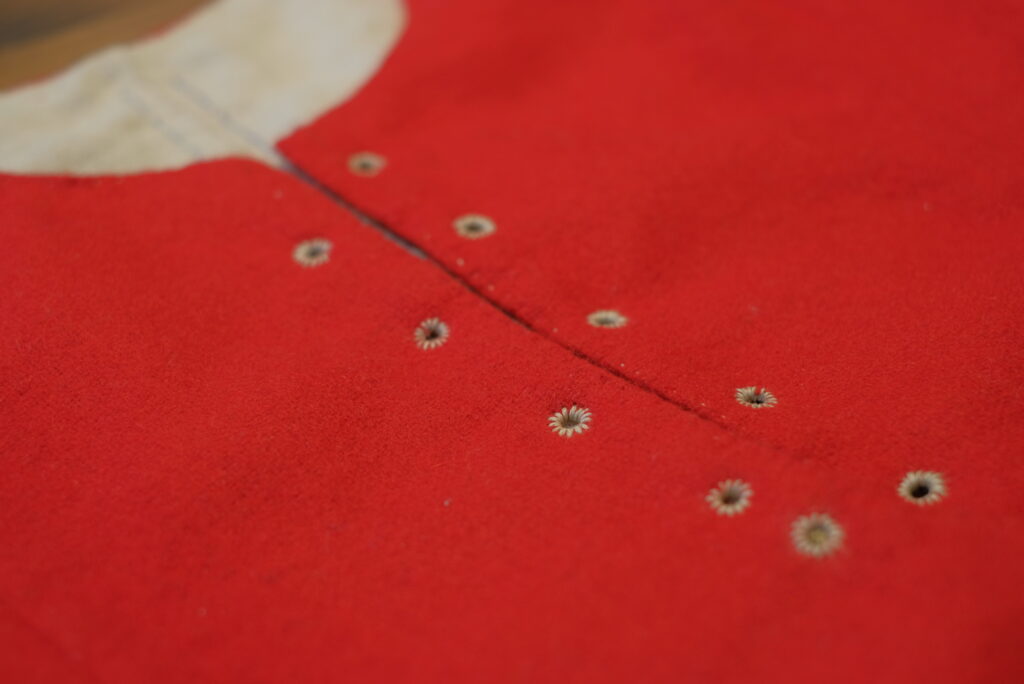
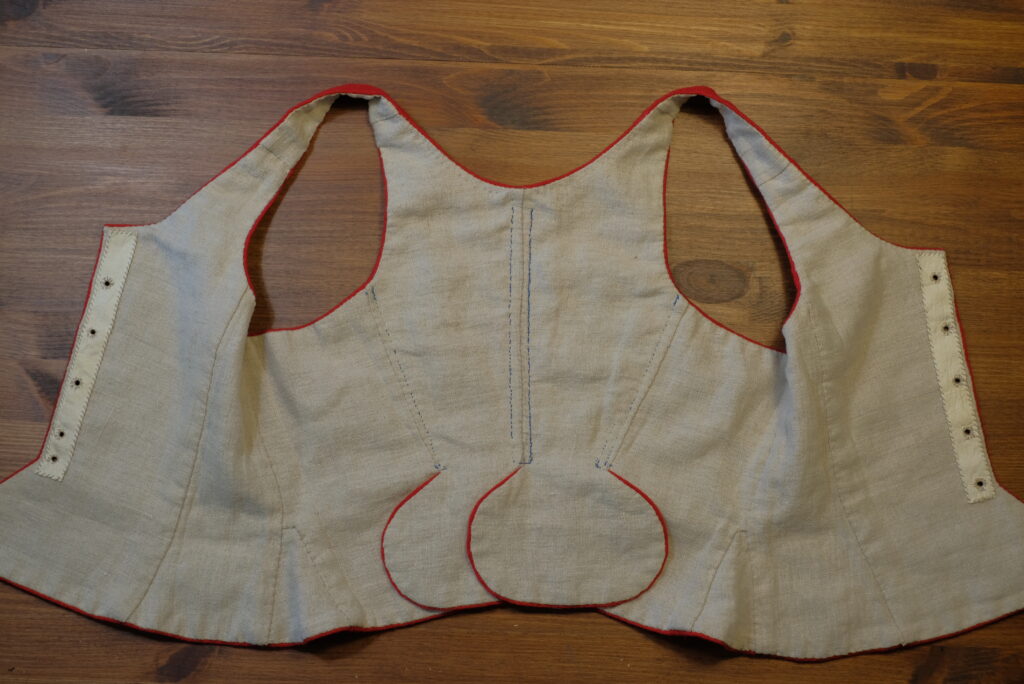
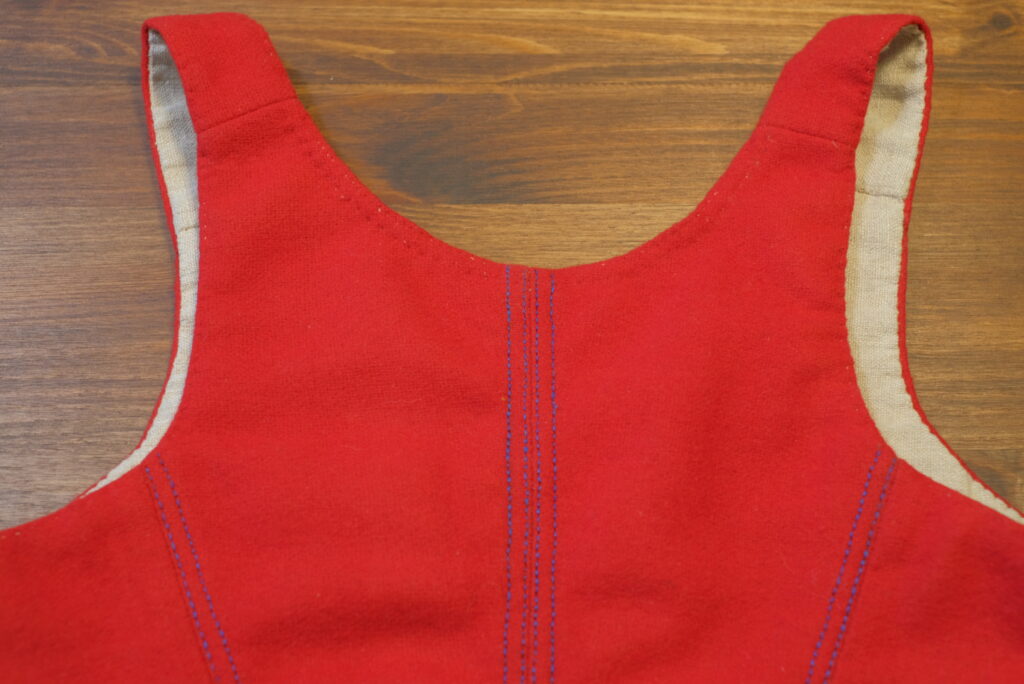
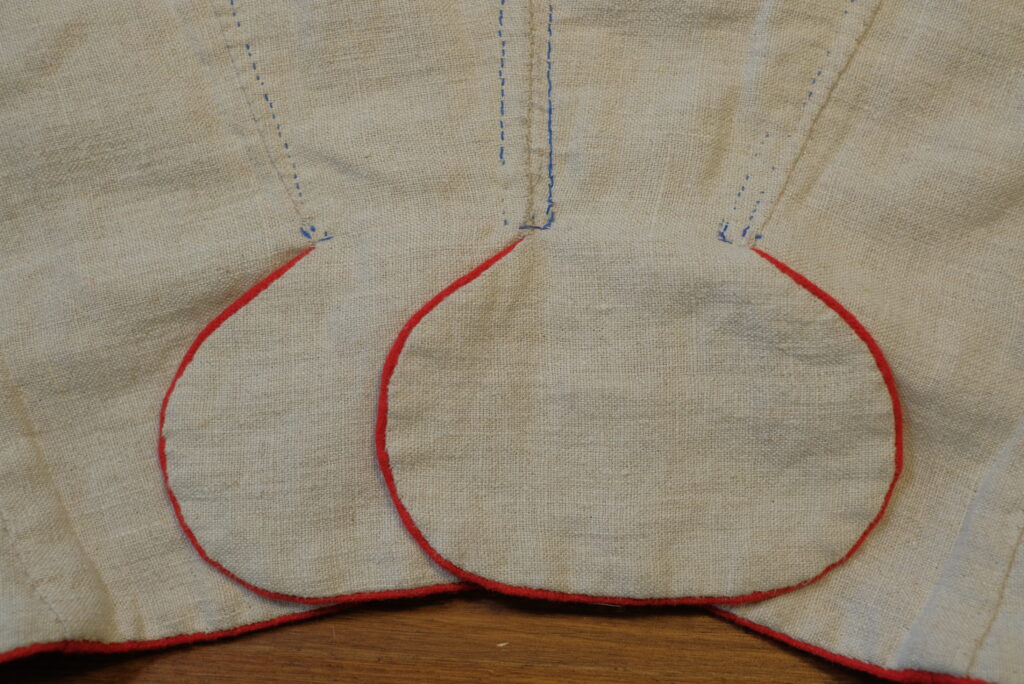
Svarttröja från Finnskogen
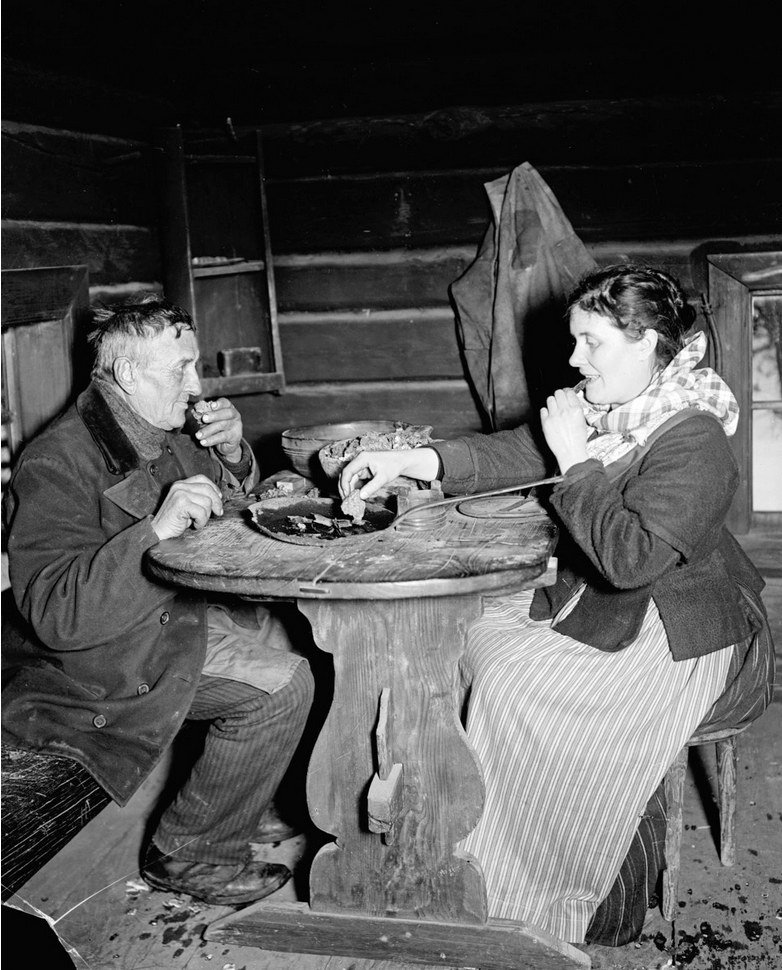

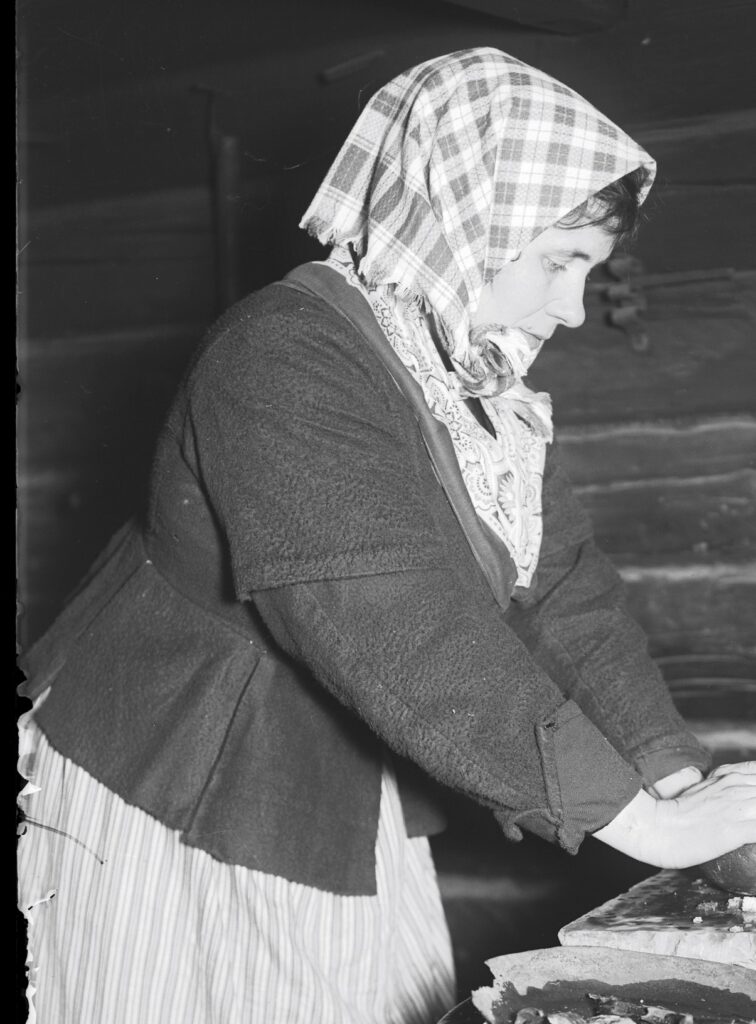
Beskuren bild. Fotograf: Nils Keyland. NMA.0091851c. Foto lånat från Nordiska museet. 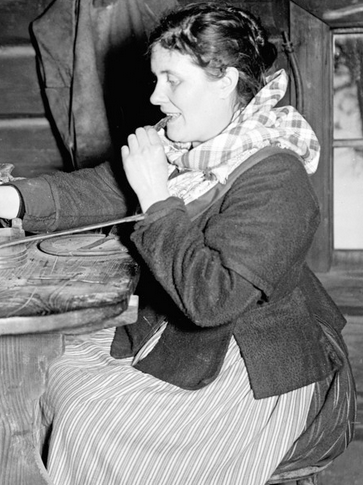
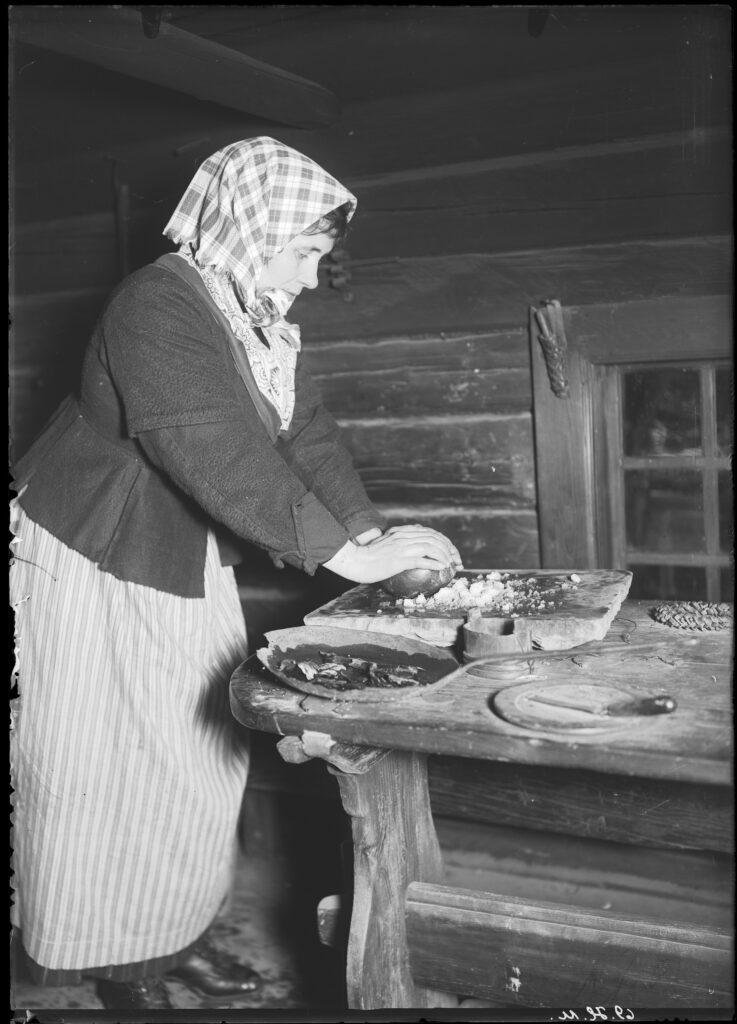
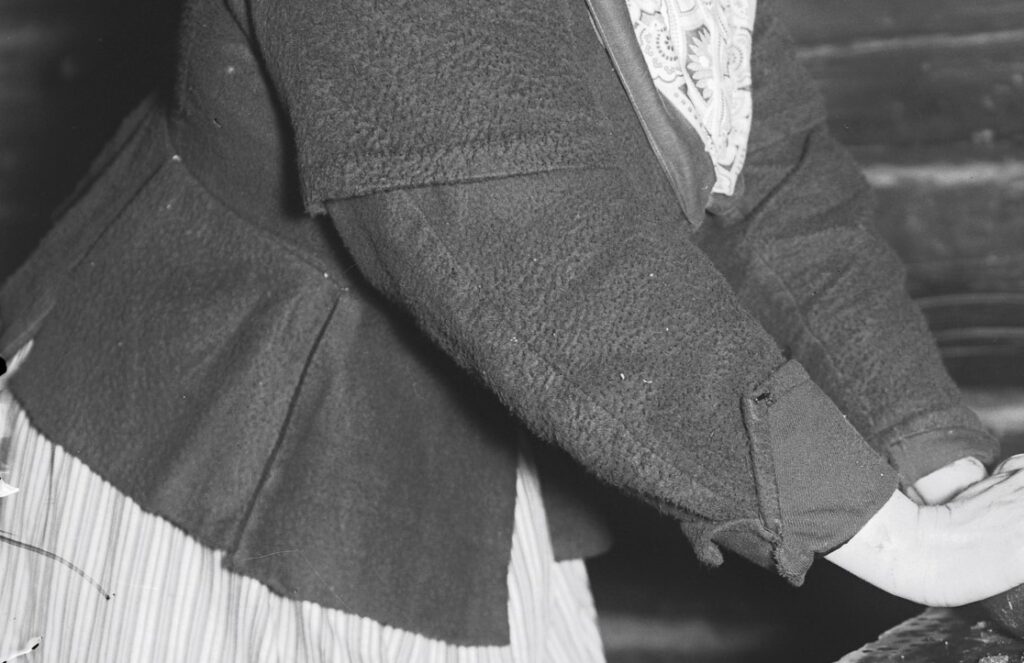
Beskuren bild. Fotograf: Nils Keyland. Foto lånat från Nordiska museet. 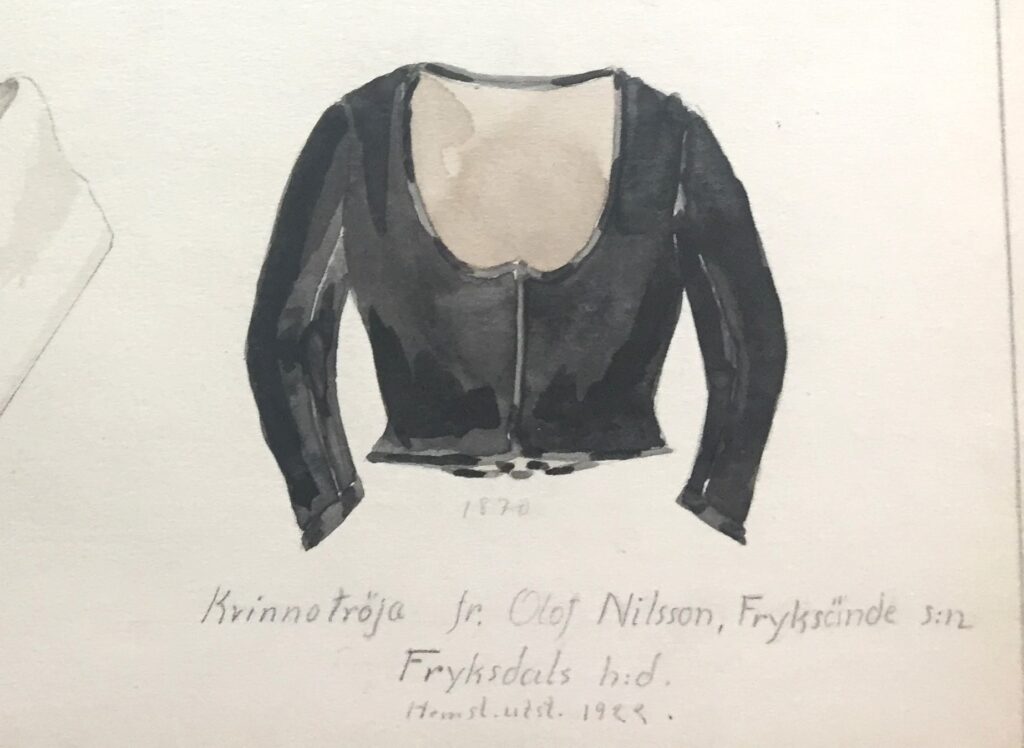
Tröja Fryksände från 1870. 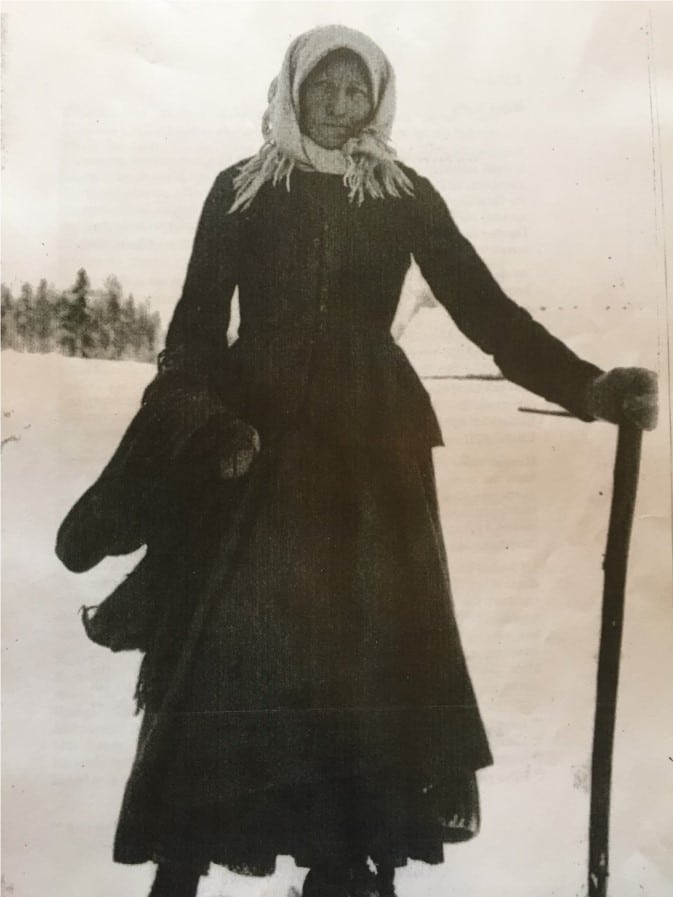
En äldre finne i Bograngen, Södra Finnskoga 1886 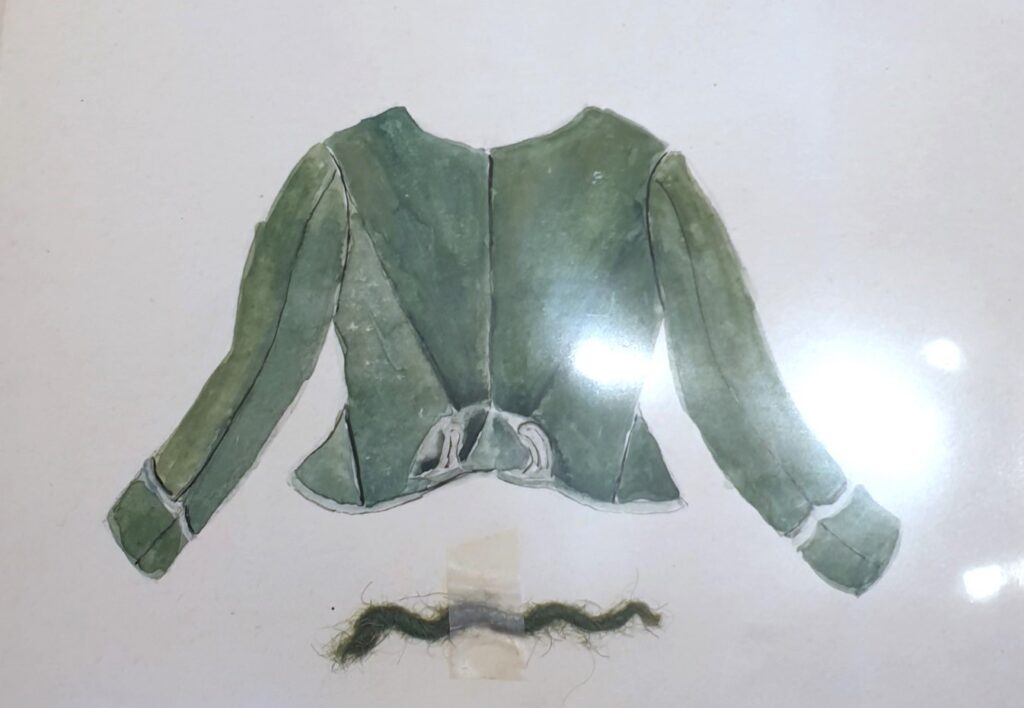
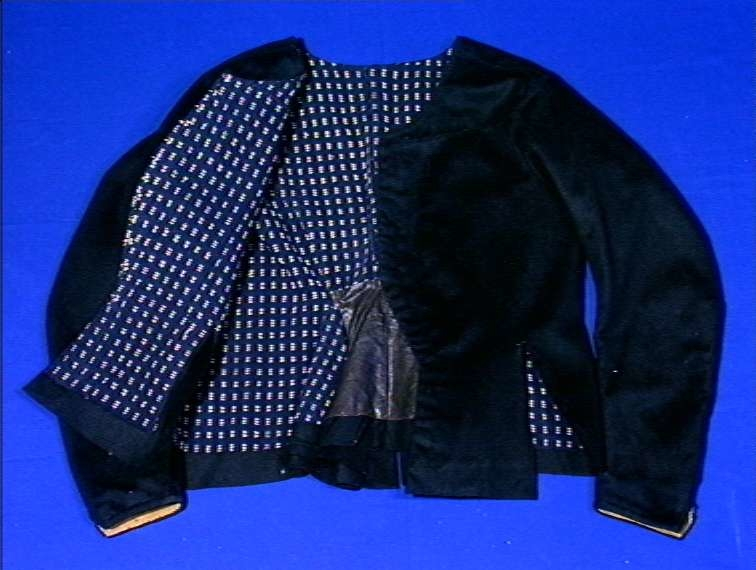
Grön tröja i schagg från Eda, Jösse hd. Brann tyvärr upp i branden på hembygdsgården i Arvika. 
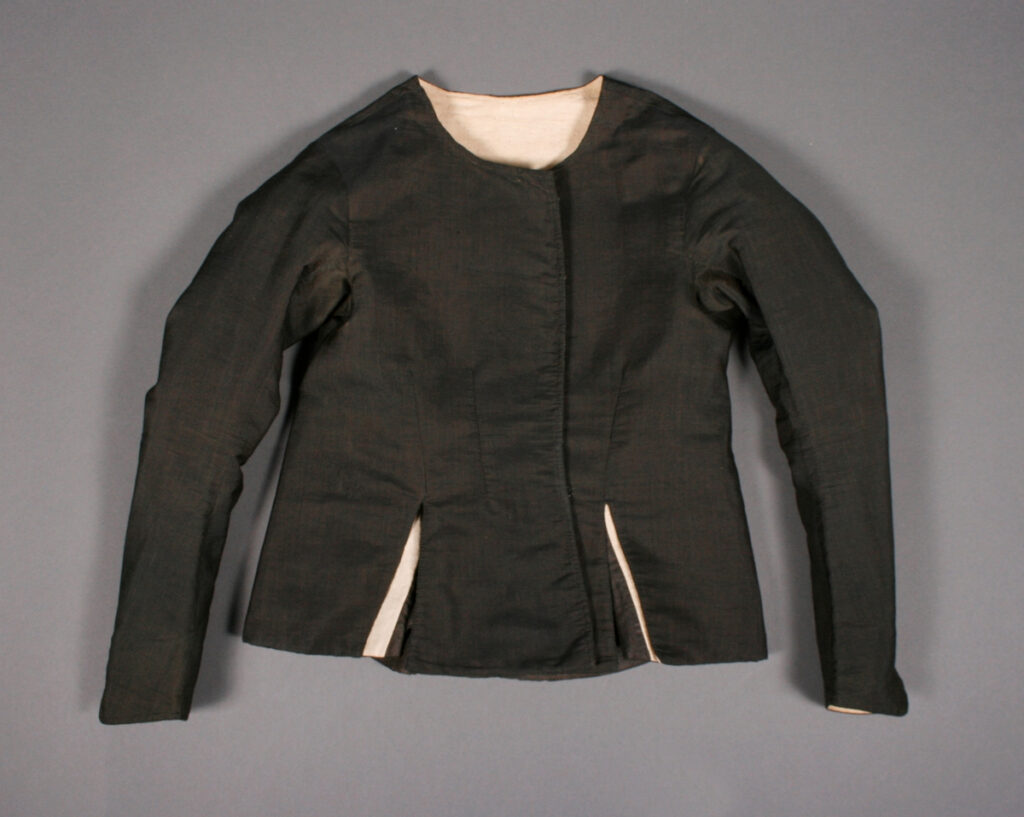
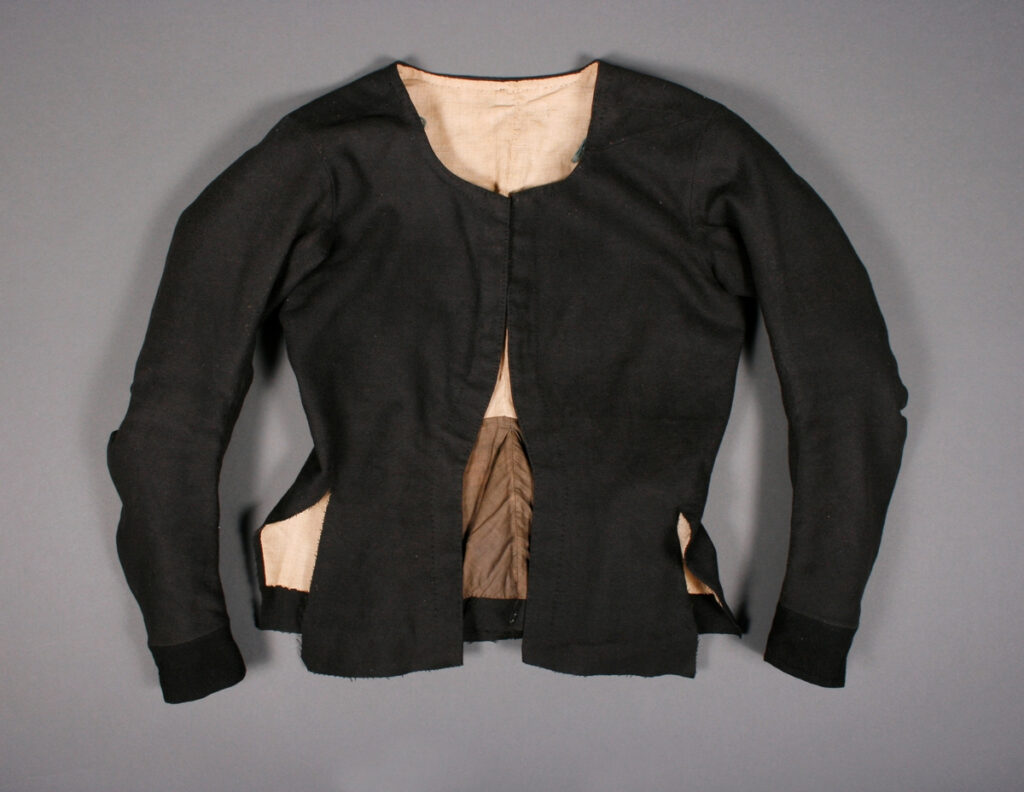
Svart tröja i kläde från Älgå, Jösse hd. VM.6737 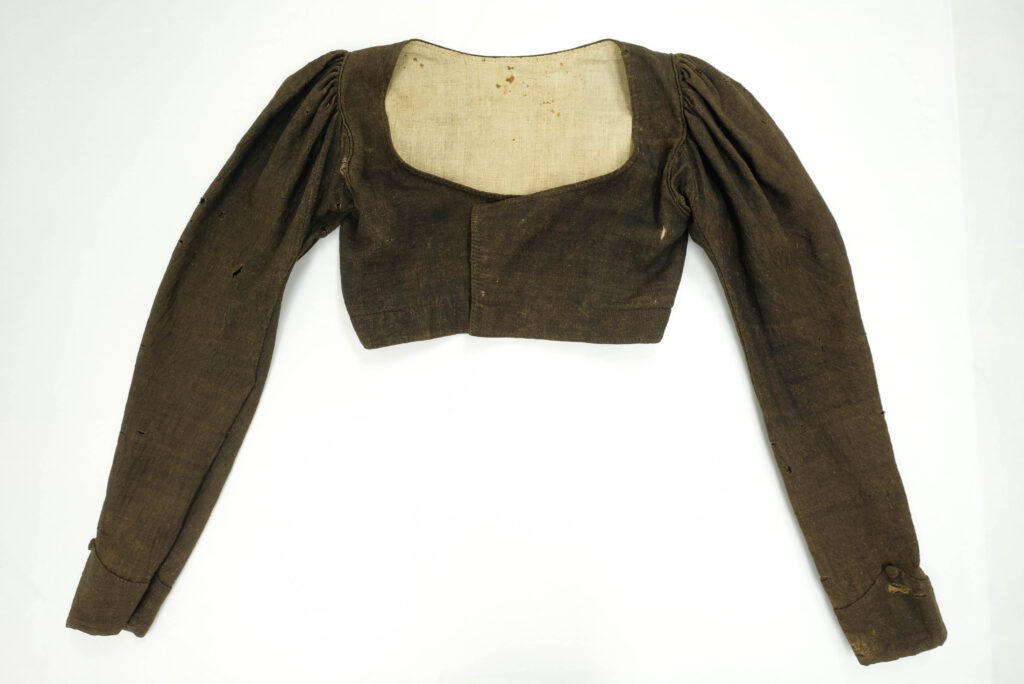
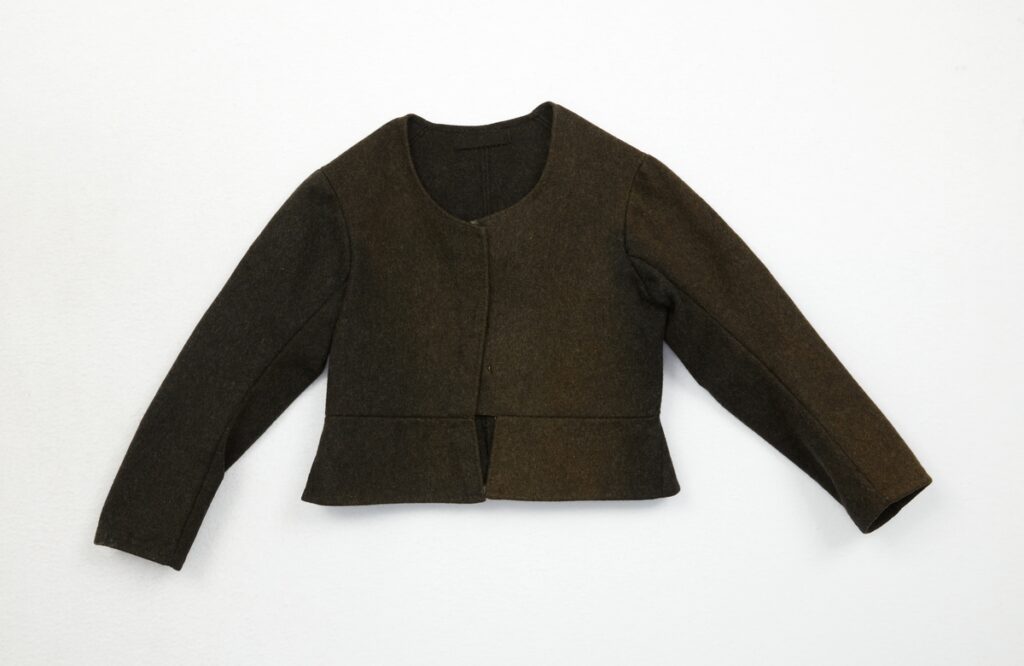
Brun tröja i tuskaft från Köla, Jösse hd. VM.3880. 
Tröja från Normark. NM.0001405 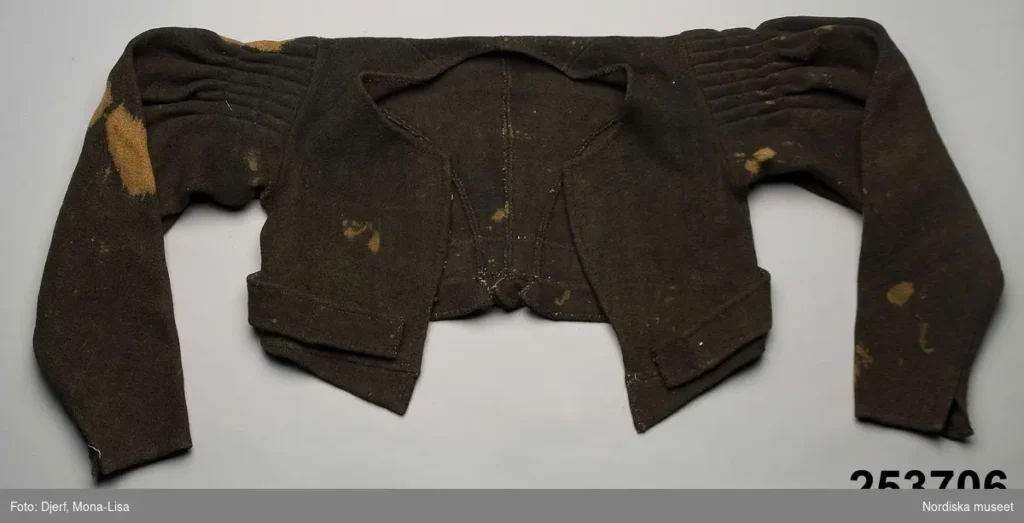
Brunsvart tröja från Ekshärad. NM.0253706 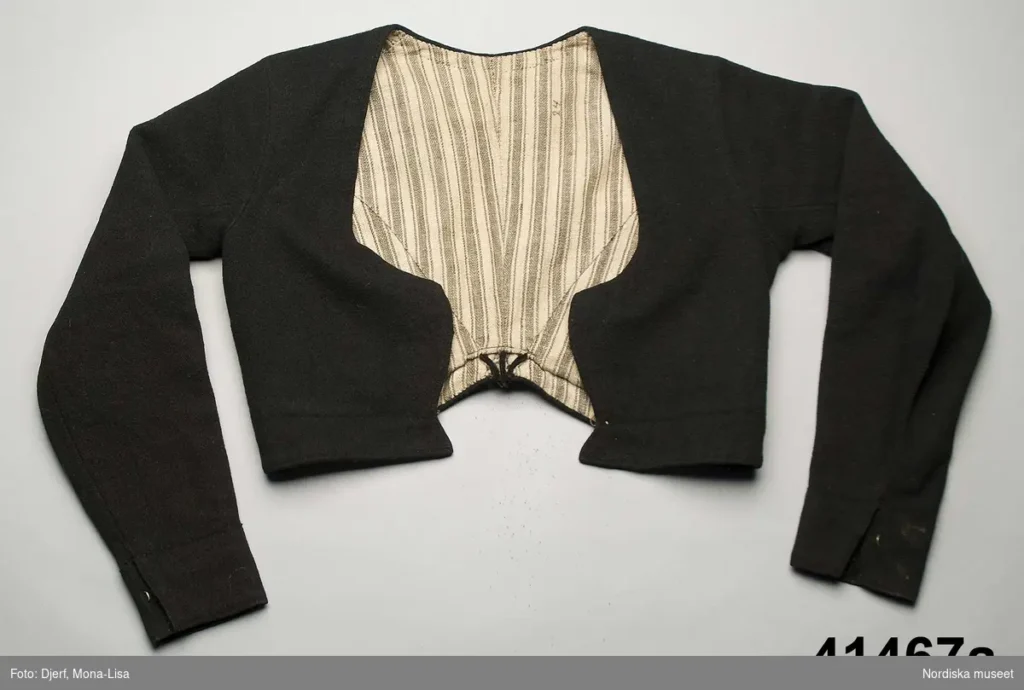
Svart tröja från Norra Ny, Älvdals hd. NM.0041467A 
Svart tröja från Särna, Dalarna. 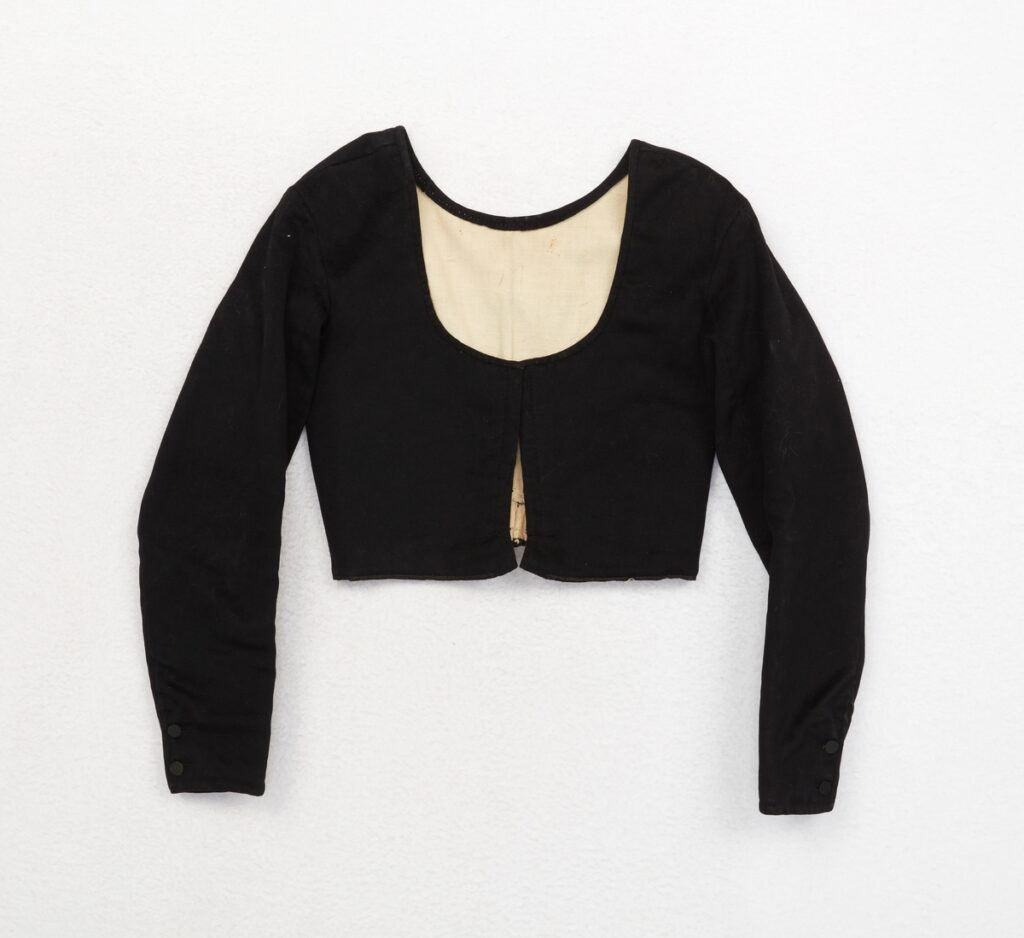
Svart tröja Svärdsjö, Enviken, Dalarna. 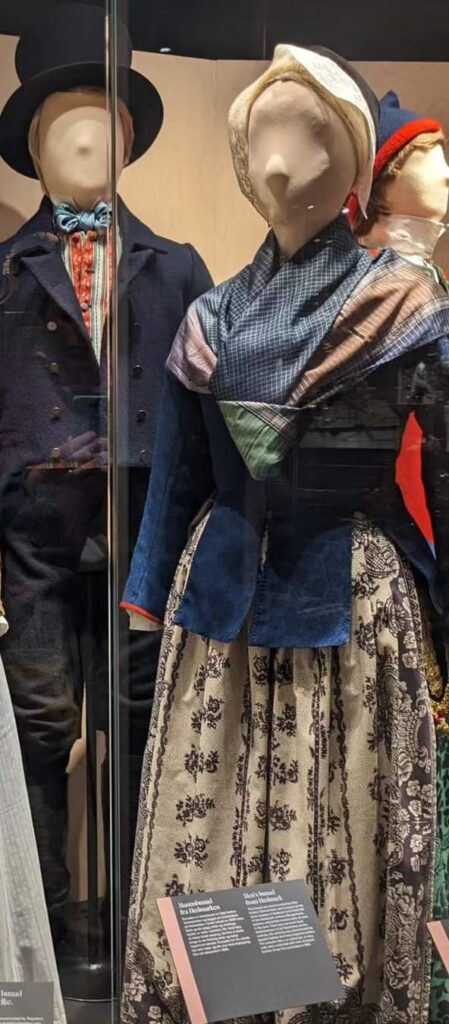
Tröja utställd på Valdres museum. Sydd 1903 för Nord-tröndelags bunad. 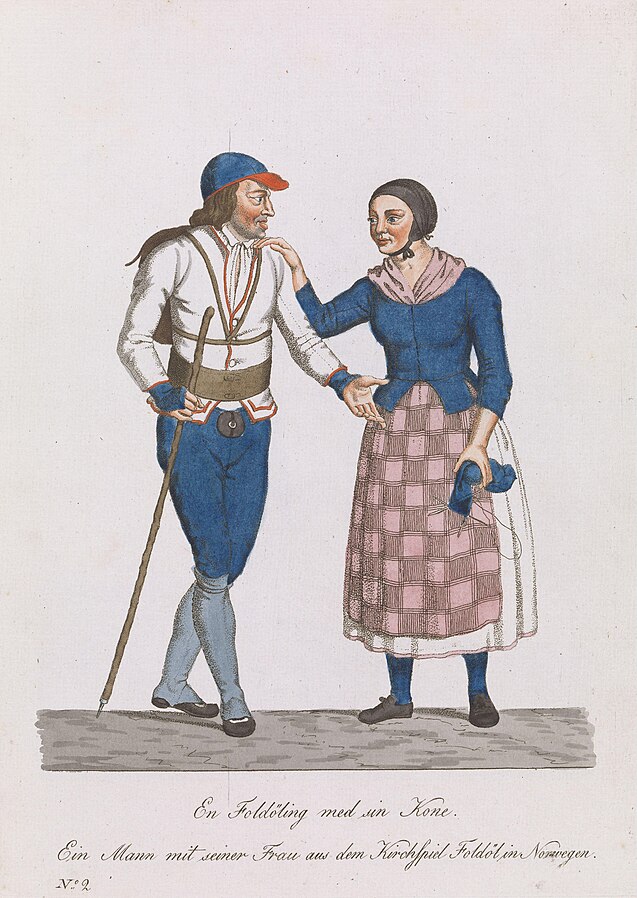
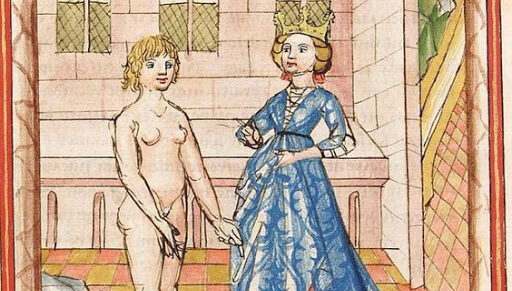
”En Foldöling med sin Kone.”Johann Henrik Senn og Johan F.L. Dreier. Ca 1812. Kvinna i blåtröja. Norra Hedmark. 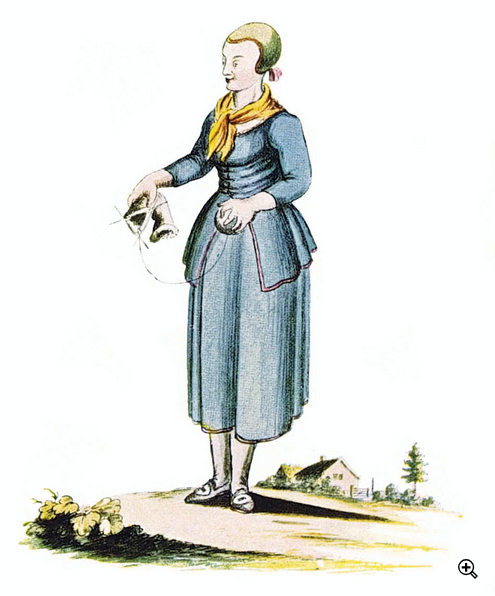
”Bondepige fra Hedemarken.” Akvarell av Dreier fra ca. 1800. Kvinna i blåtröja med långt skört, dock inga slitsar. 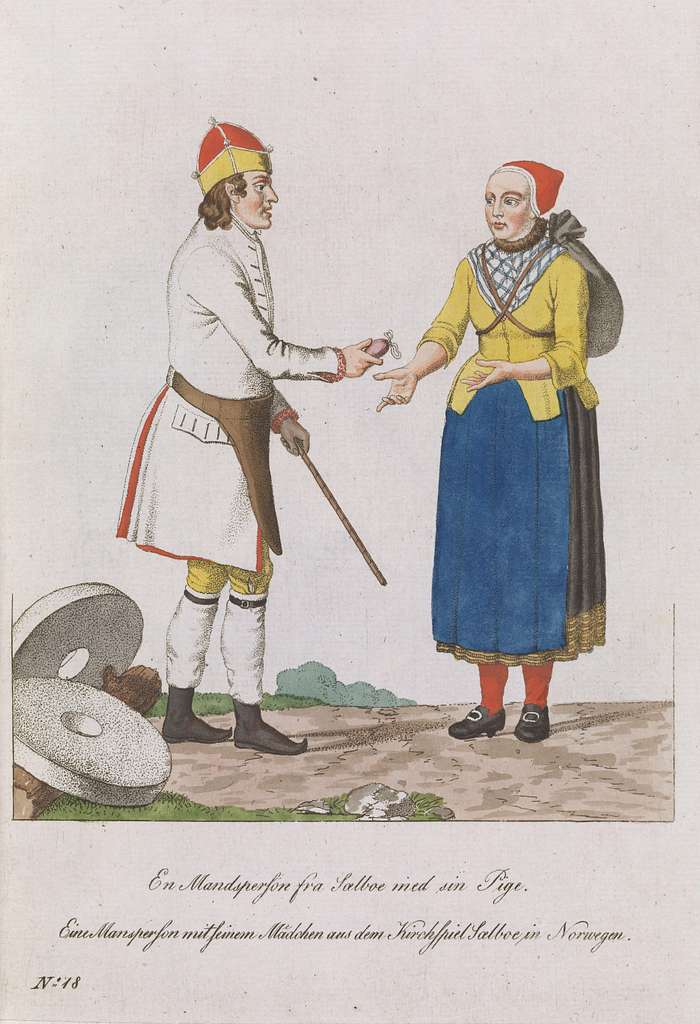
”En Mansperson fra Salboe med sin Pige.”Johann Henrik Senn og Johan F.L.Dreier. Ca 1812. Kvinna i blåtröja. Södra Tröndelag. 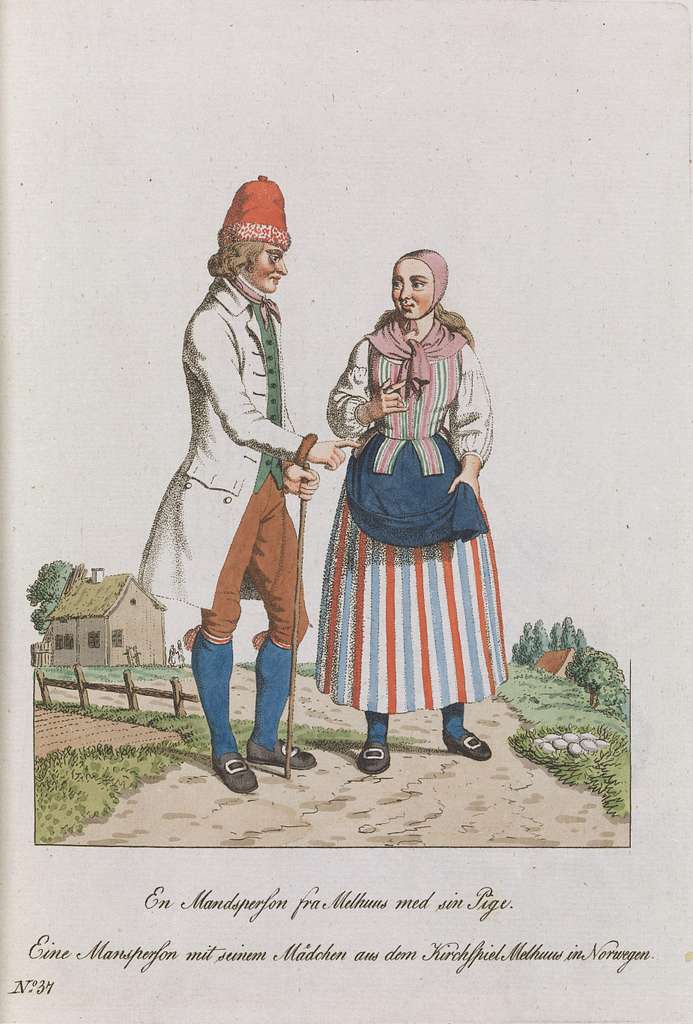
”En Mansperson fra Melhus med sin Pige.” Johann Henrik Senn og Johan F.L. Dreier. Ca 1812. Kvinna i kalminklivstycke. Tröndelag. 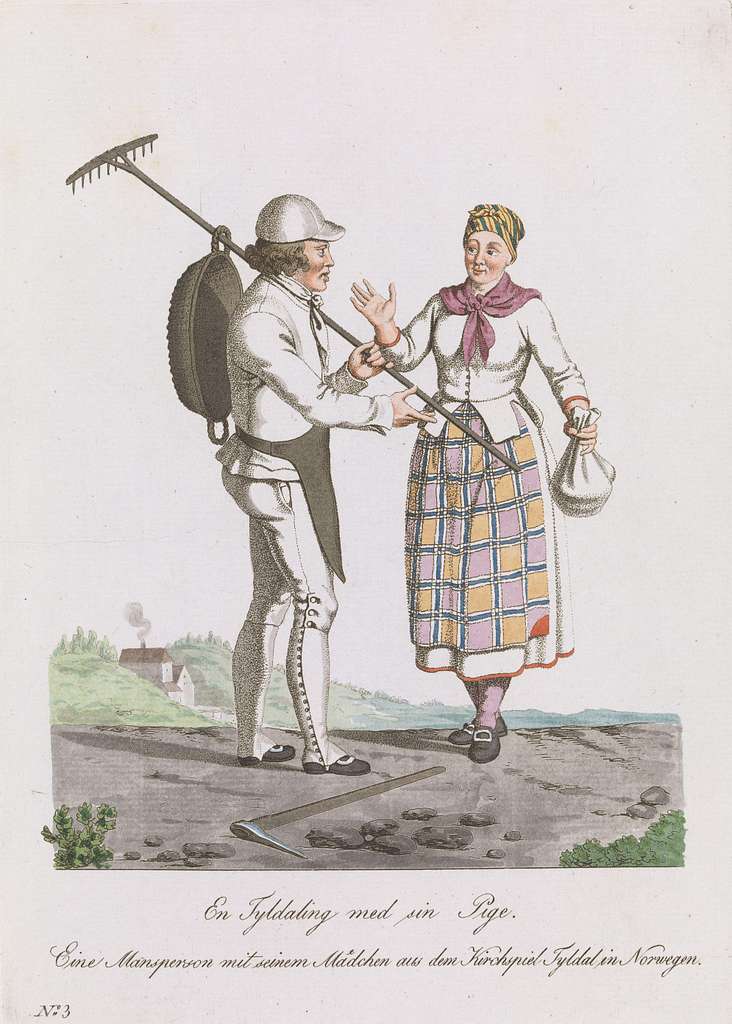
”En Tydaling med sin Pige.” Johann Henrik Senn og Johan F.L. Dreier. Ca 1812. Kvinna i vittröja. Norra Hedmark. 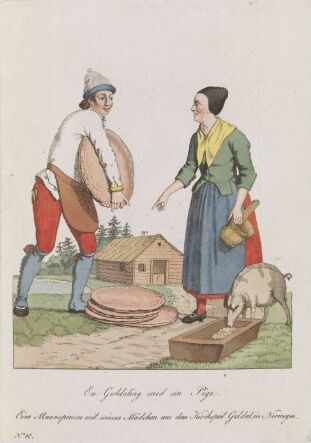
”En Guldaling med sin Pige.” Johann Henrik Senn og Johan F.L. Dreier. Ca 1812. Kvinna i gröntröja. Södra Tröndelag. 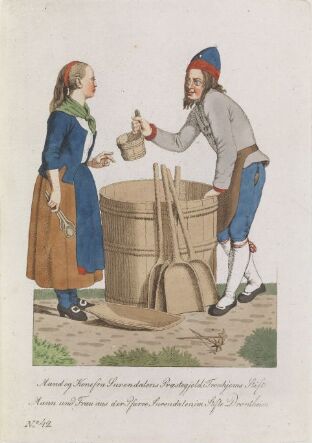
”Mann og kone fra Surendalens Prestgjeldi.” Johann Henrik Senn og Johan F.L. Dreier. Ca 1812. Kvinna i blåtröja. 
Røros 1840-1880 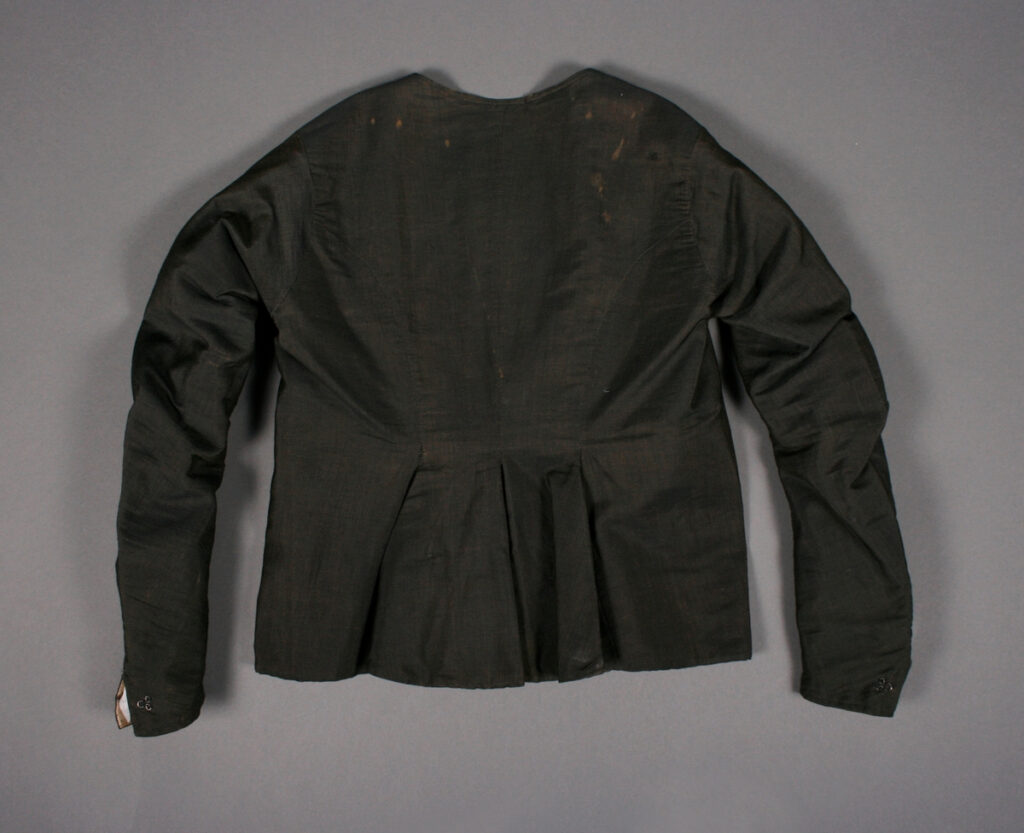
Røros 1890 FTT.01459 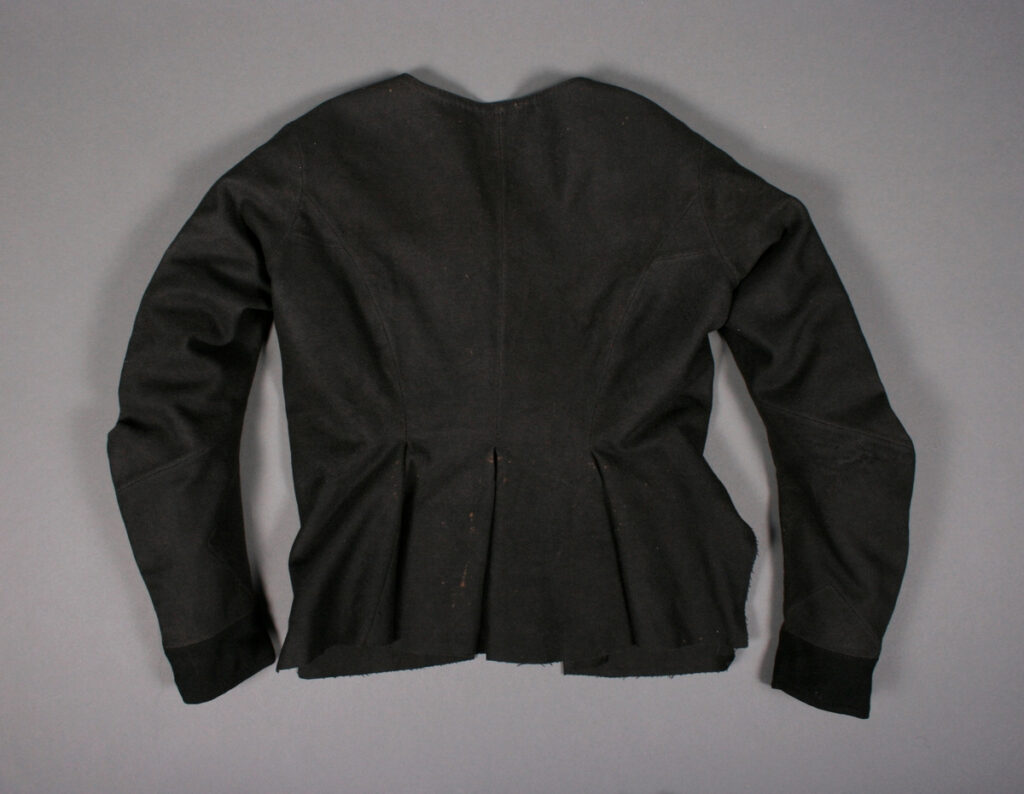
Tröja från Röros 1914 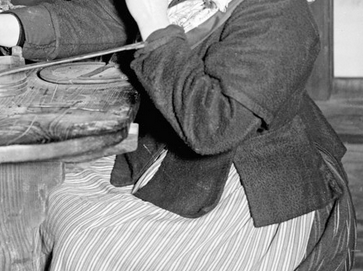

-
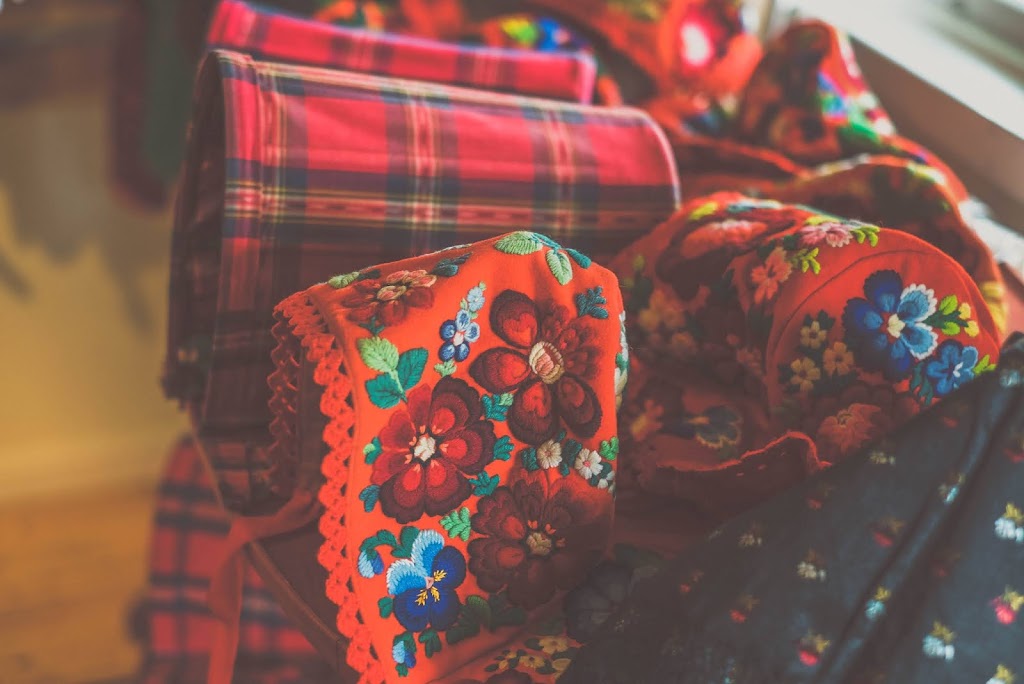
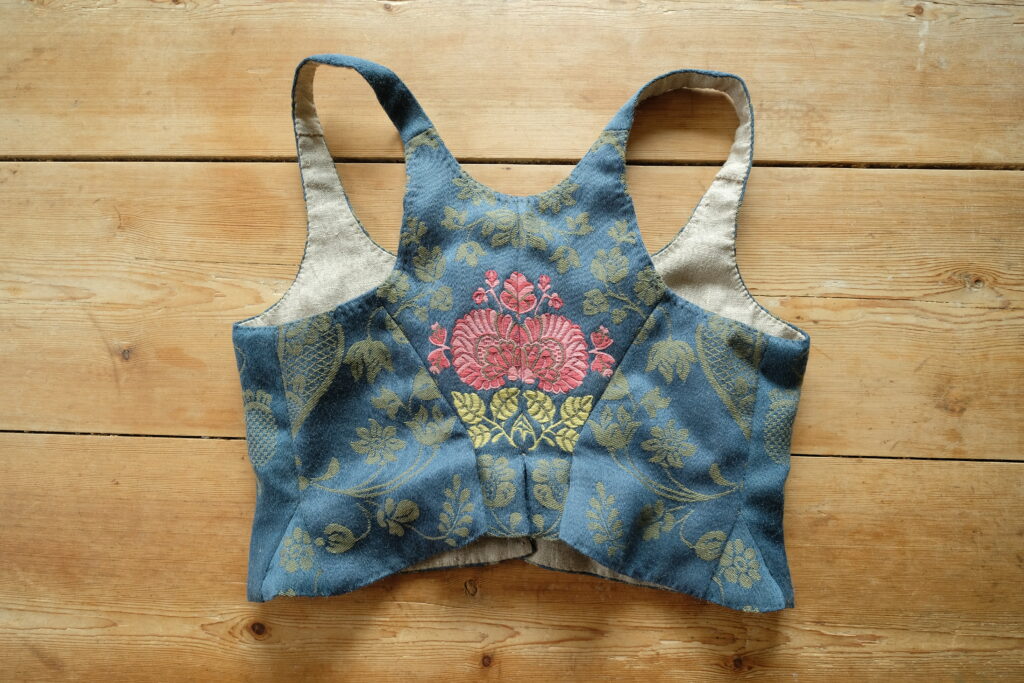
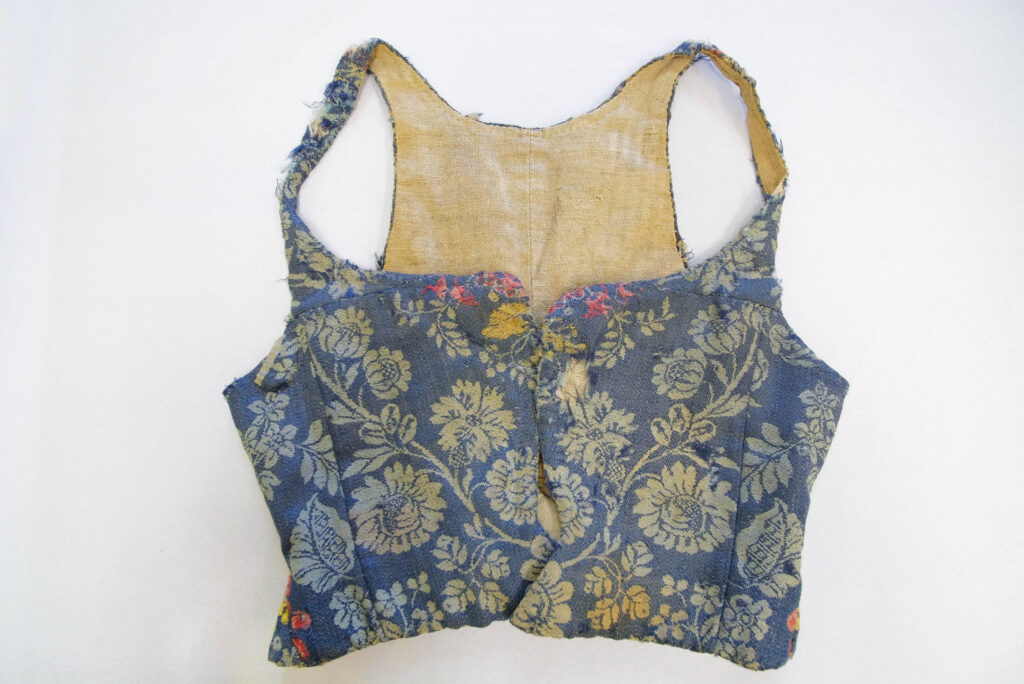
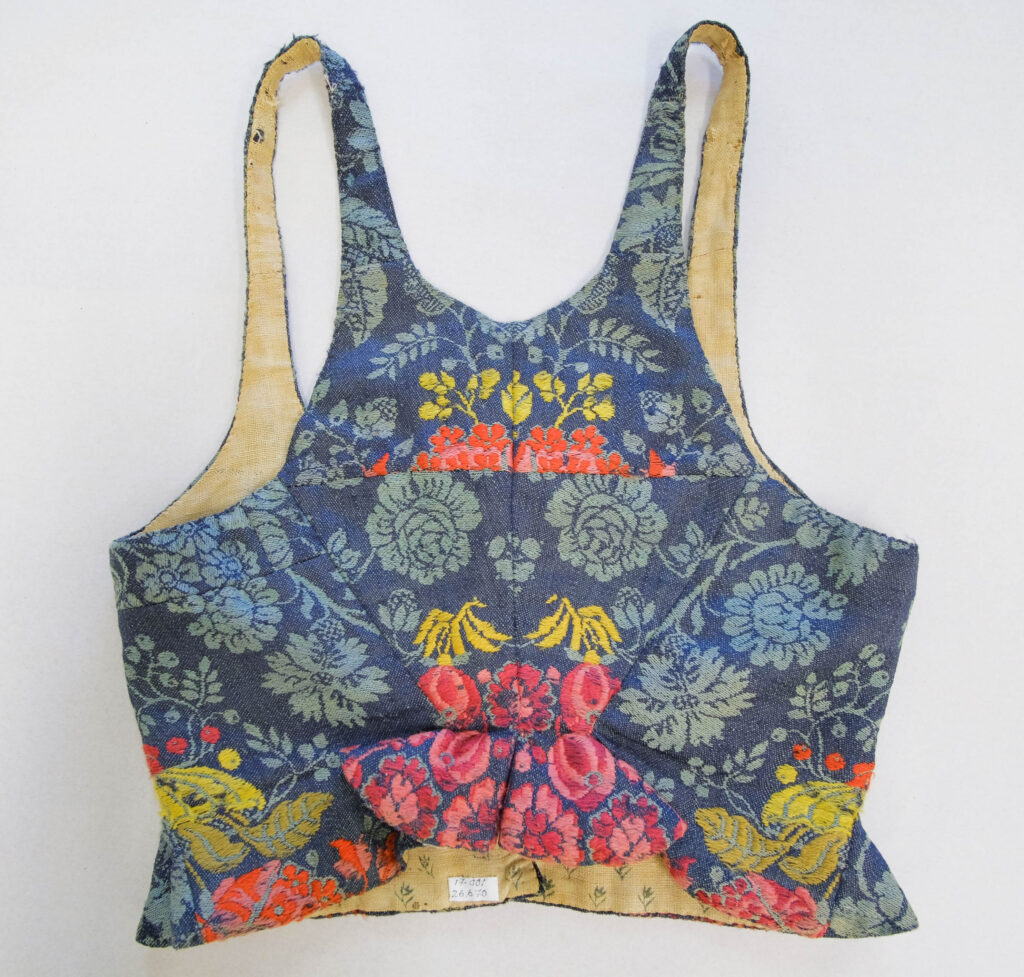
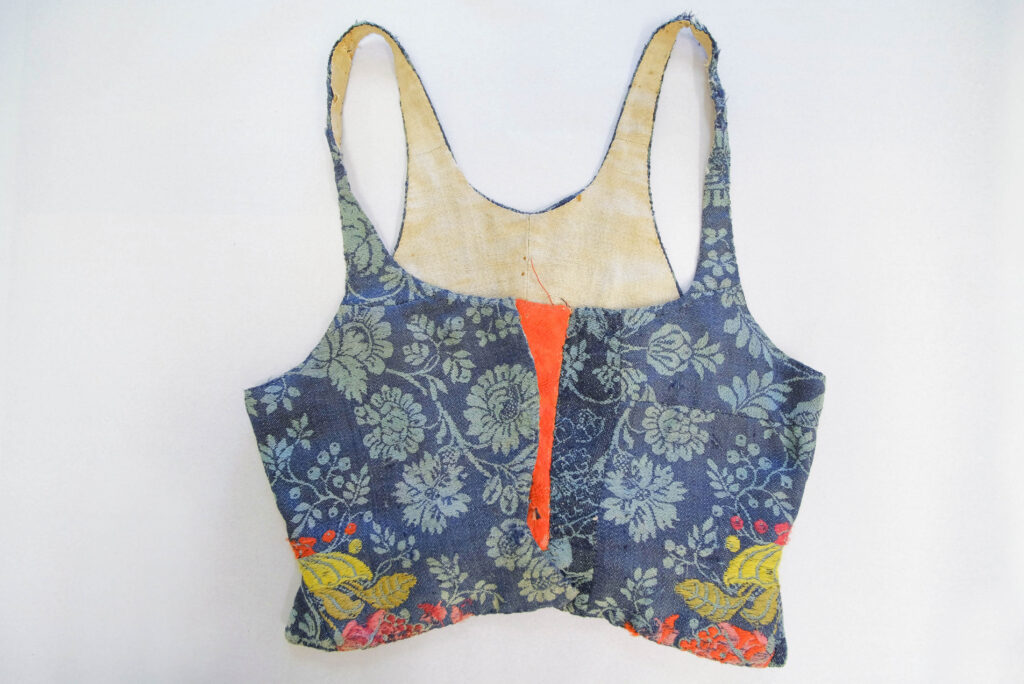
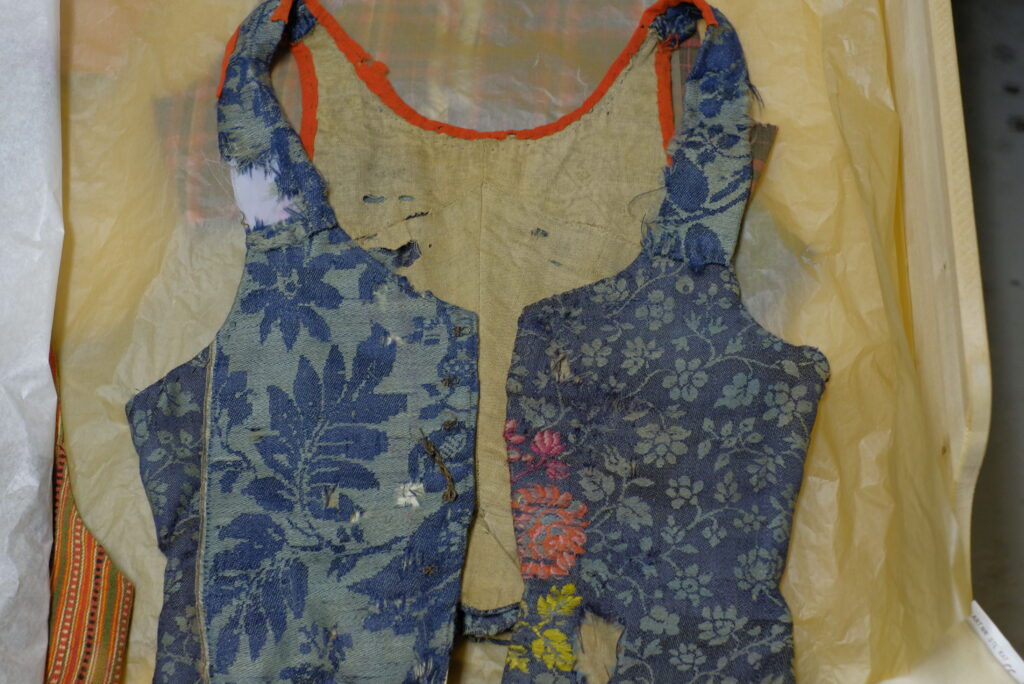
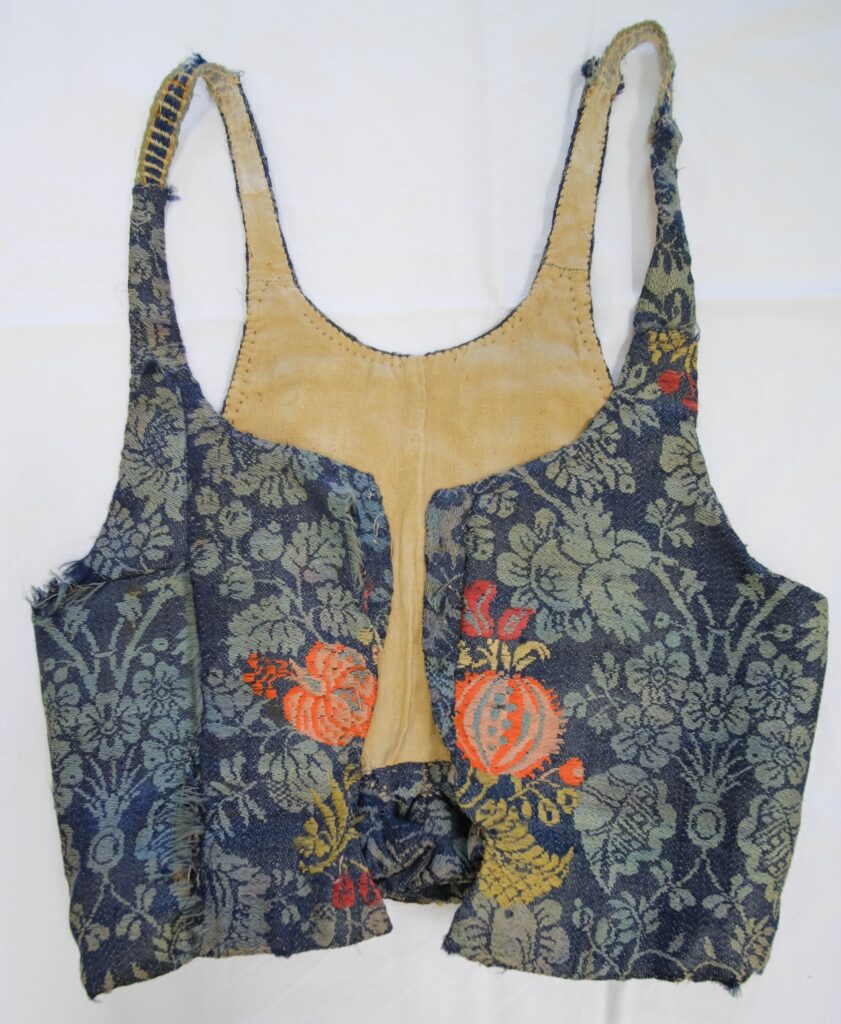
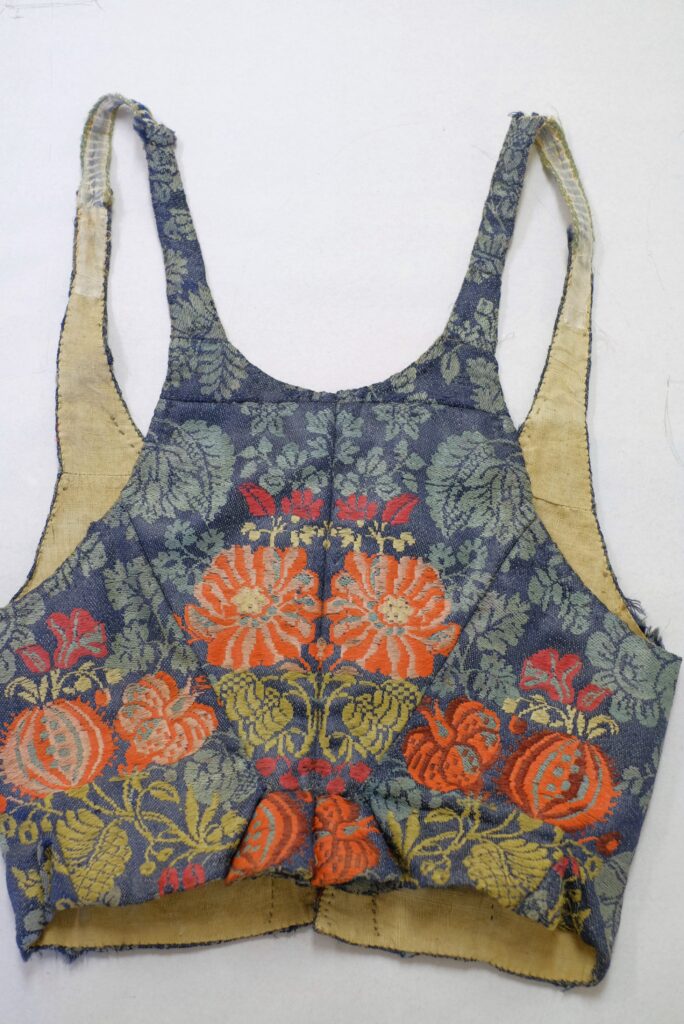
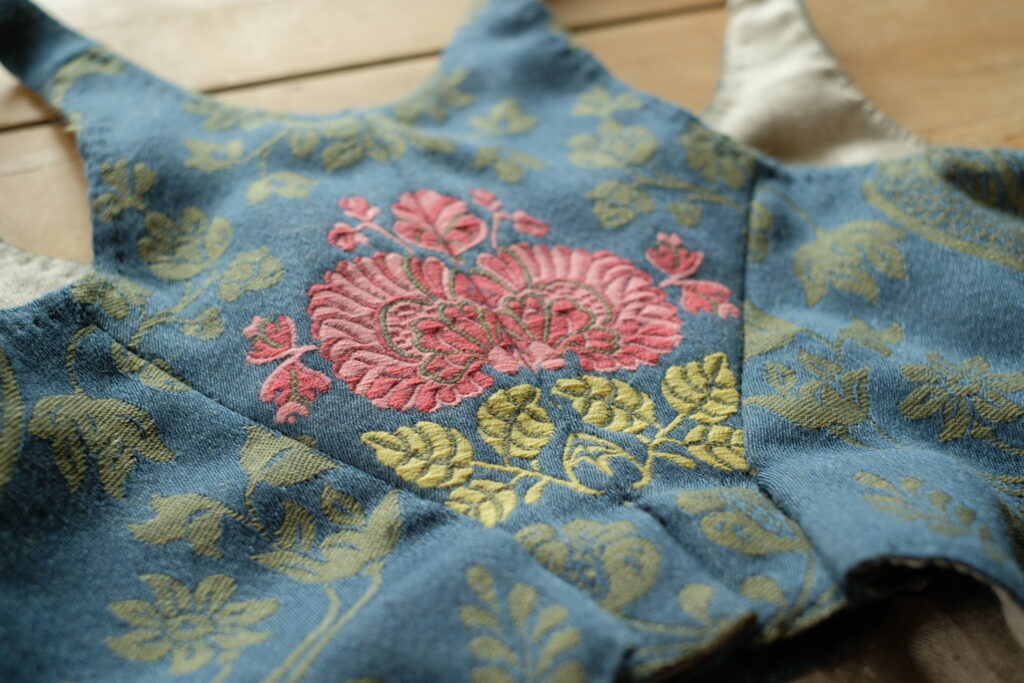
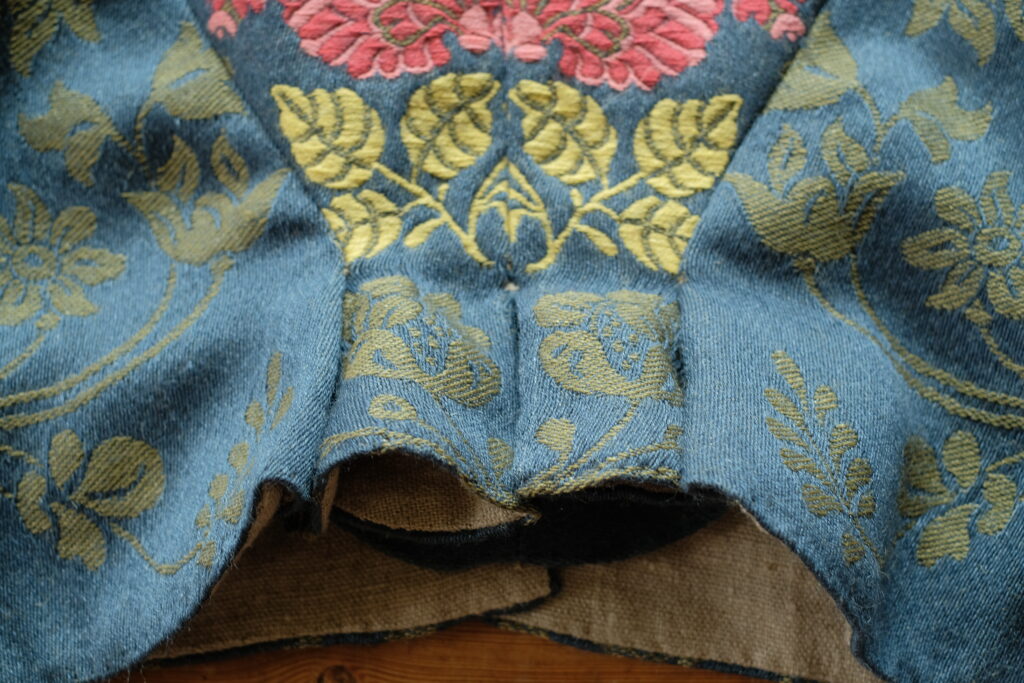
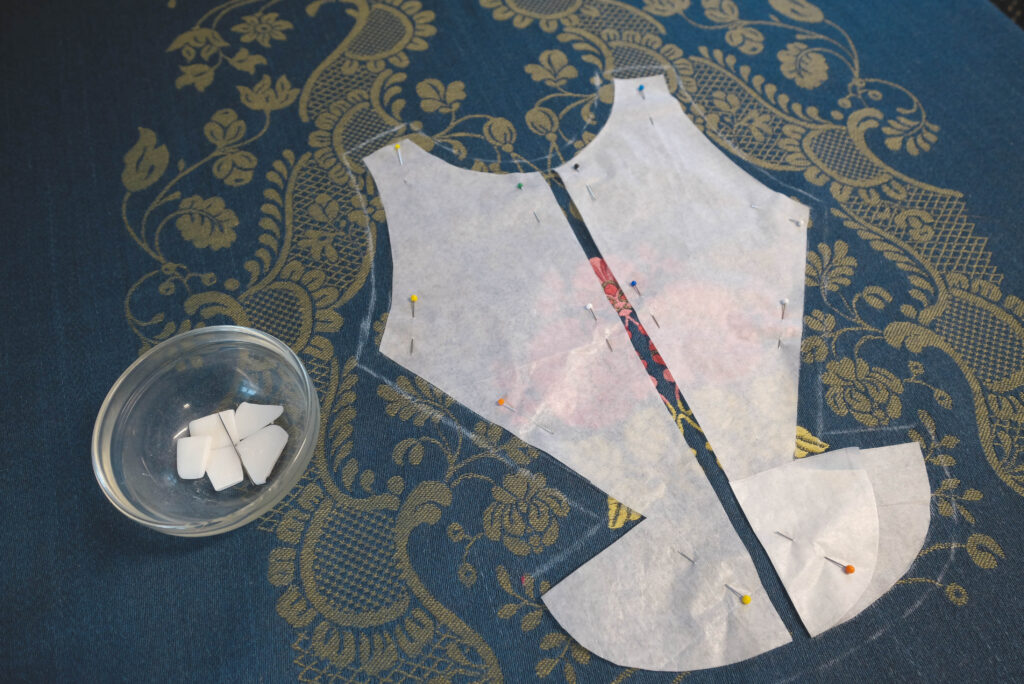
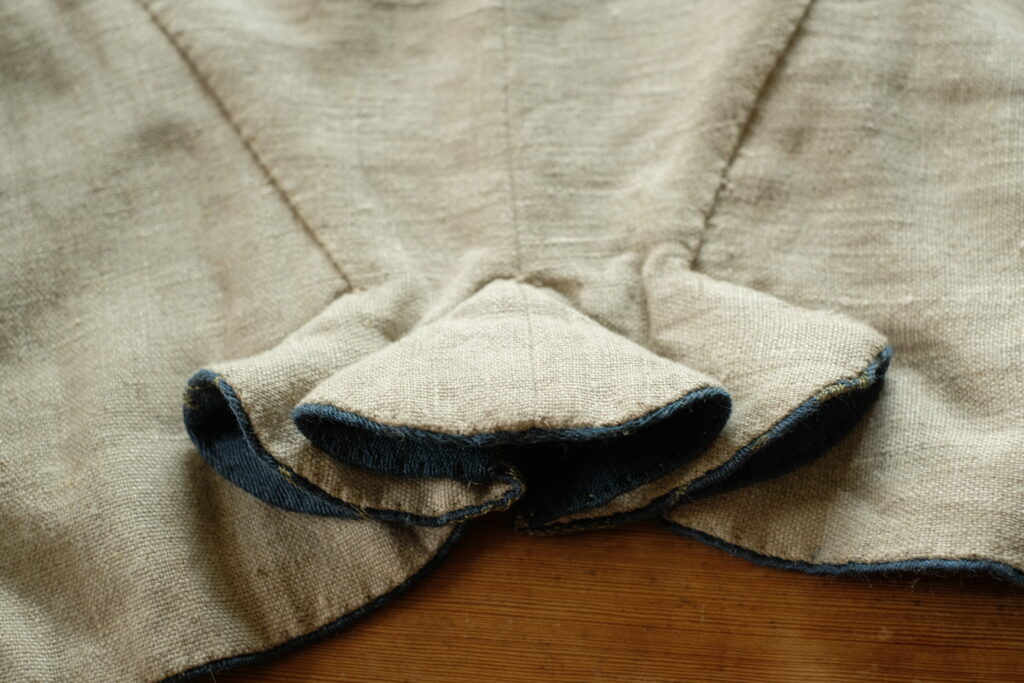
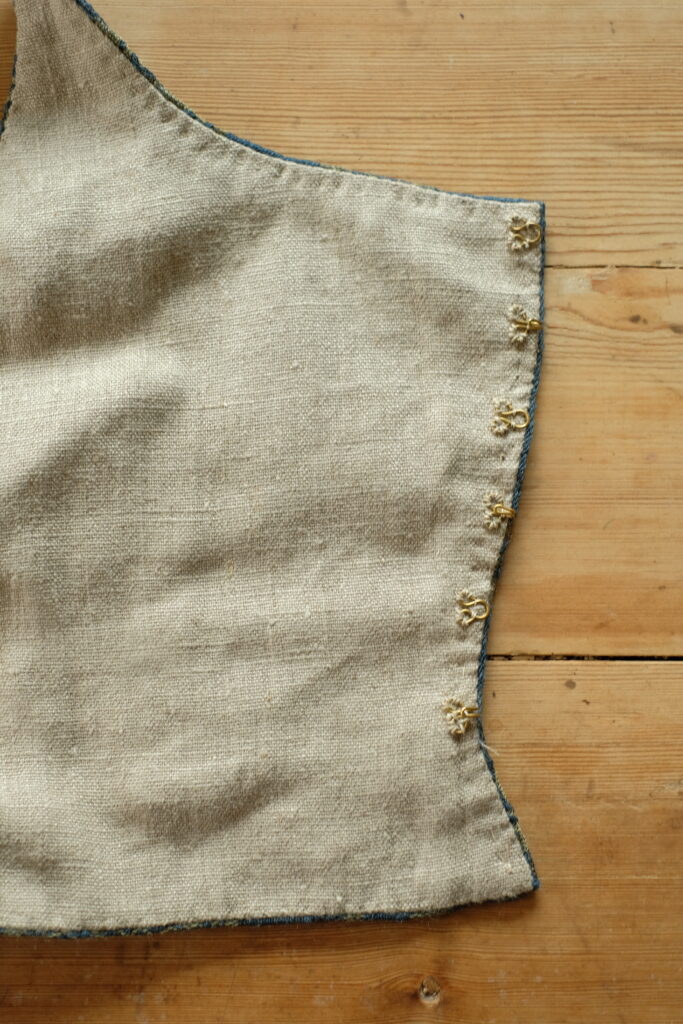
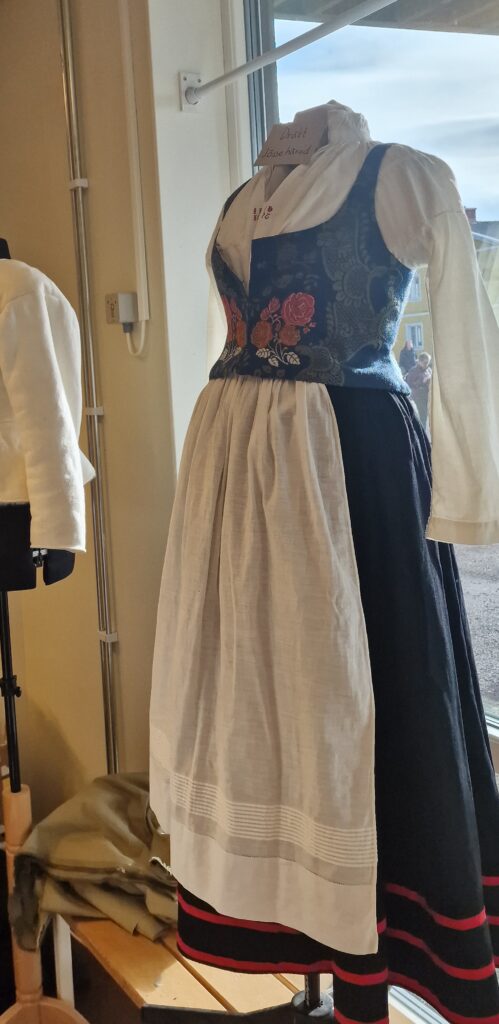
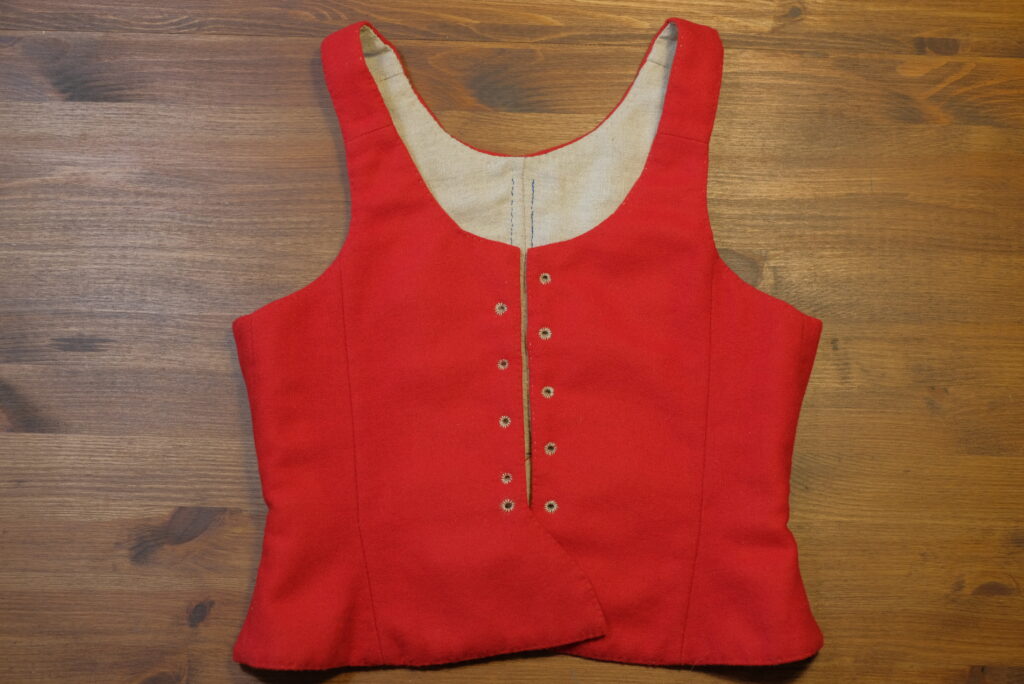
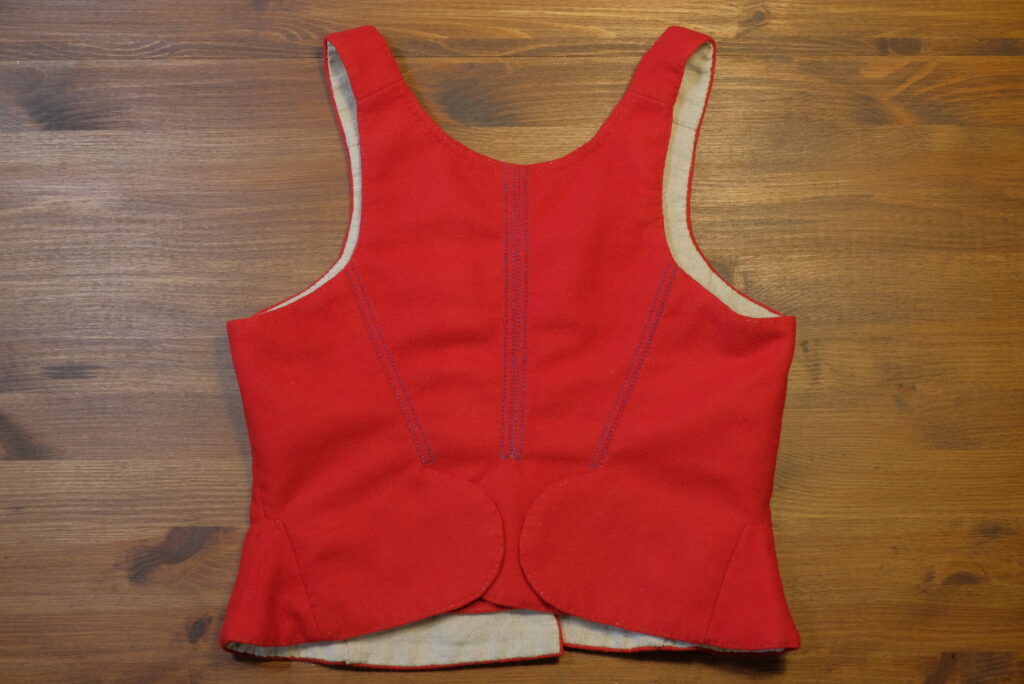
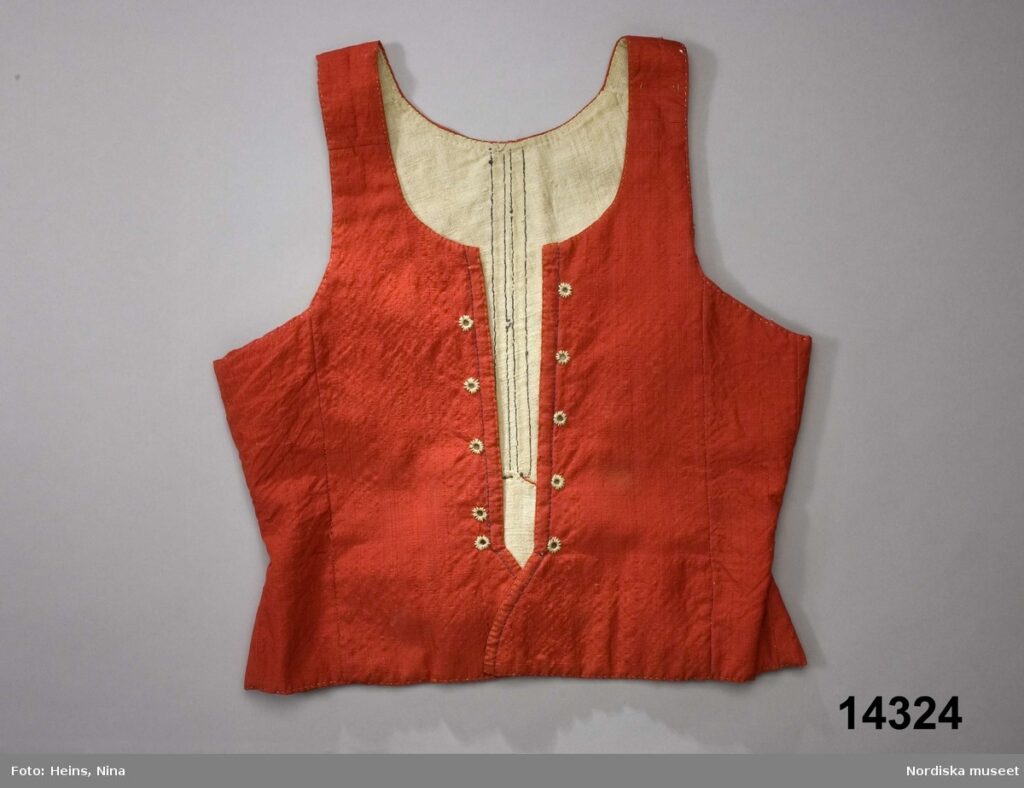
Blå blommiga livstycken från Jösse hd.


-
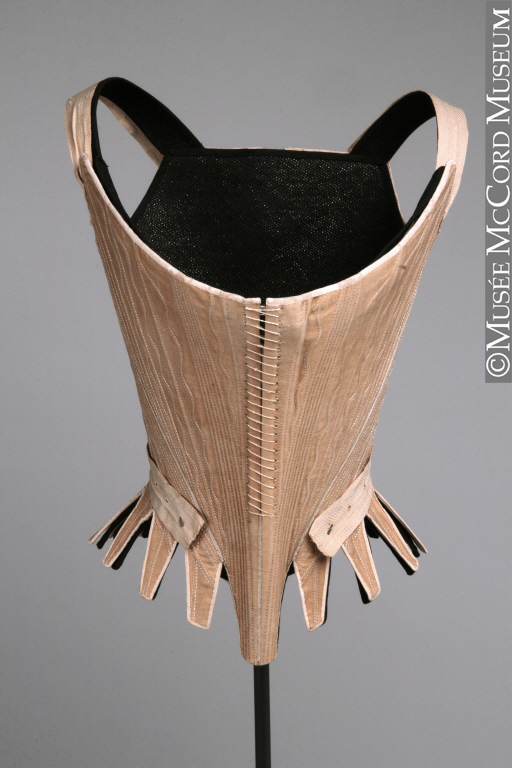
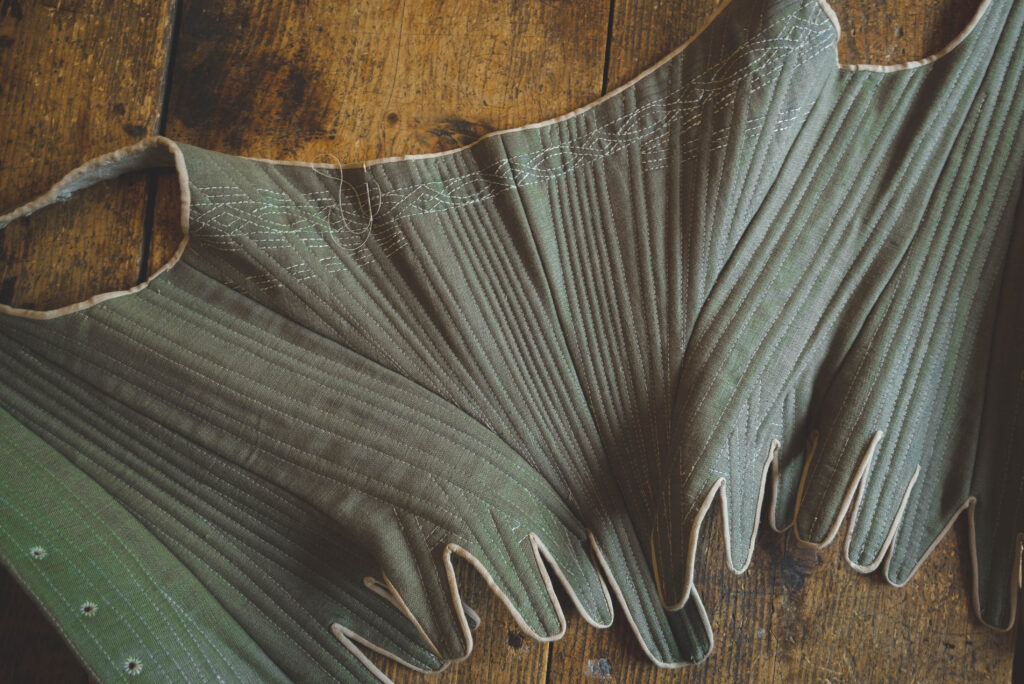
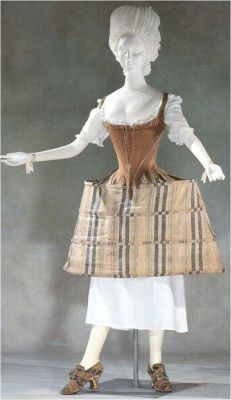
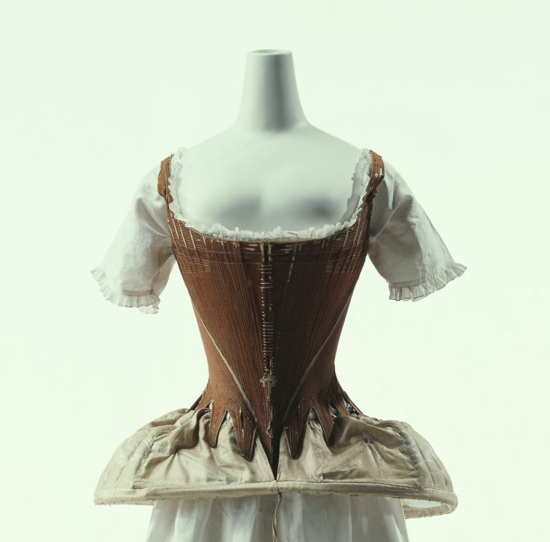
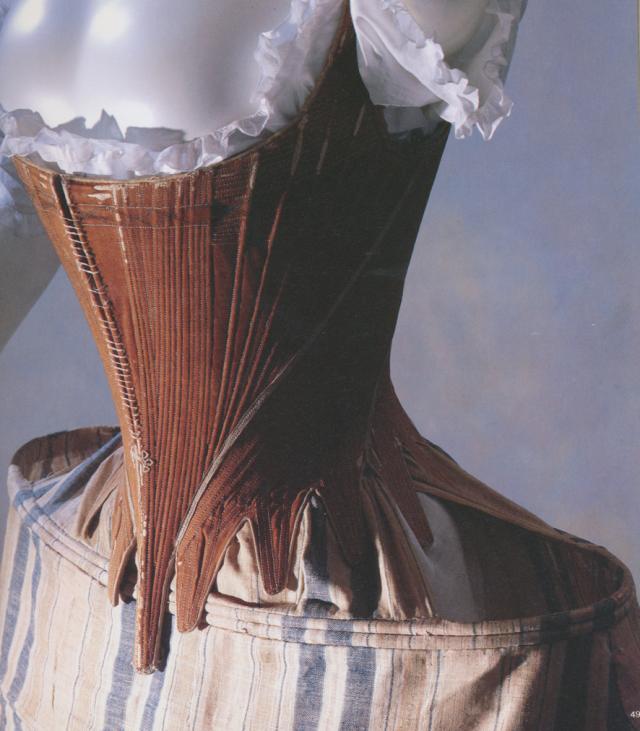
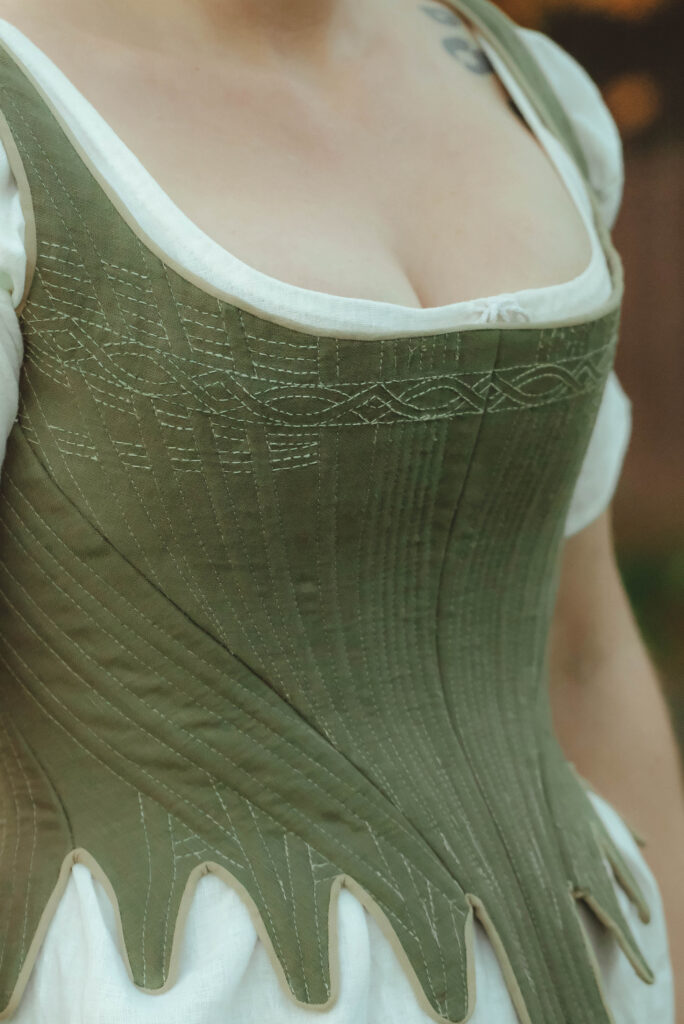
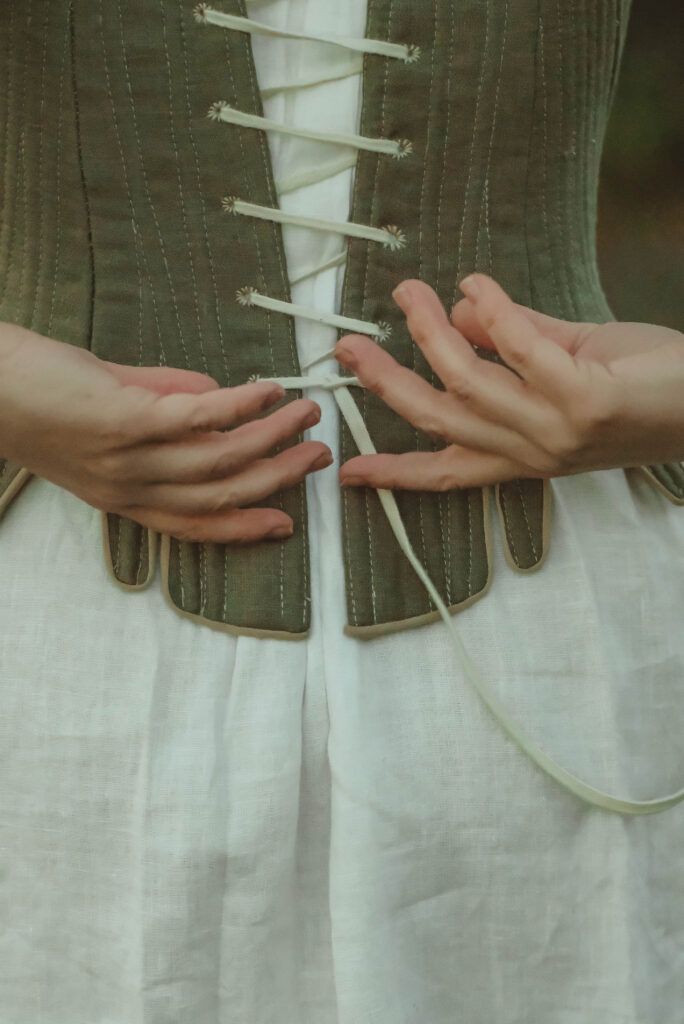
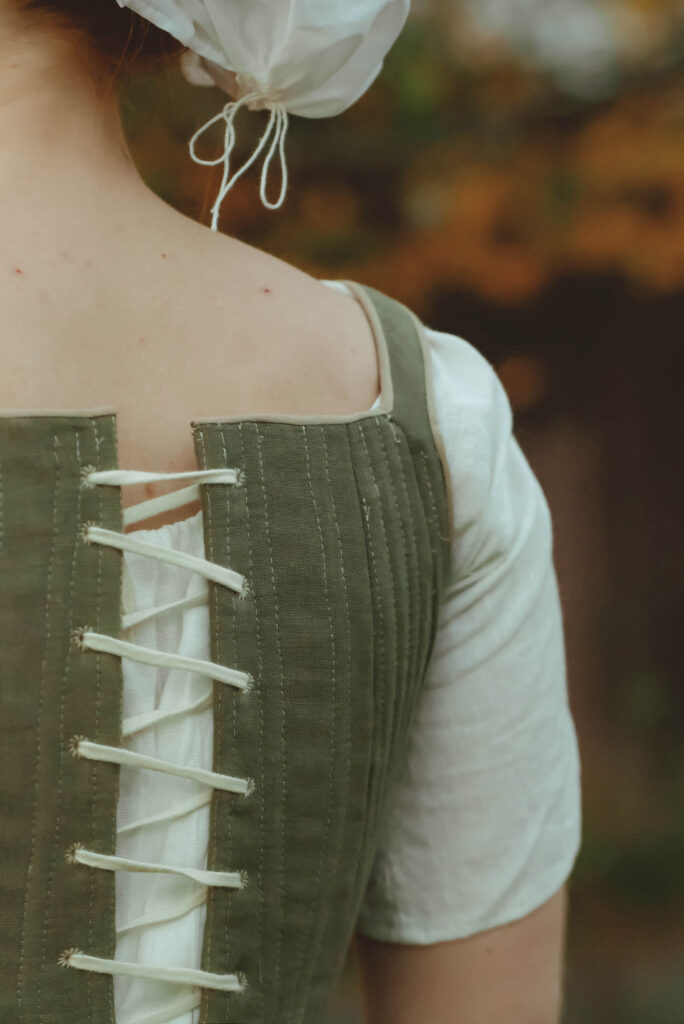
Green 18th century Kyoto stays

You May Also Like
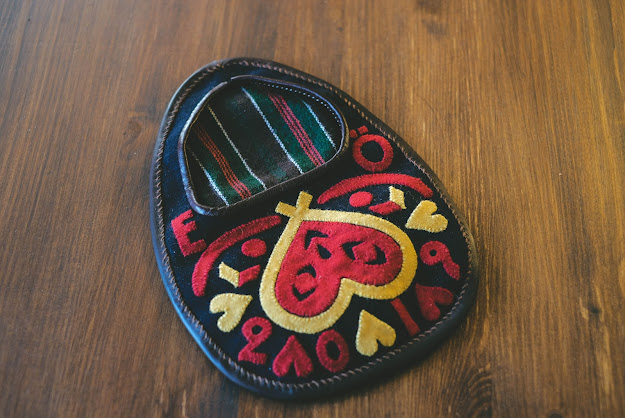
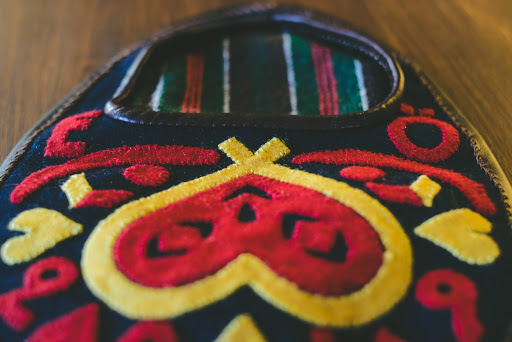
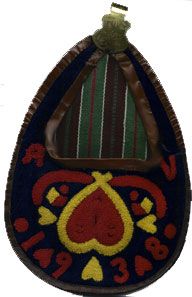
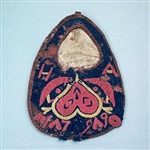
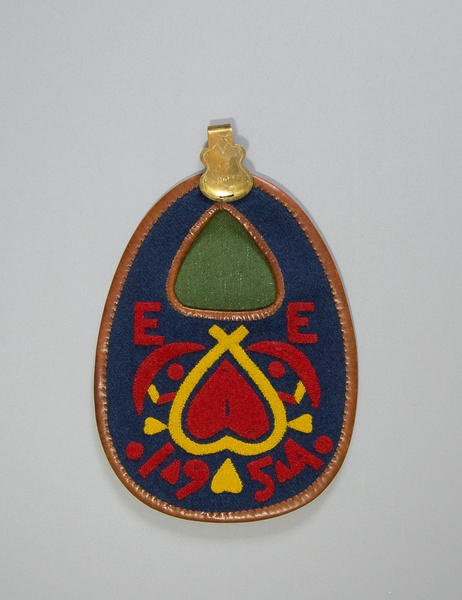
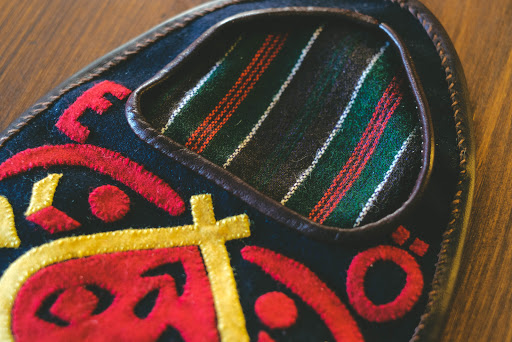
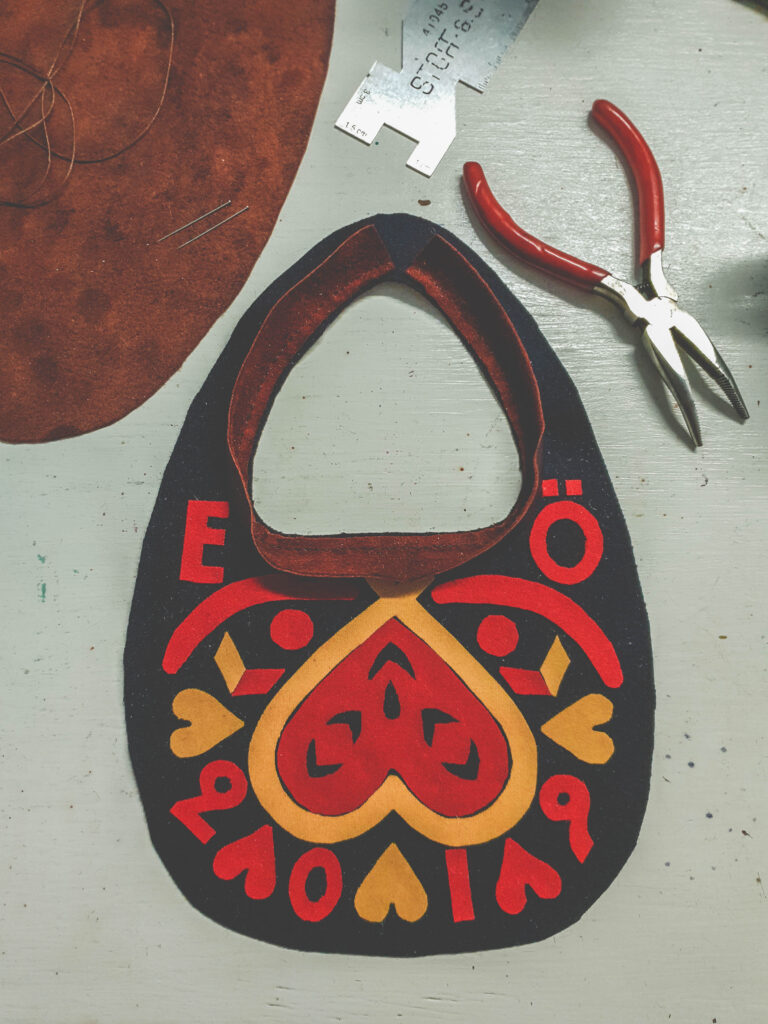
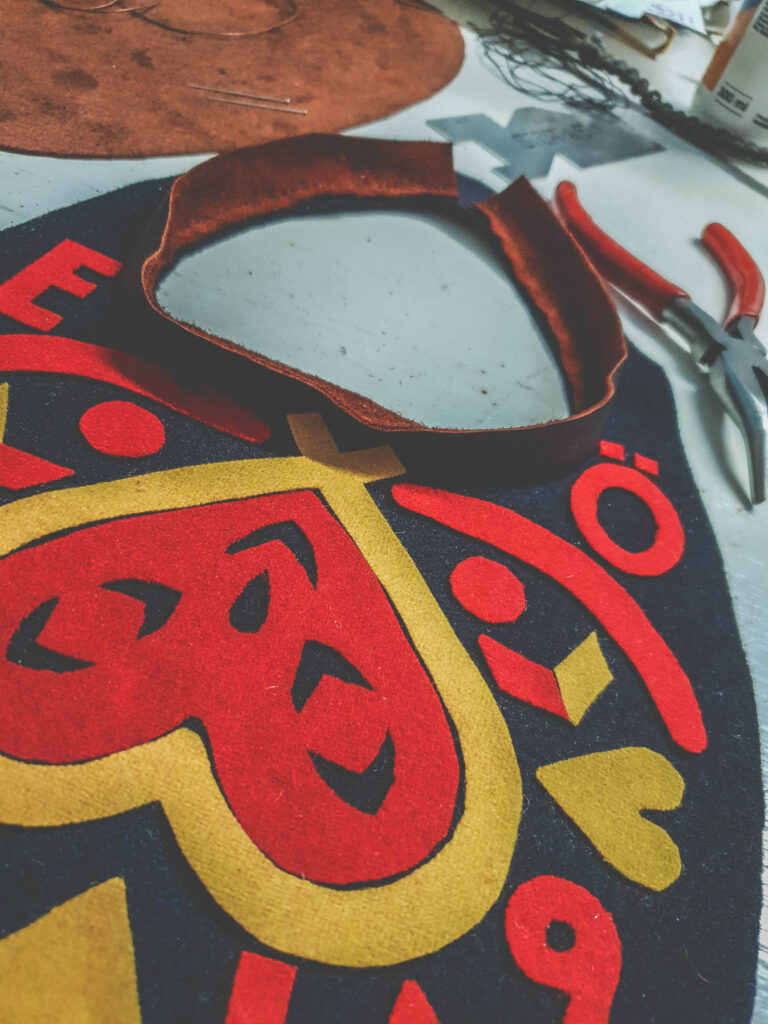
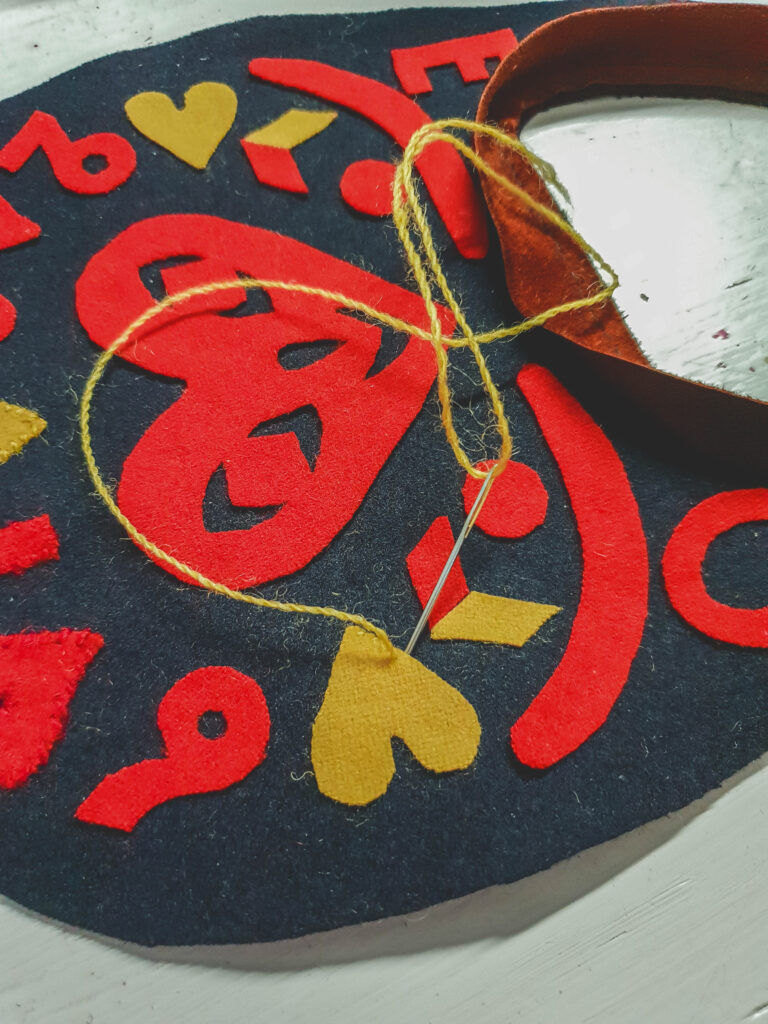
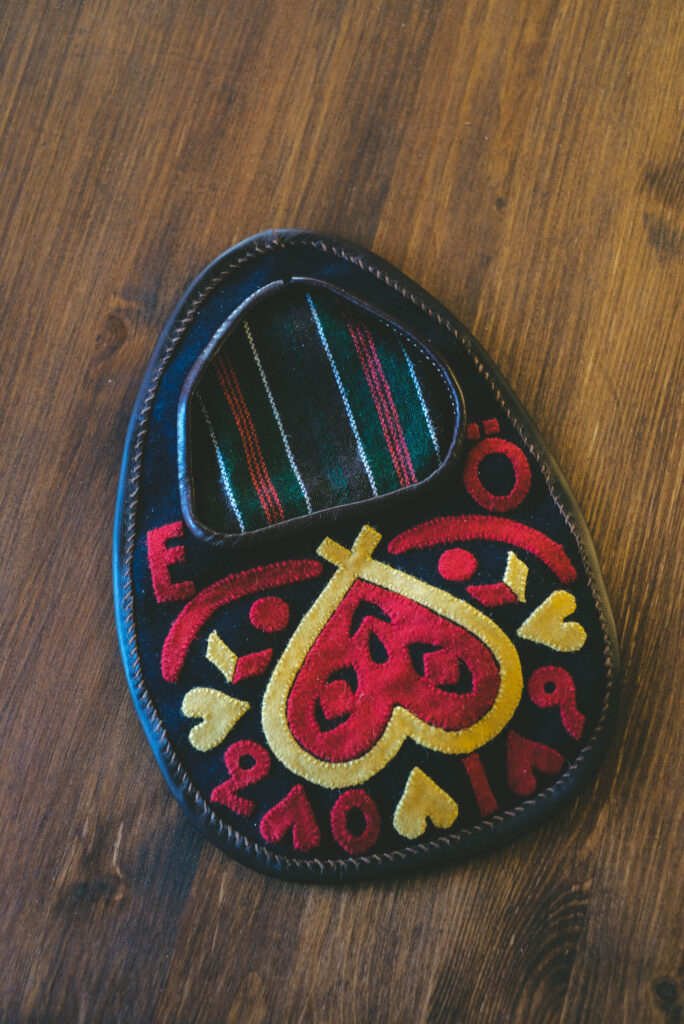
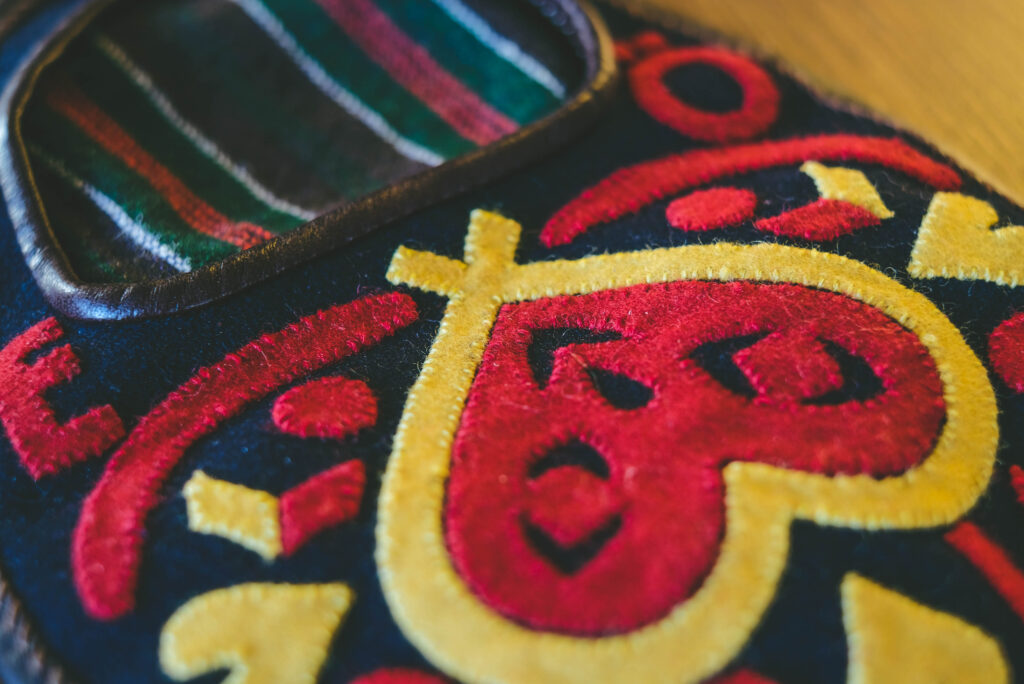
Kjolsäck stigsjö ångermanland
18th century pockets
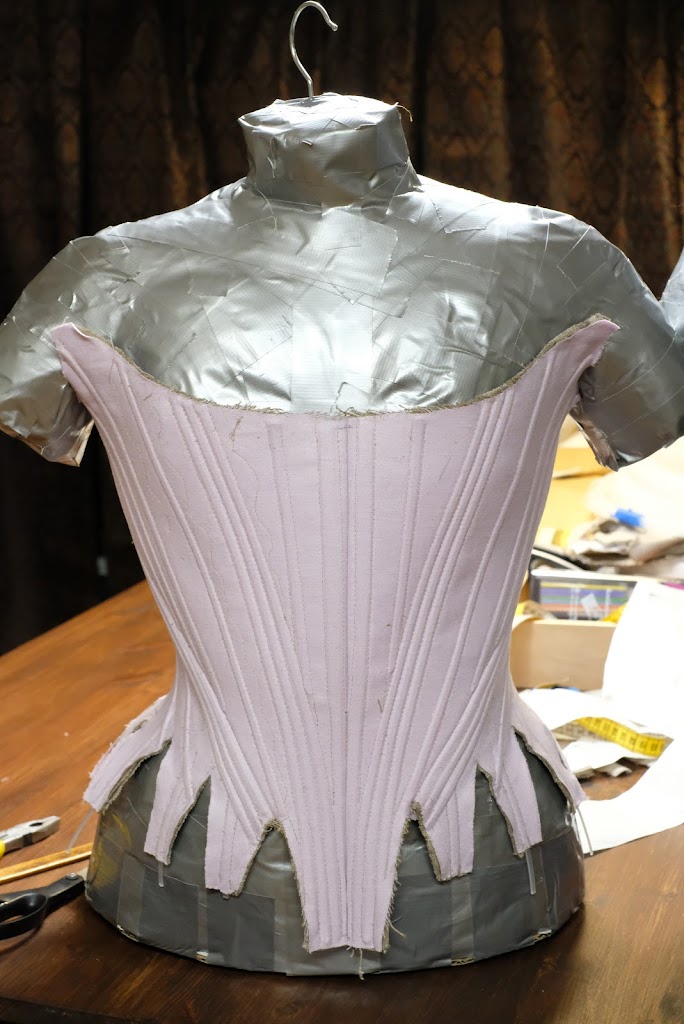
Pink 18th century stays- part 2
-
New blogg site
Hello! Im currently moving my blogg to this new site. Some pictures may be a bit blurry, but Im trying to fix this and add all the posts 🙂 So more content is coming!
-
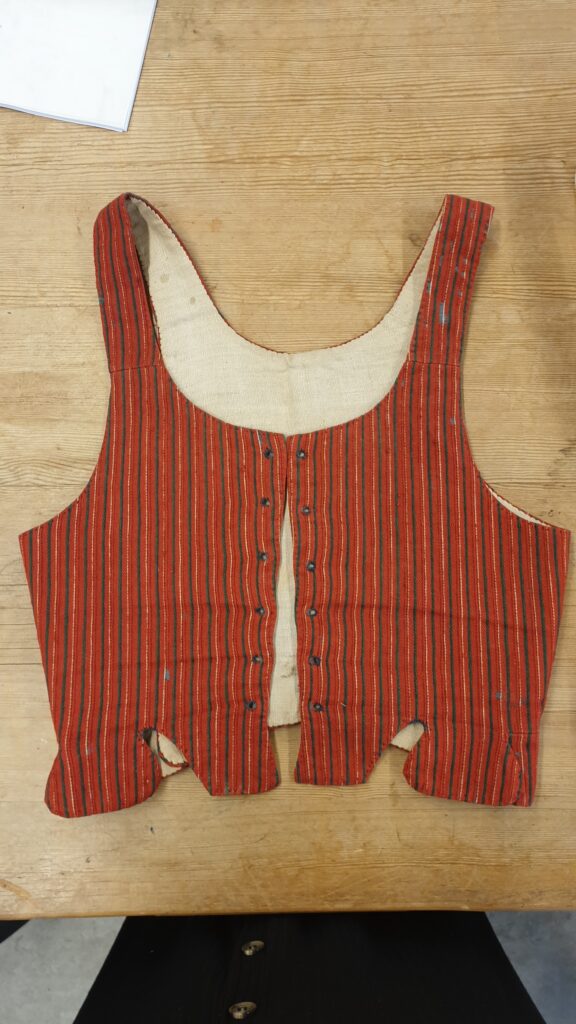
Livstycke sorunda
-
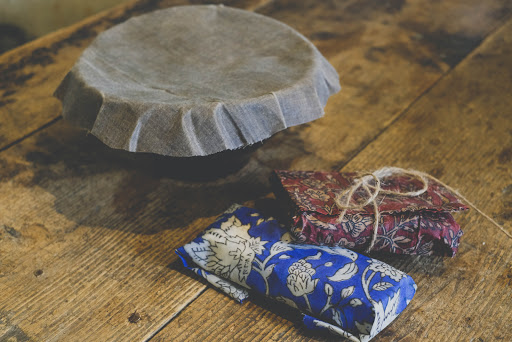
Plantdye with akorns
The ground outside is currently covered in akorns so I couldnt resist trying to plant dye with them. I wasnt sure what color I would get, maybe brown? I collected a bucket of akorns that I thought would last for a week or so but they dont, they mold so I also collected a bucket of new green ones to dye with both and compare.

 I did not use any mordant since I didnt have any home yet, and I was very eager to try. Im happy it worked anyway!Small pot- Brown odl akorns + tabby wool

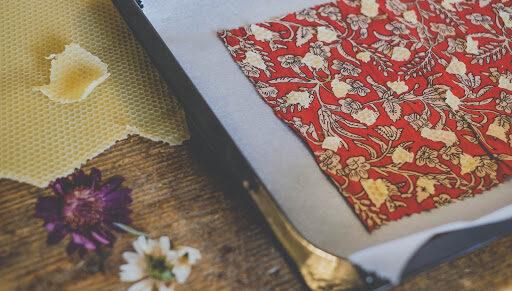
What a result! 😀 I was soo exited to see the fabric in the big pot turn brownish pink and when dry a nice shade of vintage pink. In the picture above from left:
1. Green akorns-Vintage pink on diamond twill
2. Brown old akorns- Light brown on tabby wool
3. Green akorns- Vintage pink (slightly more brown) on tabby wool


Afterwards I got the idea that I also wanted to test on a medium gray fabric so I throwed a piece in for a while more but it only got a bit darker on the brown gray side. Now im eager to try with mordant and experiment with other ingredients! 😀
-
Kjolsäck stigsjö ångermanland
-
Vacation! Dala-floda


-
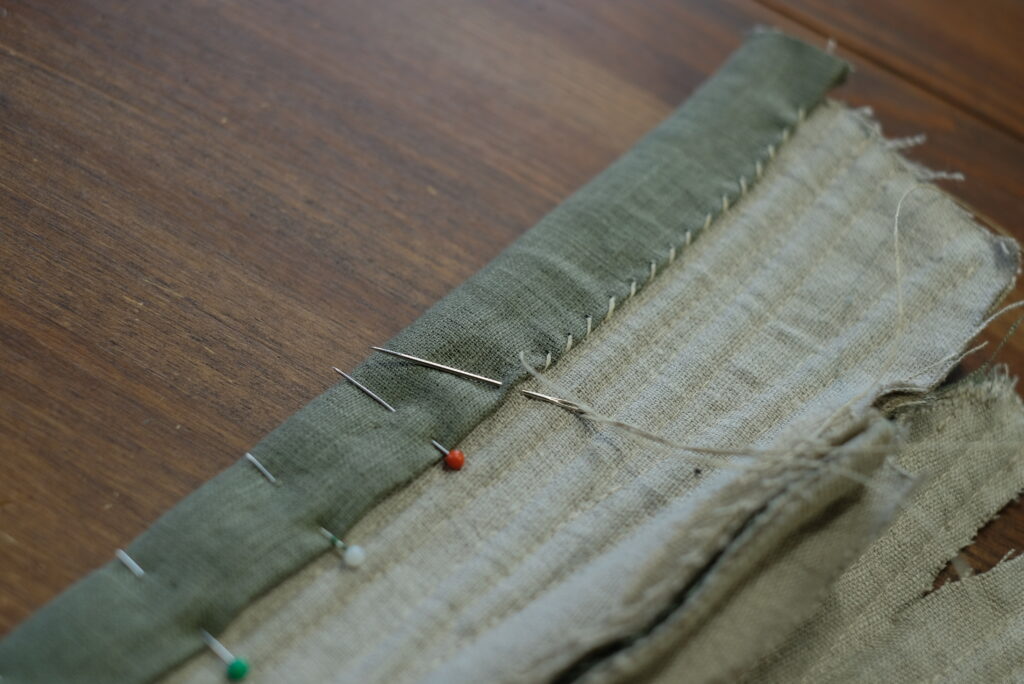
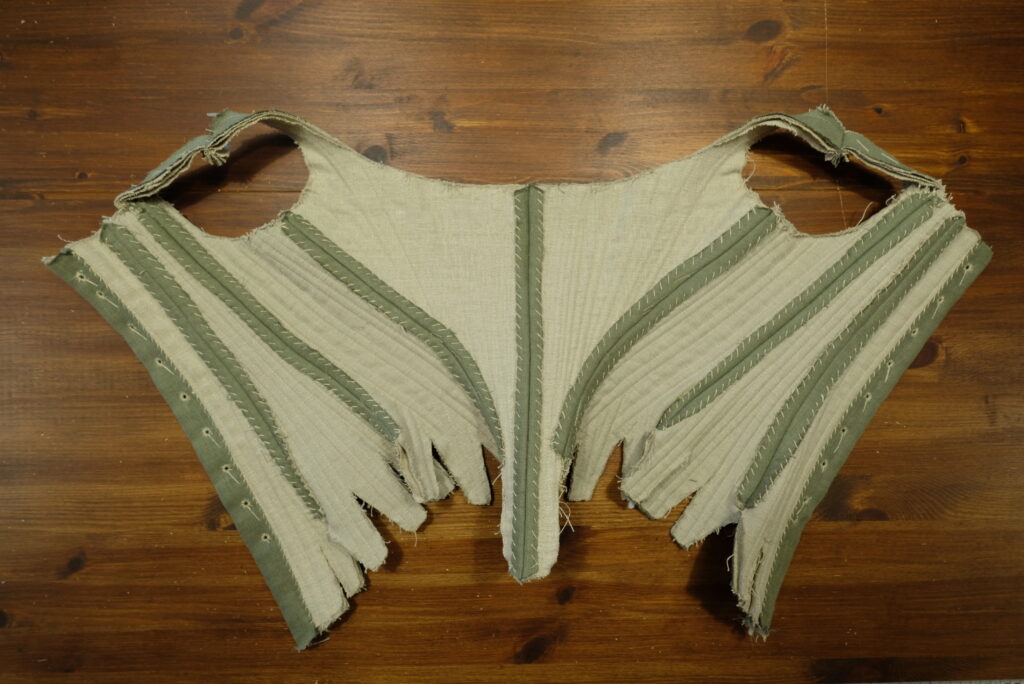
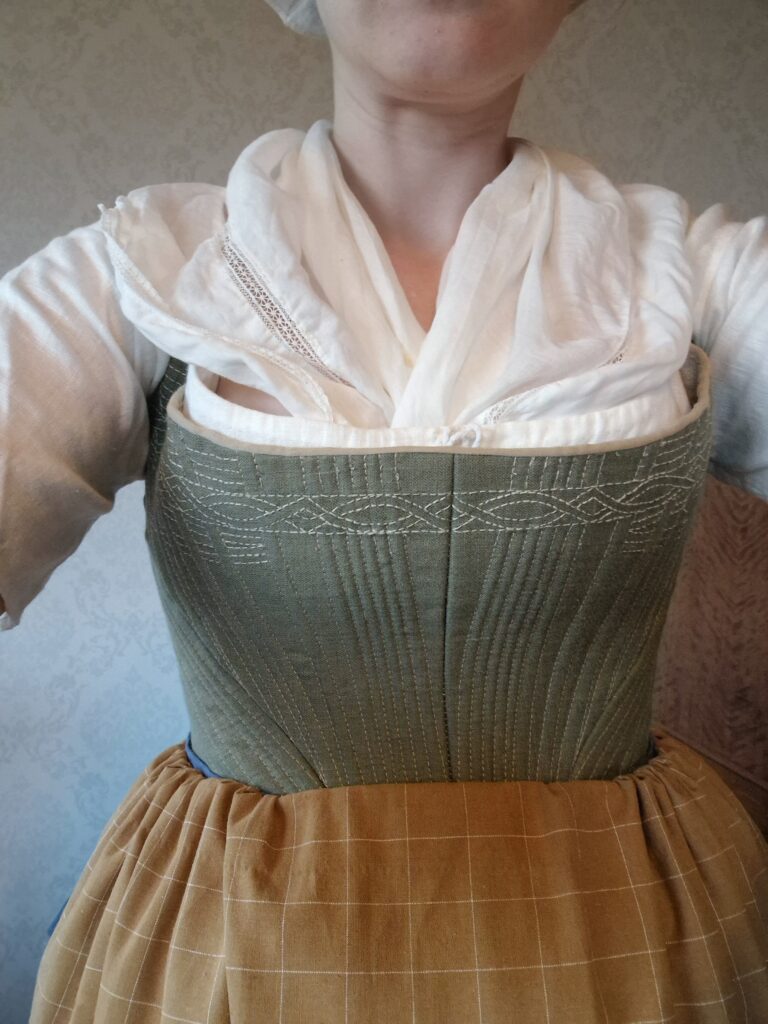
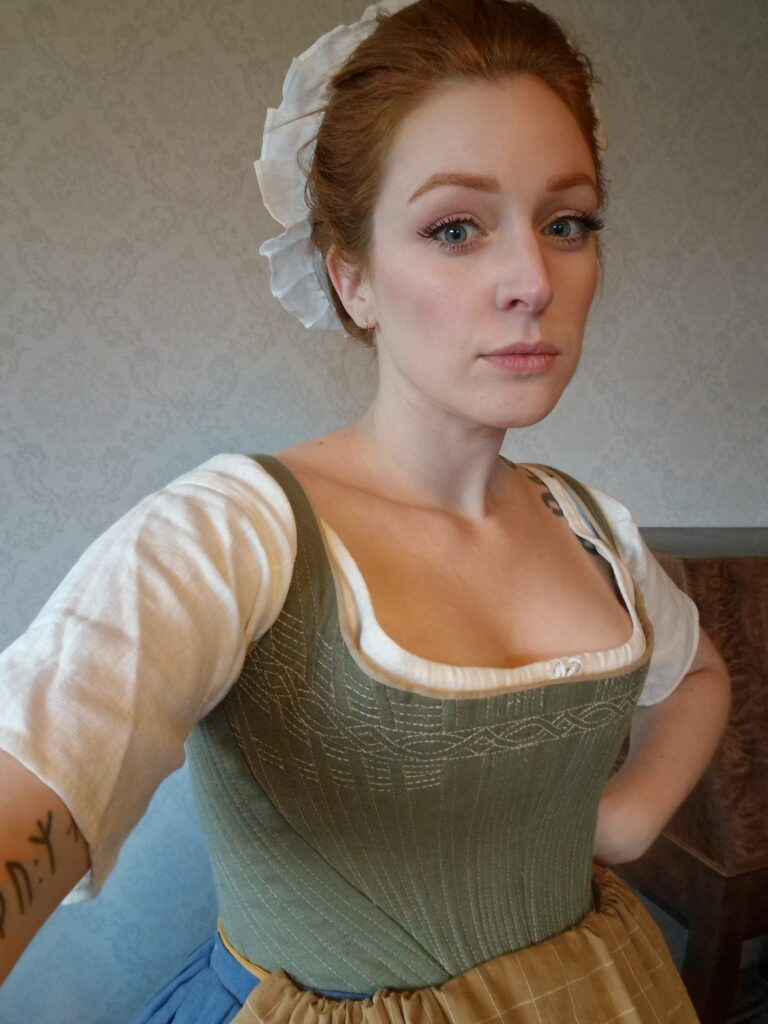
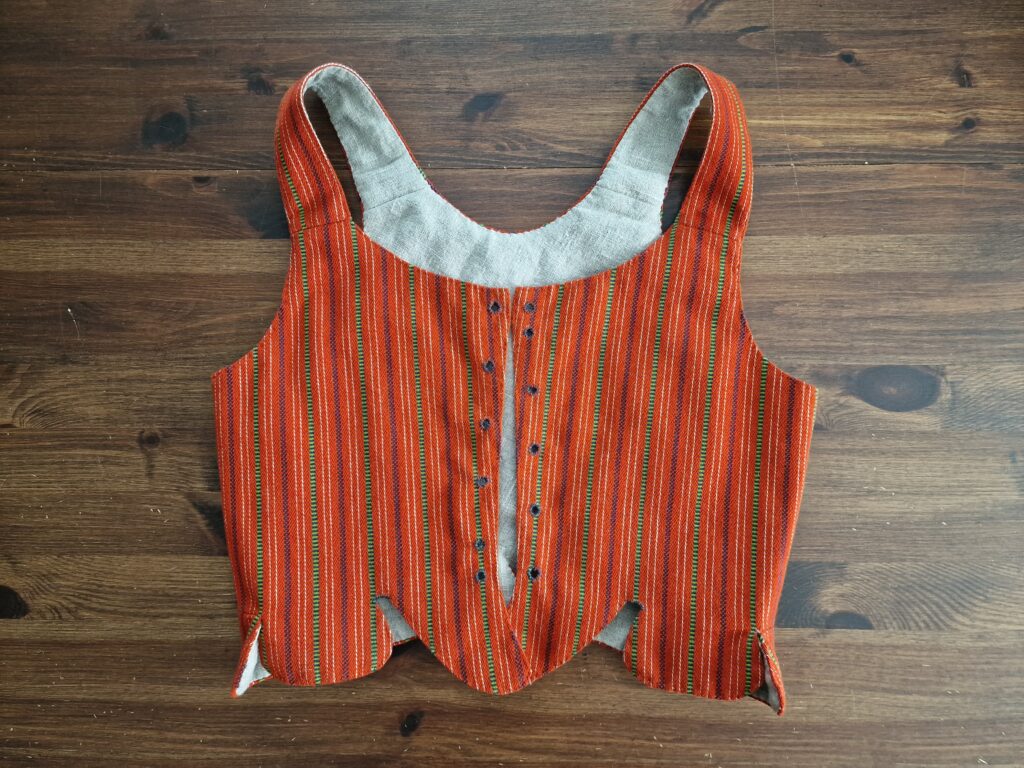
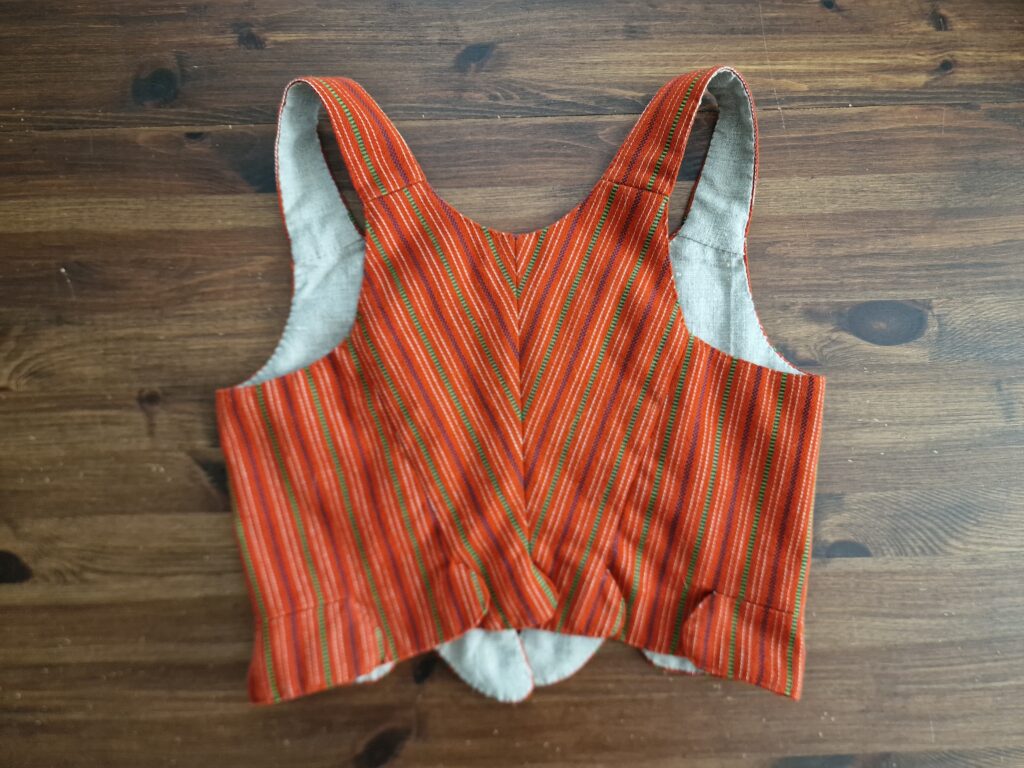
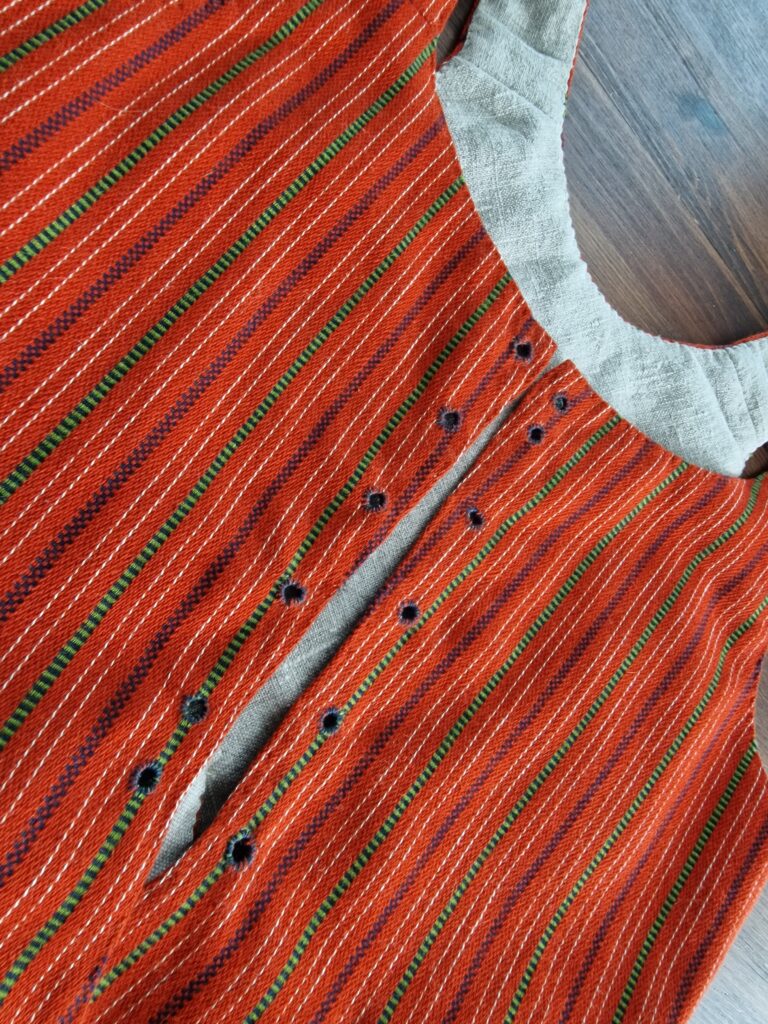
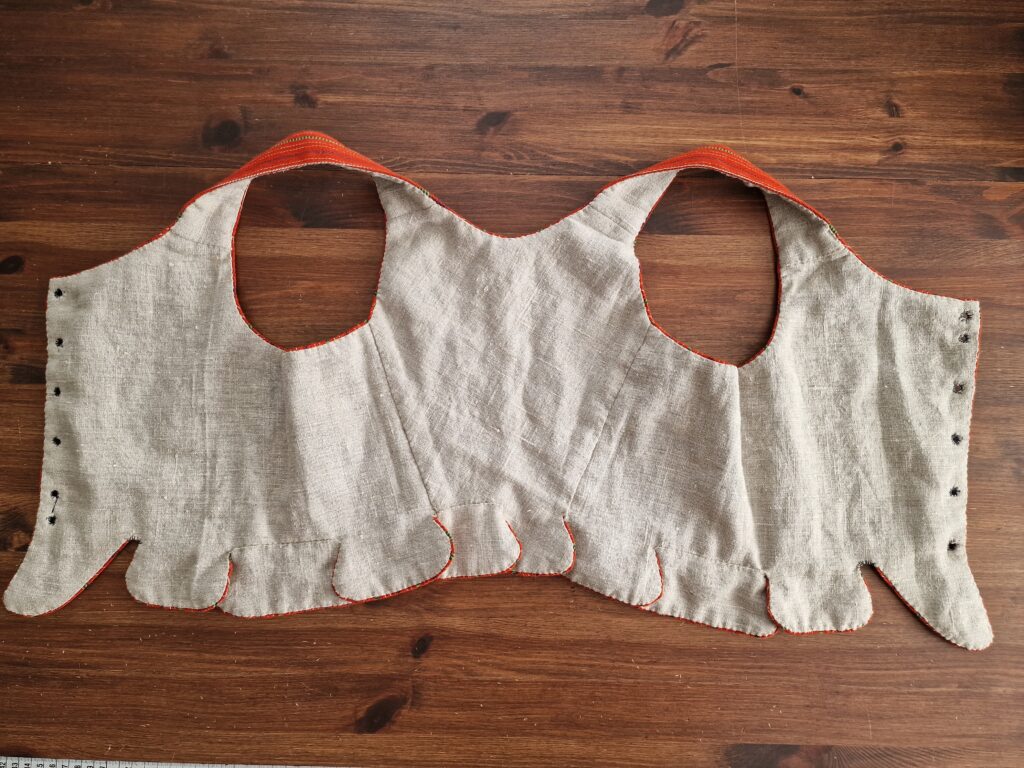
Livstycke stigsjö
Orginallivstycket från Nordiska museet -
18th century pockets
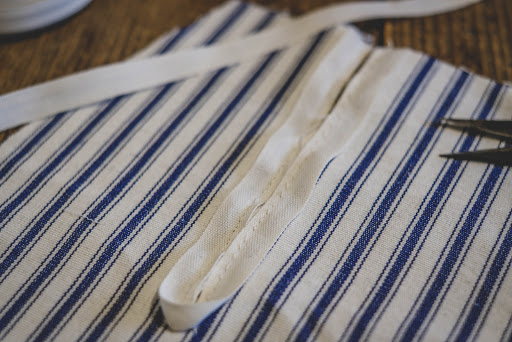
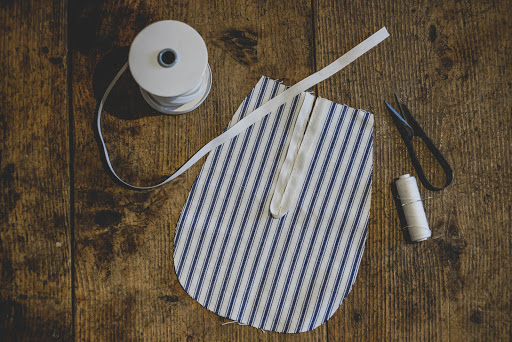
18th century pocketsI have lost my old embroidered pockets so I decided to make a new pair of some scrap fabric.A simple tutorial: 1. Draw the pockets on a paper, use the stencil to cut 4 pieces of fabric.2. Cut the opening on 2 of the pieces. Use a narrow ribbon to make the edge, I used 12mm cotton ribbon. Sew the ribbon from the outside, turn over and then sew the backside with whipstitch as you do on stays.

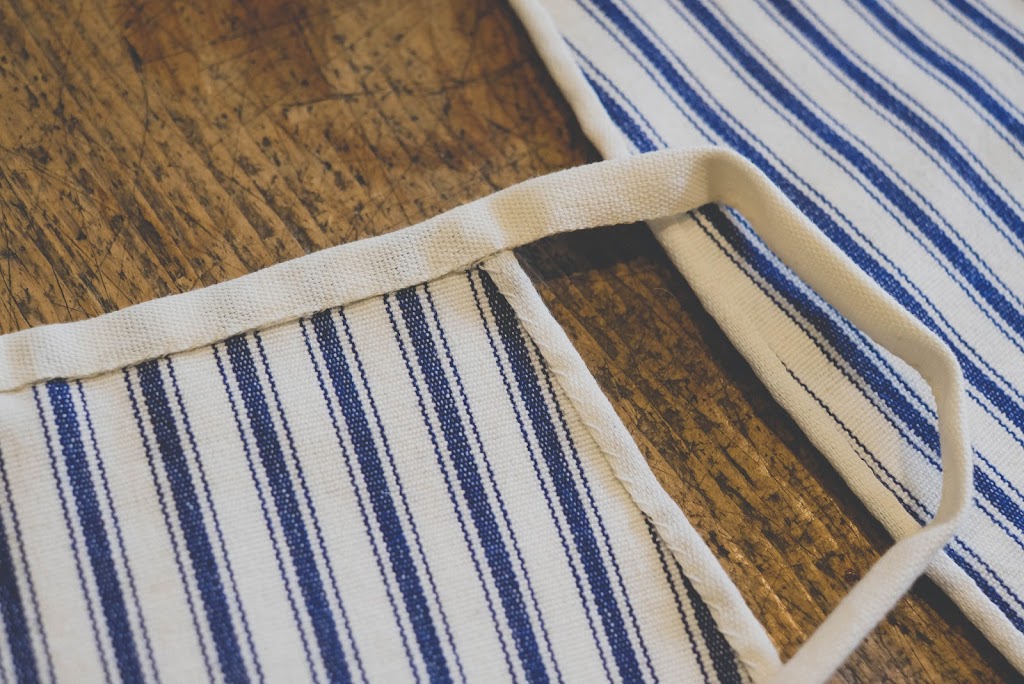
 3. Pin the fronts together with the backs and sew them together with the ribbon the same way you did before.4. Use a wider ribbon to make the waist band. Pin the pockets to the waistband while you have it on you so you can adjust the placing. Sew the ribbon onto the pockets from the front, turn itover and sew it with whipstiches again all the way to the edges.
 And done!

You May Also Like
Pink 18th century stays- part 2
Kjolsäck stigsjö ångermanland

Plantdye with akorns