-
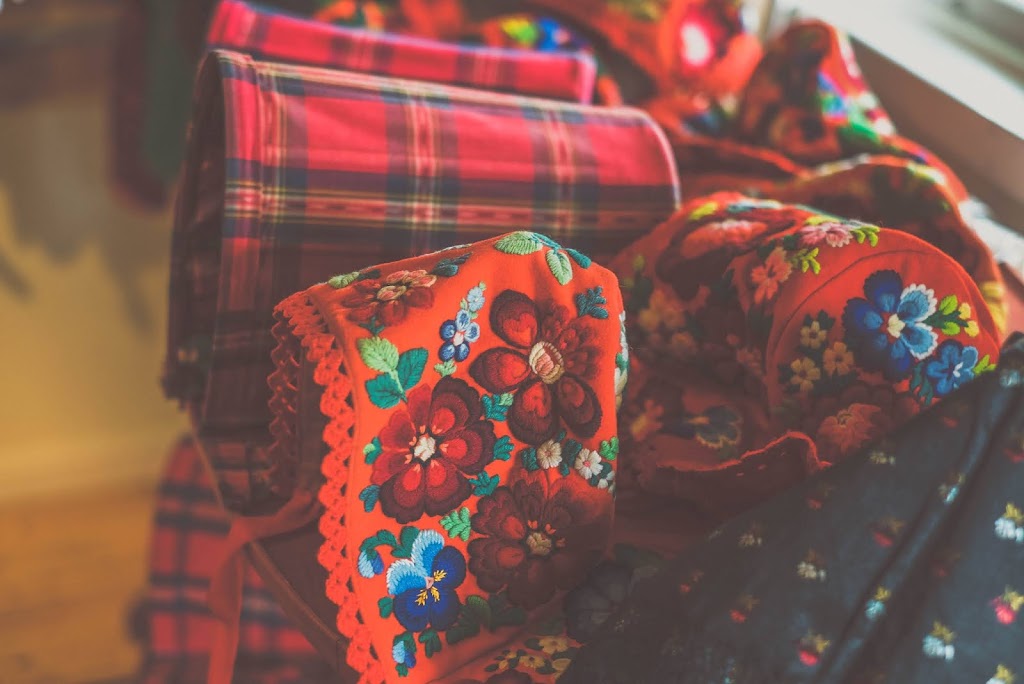
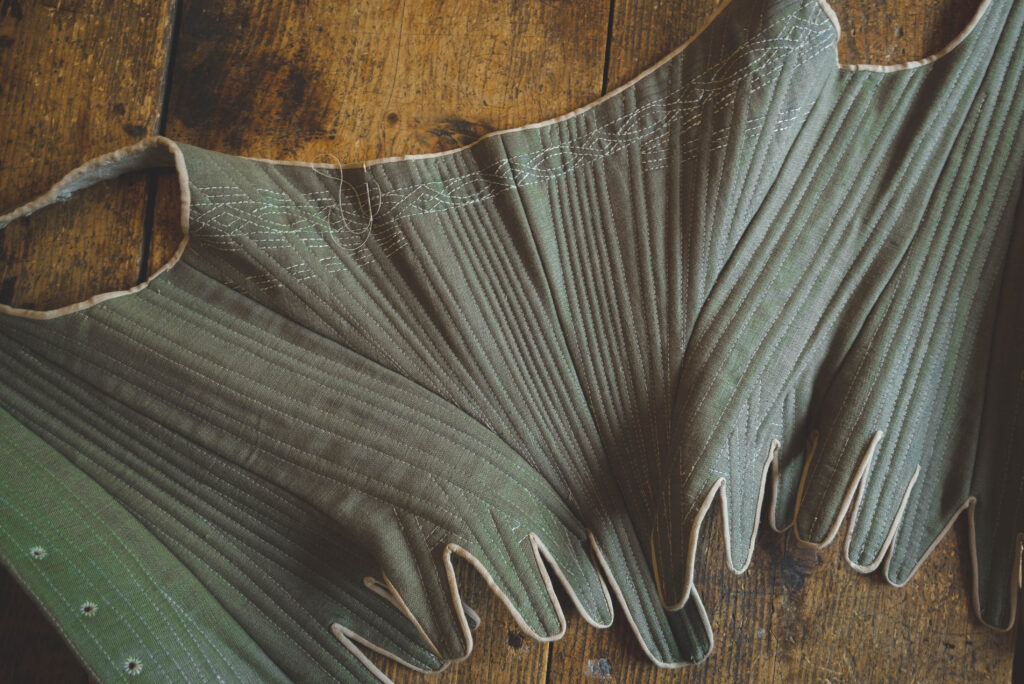
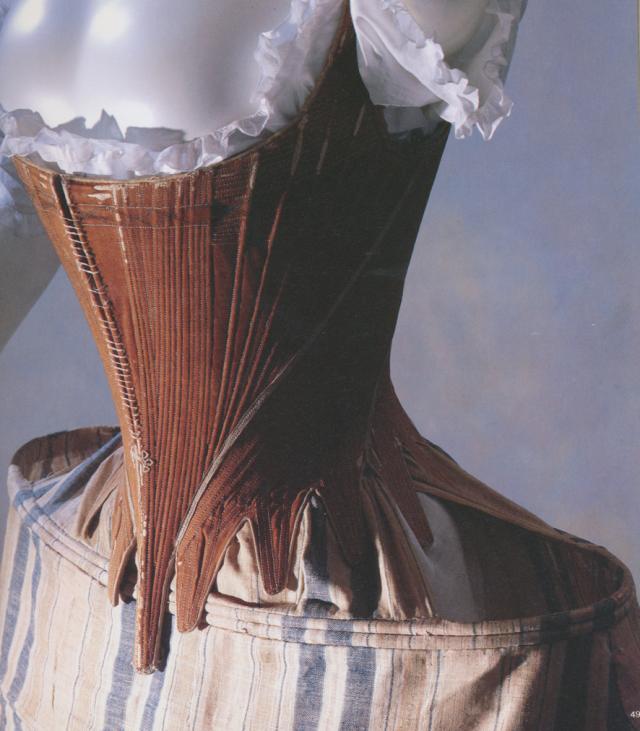
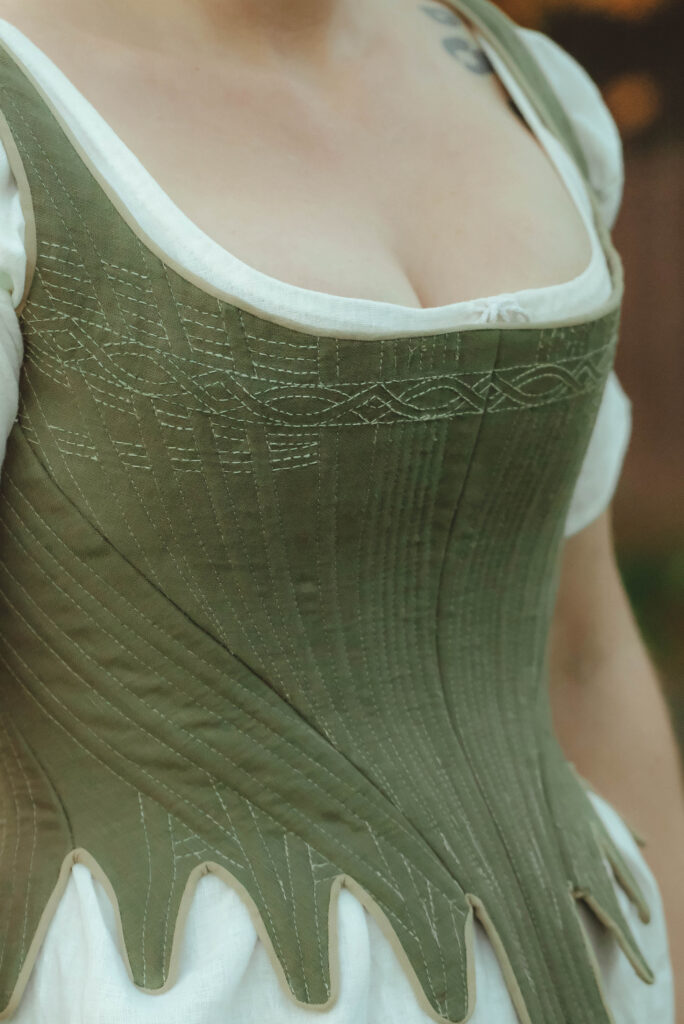
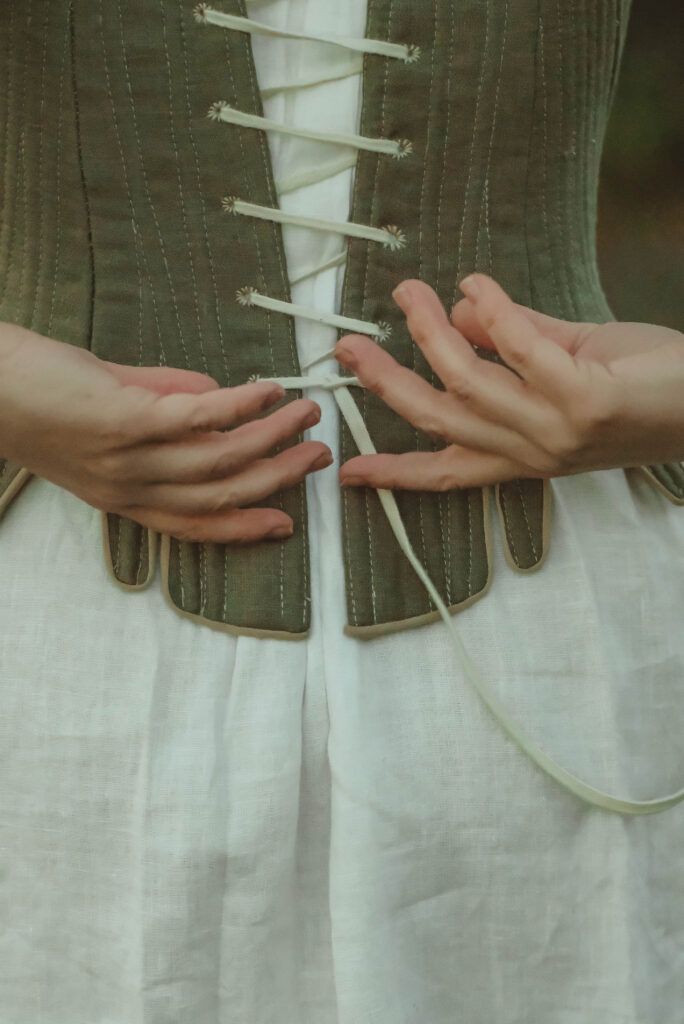
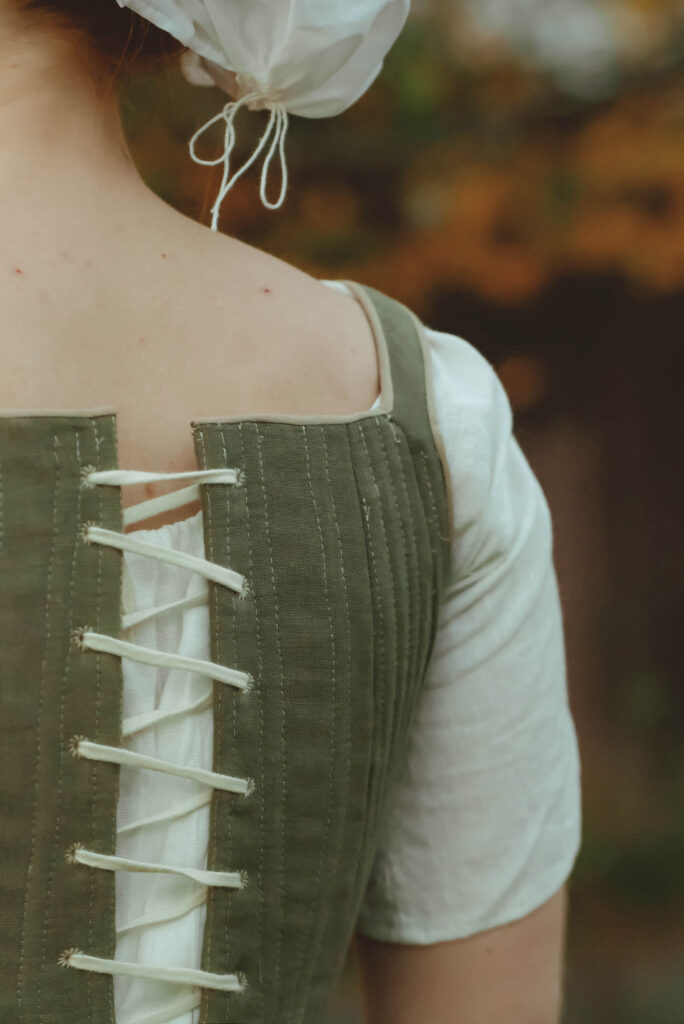
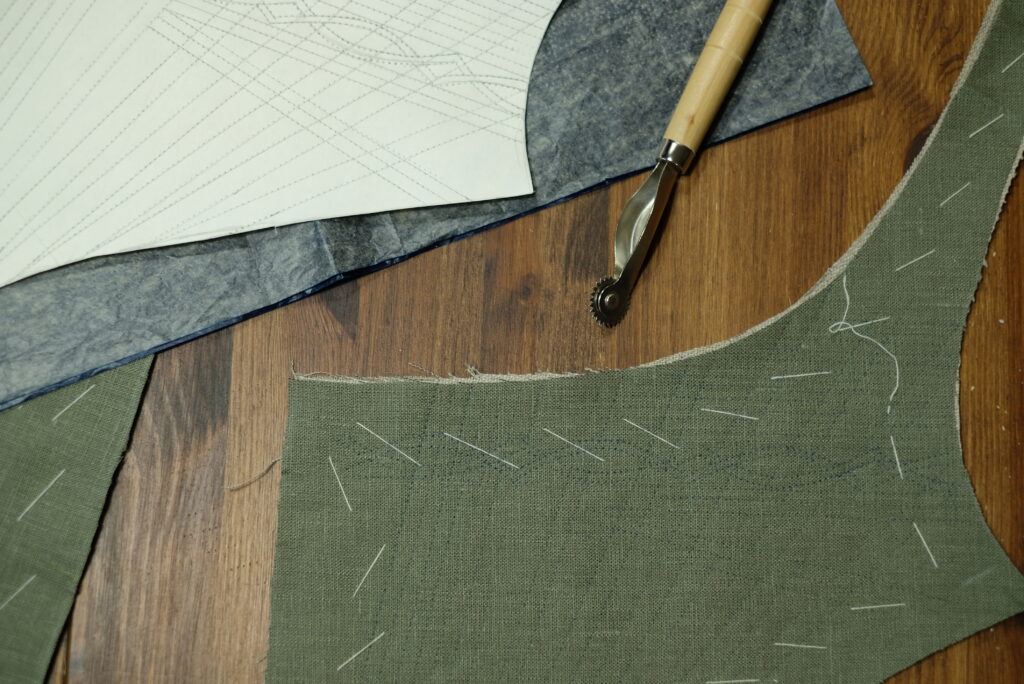
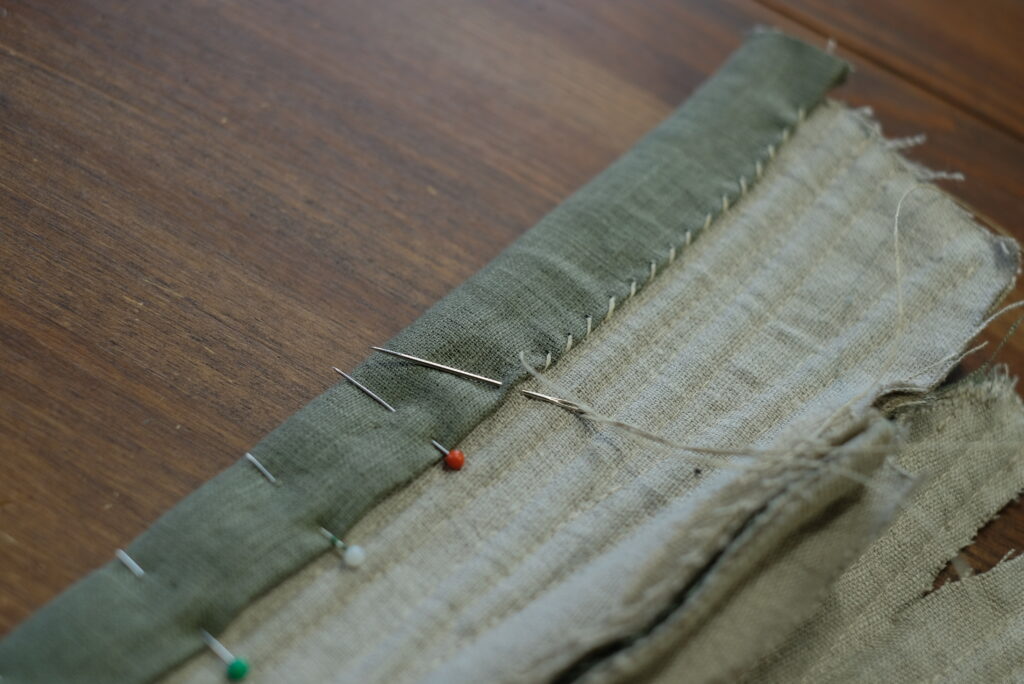
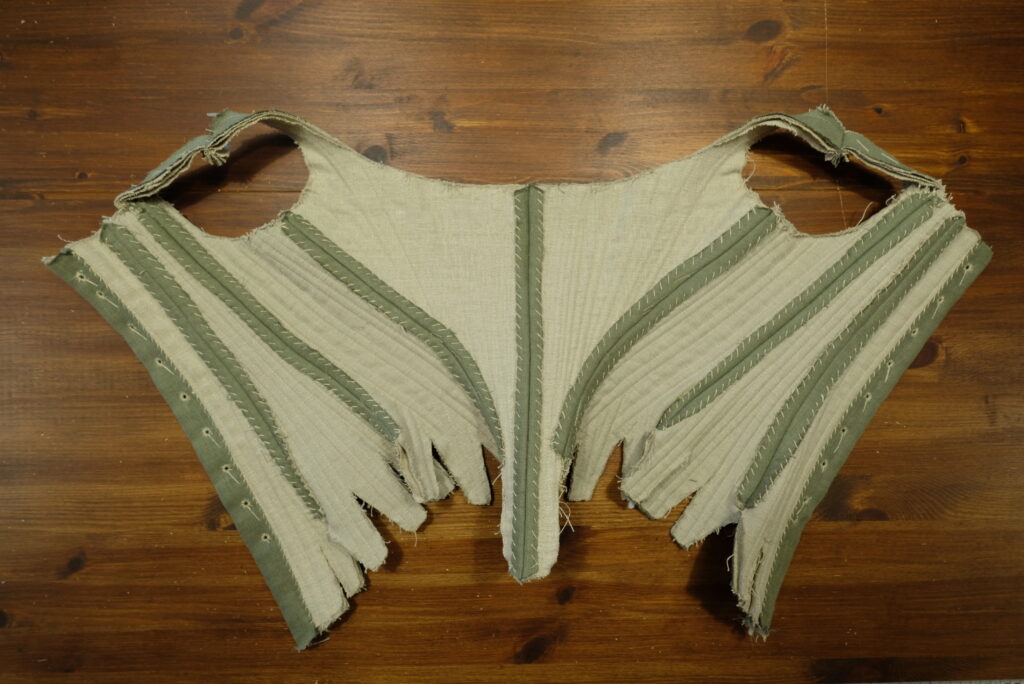
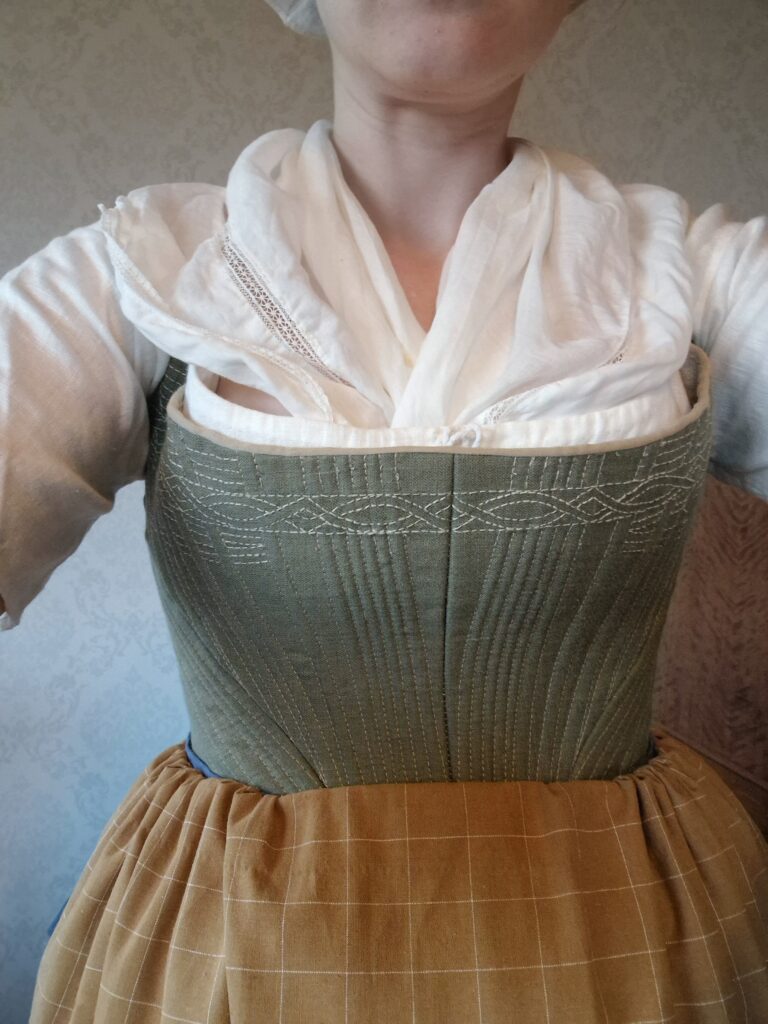
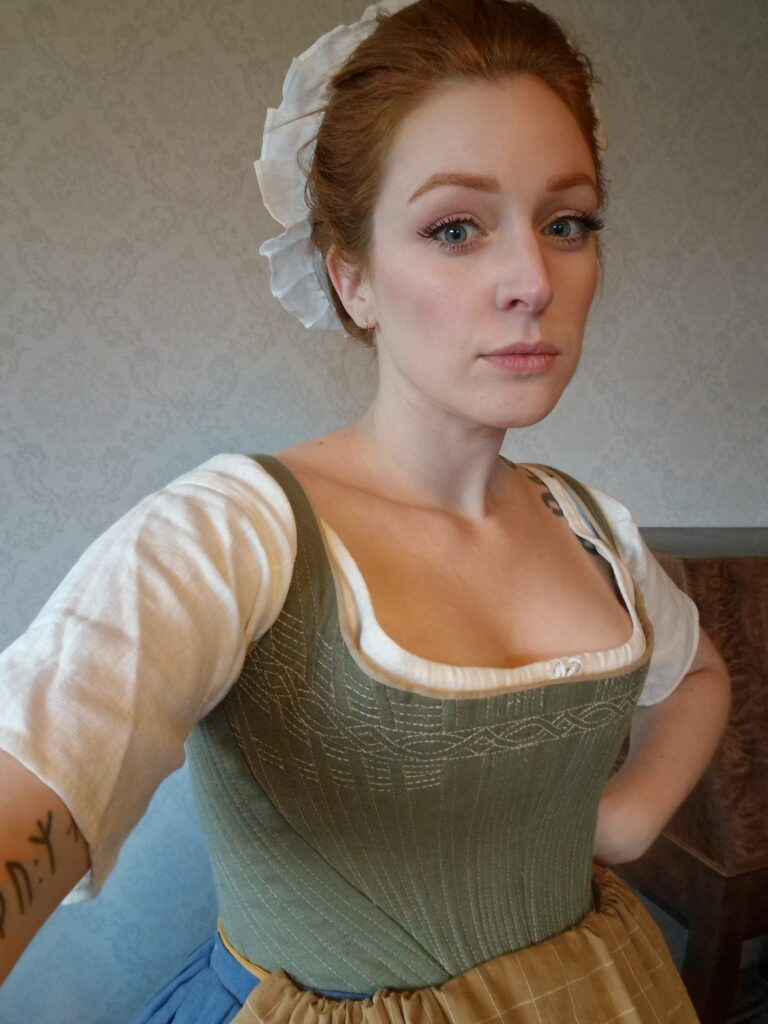
Green 18th century Kyoto stays

-
18th century pockets
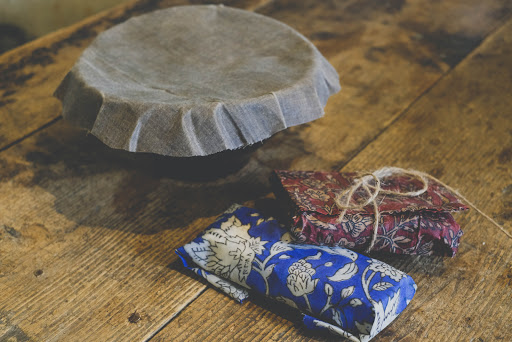
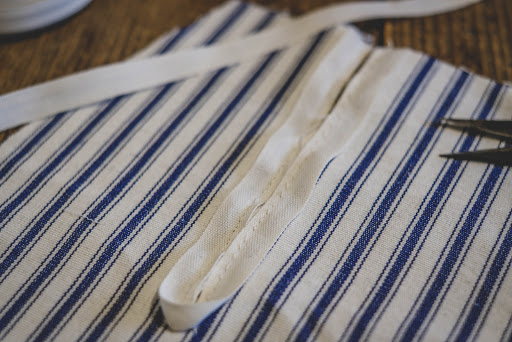
18th century pocketsI have lost my old embroidered pockets so I decided to make a new pair of some scrap fabric.A simple tutorial: 1. Draw the pockets on a paper, use the stencil to cut 4 pieces of fabric.2. Cut the opening on 2 of the pieces. Use a narrow ribbon to make the edge, I used 12mm cotton ribbon. Sew the ribbon from the outside, turn over and then sew the backside with whipstitch as you do on stays.

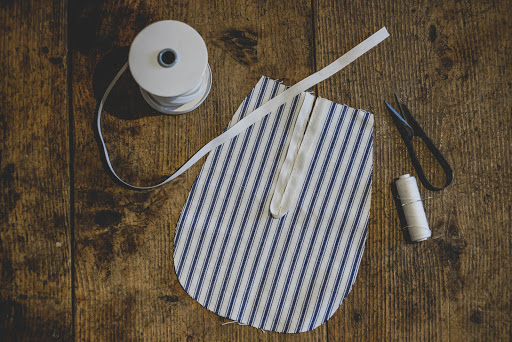
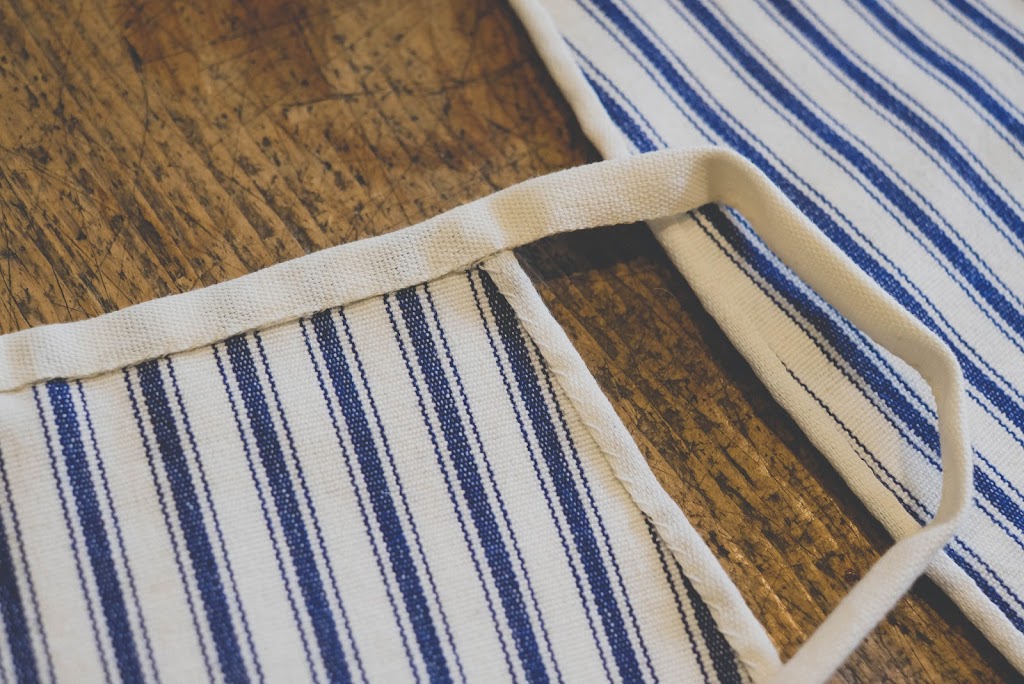
 3. Pin the fronts together with the backs and sew them together with the ribbon the same way you did before.4. Use a wider ribbon to make the waist band. Pin the pockets to the waistband while you have it on you so you can adjust the placing. Sew the ribbon onto the pockets from the front, turn itover and sew it with whipstiches again all the way to the edges.
 And done!

-
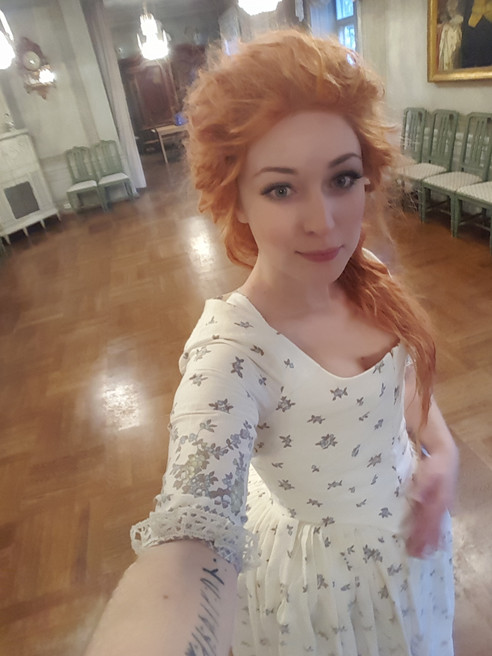
Stockholm trip part 2- 18th century bal
Bal in Kristienhovs Malmgård. Time to wear my 18th century dress! 😀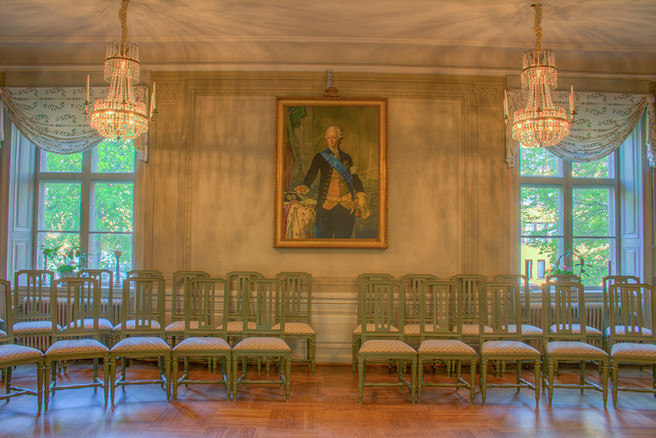 Foto: Kristienhovs Malmgård


-
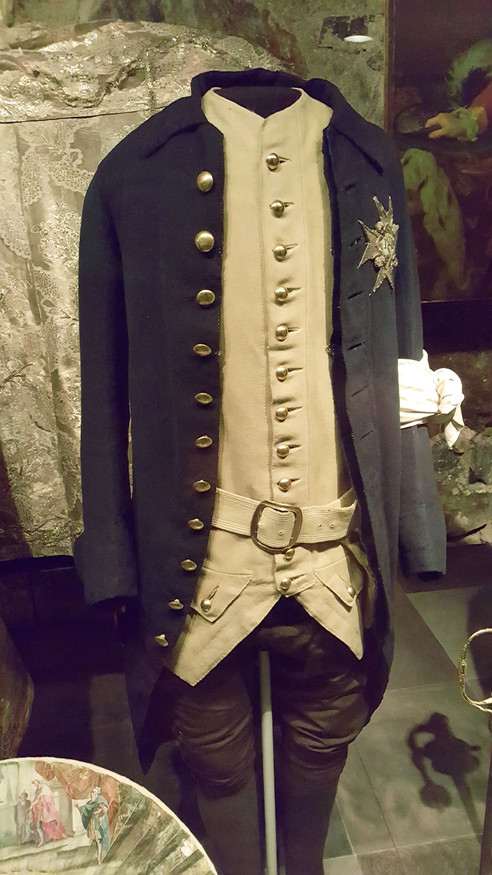
Stockholm trip part 1
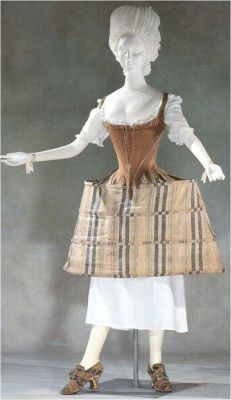
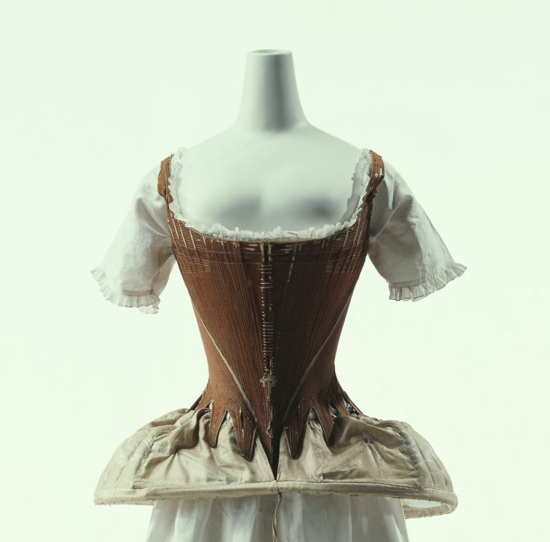
 Here are some pictures from our visit in Livrustkammaren in Stockholm.


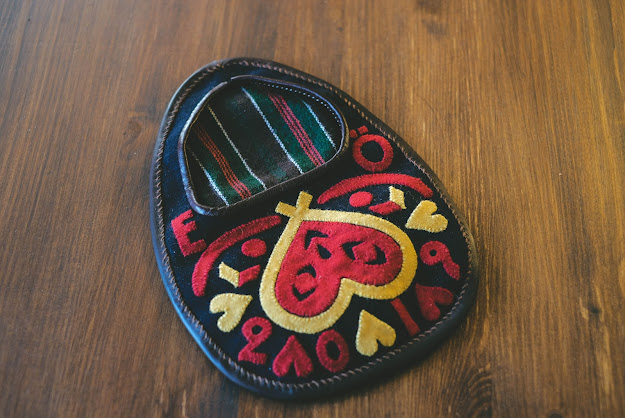
 And then a visit to Old town! The only part of sthockholm i like! Here is my friend Hans Gunnar from Eikthyrnir (leathercrafts).

-
Last fixes before the bal
 Testing all the garments together! It works but i still need to fix some stuff; I need to lower the cleavage (hehe you dont get to say that alot), fix the hairline on the wig to a v-shape and make a puffier underskirt.I found some folk costume shoes in real leather on a second hand shop for only 50sek!! Amazing! Not super correct but it will work until i can buy proper shoes (or make some..)
-
18th century flower a la´anglaise
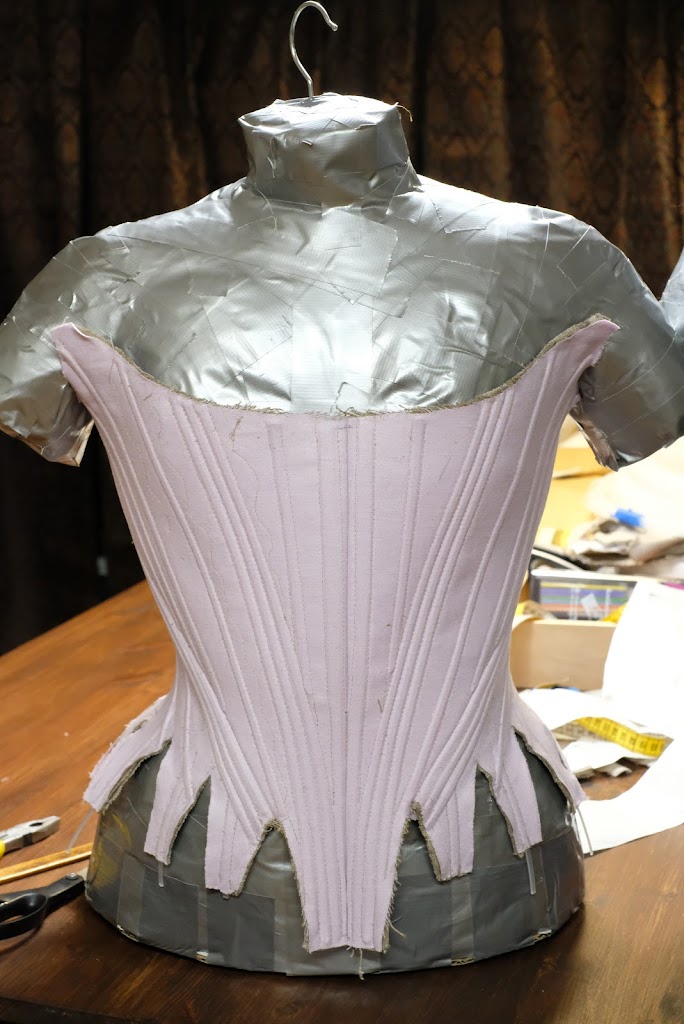
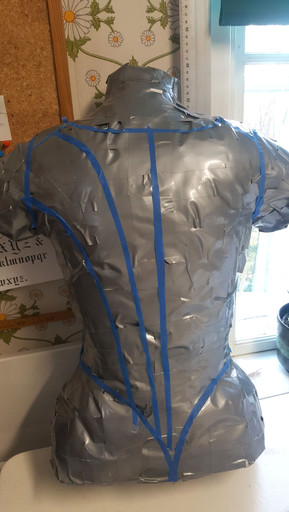
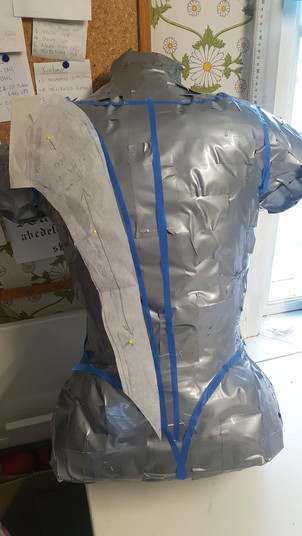
The beige flower a la´anglaiseThis dress I actually made in high school, but I did the bodice the wrong way so I wanted to make a new one since I had fabric left any way. The fabric is actually a duvet cover that I bought on a secondhand shop for maybe 10-20SEK. Here is the original bodice.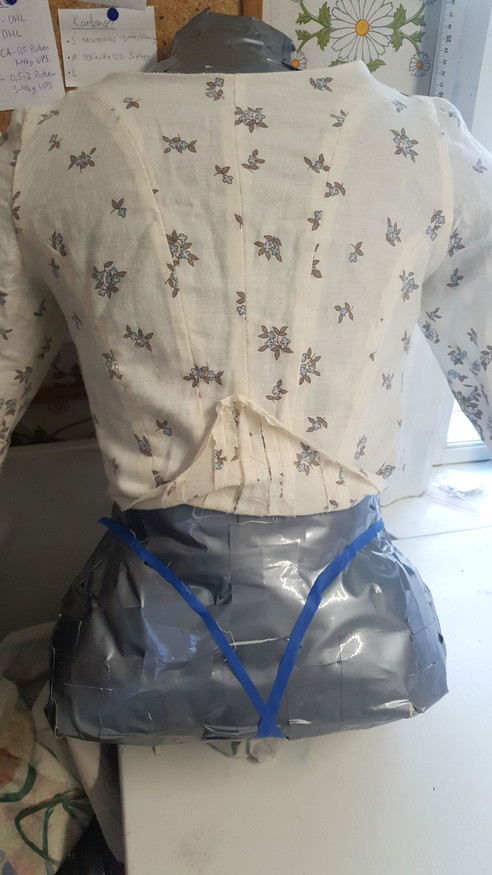 First I want to show you miss duck tape mannequin no 2! Its alot easier to make closely fitted garments if I can see the fit from all angles and I only had my regular mannequins witch do not have the 18th century siluette, so I made a new one while wearing my corset (not very pleasent to be in a corset but also with duck tape on top..)With a mannequin in the right shape you can mark the pieces that you want to make with tape like this, and its very cheap so you can make on for as many periods you like.
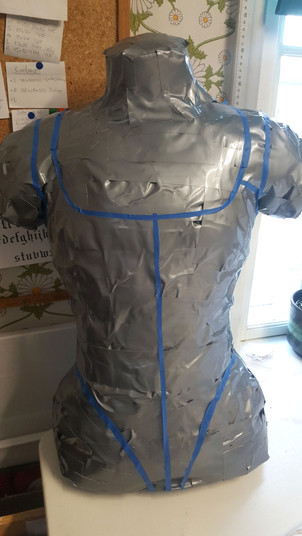
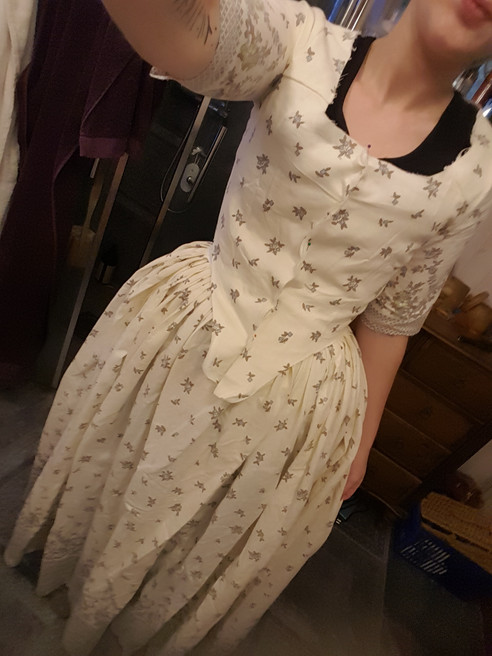 Trying out the new bodice
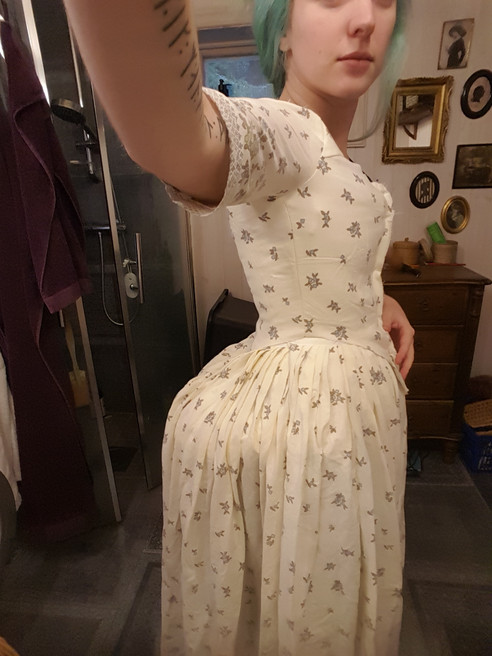 biggest bum roll wins! Hmm, but i do need more underskirts..
 -
White 18th century stays
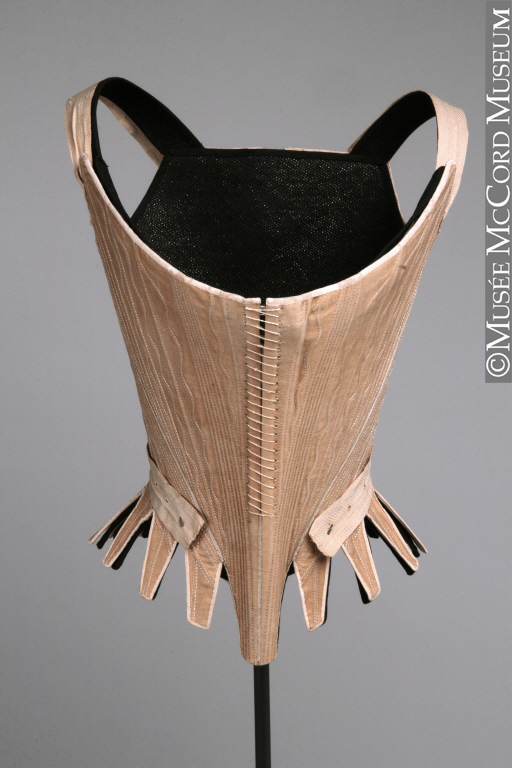
 White linen stays done! This is a smaller version of the first stays i made in high school and that one i made from alternating the buttericks pattern B4484. I feel like I should have made them even smaller in the back but they will do for now.
 I made the stays in 2 layers of linen and used strong plastic boning. You can find it here in my store.
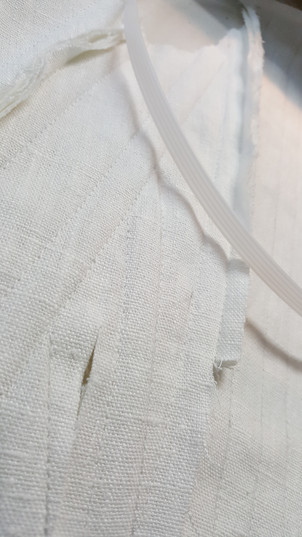
 On the edge i used white cotton tape. I sewed it from the front and folded it over to the back. Seams and lacing holes I sewed with vaxed linen thred. You can find ribbon here, and linen thread here.


 I will make a new bump roll soon, this one is from high school… The shift is actually my medieval linen underdress, its the same pattern anyway.
 The petticoat I made from the stiffest old sheet we had in the house, antique ones are alot better and stiffer than modern ones.